

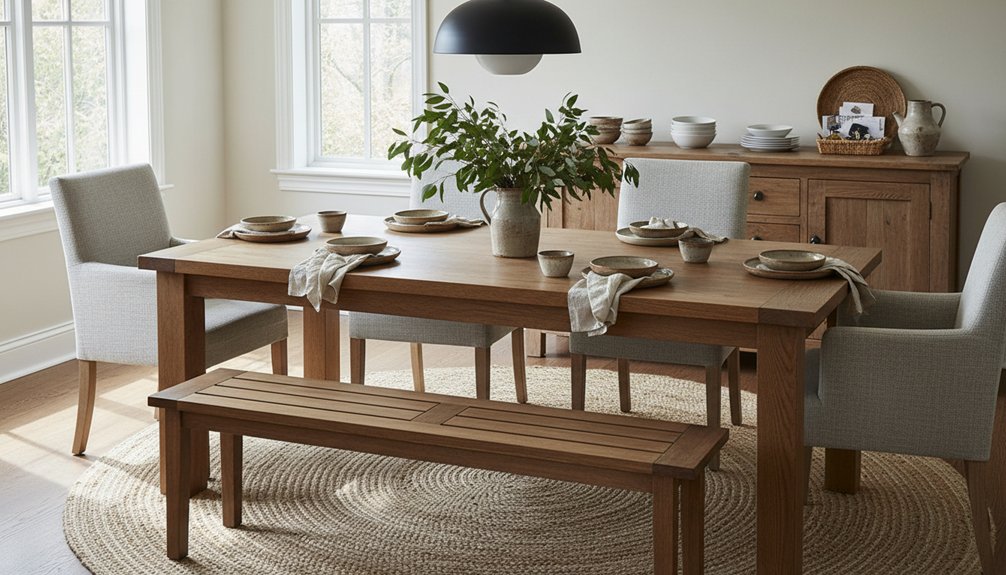
Style your dining area for everyday living by starting with your routines, then measuring clearances: keep 36 inches for walkways and 42–48 inches in busy pass-throughs. Choose a table shape that fits your room (rectangular for long spaces, round/oval for square ones) and size it at about 24 inches per person. Layer dimmable lighting, add a low-pile rug that extends 24 inches past chairs, and pick wipeable surfaces. Up next: smart fixes for awkward layouts and flexible seating.
Key Takeaways
- Assess daily routines and hosting needs, then choose wipeable surfaces, flexible seating, and a simple everyday place-setting kit.
- Measure clearances: 36 inches for walkways, 42–48 in high traffic, and 24–36 inches for chair pullback and comfort.
- Pick a table shape and size that fits the room and seats real needs, allowing about 24 inches per person.
- Layer lighting with a dimmable pendant and warm LEDs, and use a low-pile rug extending 24 inches past chairs for easy movement.
- Use a neutral, durable palette with flexible accents, plus layered window treatments and slim storage to control light and reduce clutter.
Start With Your Everyday Dining Checklist
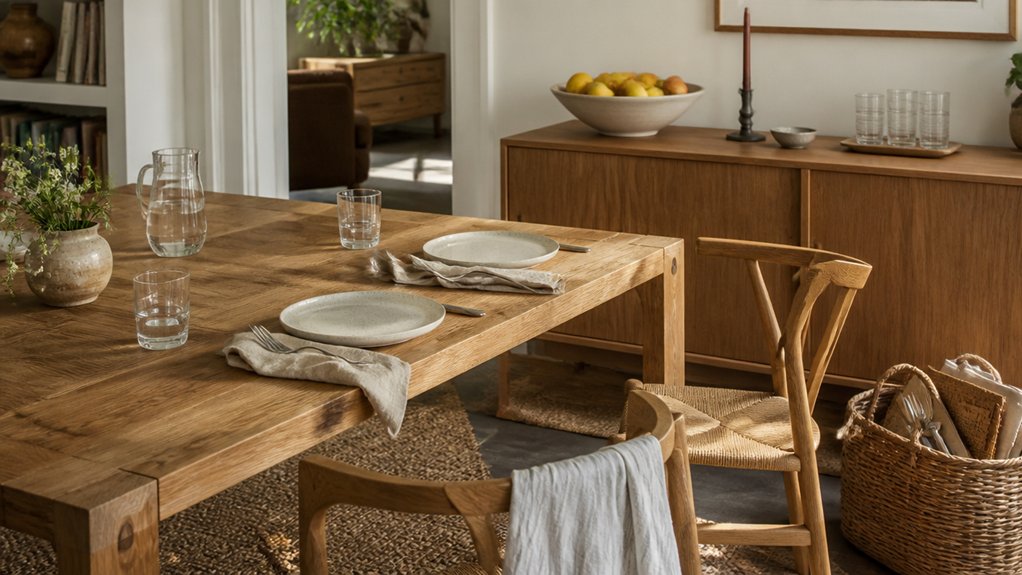
Before you pick a table style or lighting trend, map out how you actually use your dining area day to day. List what happens there: quick breakfasts, homework, remote meetings, weeknight dinners, or hosting.
If you eat fast, prioritize wipeable surfaces and stackable chairs; if you linger, plan for supportive seating and easy-to-reach serving space.
Note how many people you seat daily versus on weekends, then choose a tabletop size and extension plan that matches.
Build a simple kit for consistent table settings: placemats, everyday plates, and one flexible centerpiece that won’t block sightlines.
If you host, keep dining etiquette in mind—extra forks, water glasses, and a spot for shared dishes—so setup stays smooth, not stressful.
Measure Your Dining Area for Easy Walkways
Grab a tape measure and confirm you’ve got the required clearance around the table so walkways feel effortless, not squeezed.
Then map chair pullback space for every seat, factoring in how far chairs slide and swivel in real life.
Finally, sketch your main traffic-flow paths—from kitchen to table to entry—so you can place the table, rug, and lighting without creating pinch points.
Determine Required Clearance
Although a dining area can look perfectly proportioned in photos, it won’t feel livable unless you build in the right clearance for walking and pulling out chairs. Start by measuring from the table edge to the nearest wall, console, or island. Aim for at least 36 inches for a comfortable pass-through; bump it to 42–48 inches in high-traffic routes like the path to the kitchen or patio door.
If you’re working with a tight plan, keep walkways consistent and avoid pinch points near corners. This planning improves furniture arrangement and keeps decor coordination effortless, since you’ll know exactly where a rug, pendant, or sideboard can land without crowding circulation.
Mark widths with painter’s tape to sanity-check the flow before you commit.
Map Chair Pullback Space
Clear walkways are only half the equation—you also need room for chairs to slide out without turning every meal into a shuffle.
To map chair pullback space, start with your table footprint, then add a “chair zone” behind each seat. Aim for 24 inches from table edge to the nearest obstacle for basic pullback, or 30–36 inches if you want a relaxed, hospitality-style feel.
Use painter’s tape on the floor to outline chair backs at rest and at fully pulled-out positions; it’s fast and reveals tight spots instantly.
For a best seating arrangement, stagger end chairs slightly, choose slimmer silhouettes, or swap bulky armchairs for armless designs. Bench seating can also reduce pullback needs on one side.
Plan Traffic Flow Paths
Before you commit to a table size or layout, trace the traffic flow paths you’ll use most—kitchen to table, table to hallway, and table to patio—so you don’t create pinch points in everyday routines. Tape out your proposed table footprint and chair positions, then walk the routes with a laundry basket or serving tray to mimic real use.
Aim for 36 inches of clear walkway for everyday traffic patterns; go 42–48 inches if your space doubles as the main pass-through. If you’re tight on square footage, choose an oval pedestal table or slim bench on the wall side to keep edges soft and circulation open.
Prioritize flow optimization over maximum seating—you’ll host better when movement feels effortless.
Fix Common Dining Area Layout Issues (Tight, Open, Awkward)
When your dining zone feels too tight, too open, or just oddly shaped, you can usually fix it with a few layout tweaks—not a full makeover. In tight setups, pull furniture a few inches off walls to reduce pinched corners, and use a slim sideboard or floating shelves instead of bulky storage. Keep your color palette light-to-mid value to prevent visual crowding, and hang wall art vertically to draw the eye up.
In overly open rooms, anchor the zone with a rug sized to extend past chair legs, then center a pendant at the eating area’s midpoint.
For awkward nooks, align seating to the longest wall, add a bench to eliminate extra clearance needs, and use a narrow console to straighten the edge. Add a mirror to bounce light.
Choose the Right Dining Table Shape for Your Space
Even if you love a particular look, the right table shape should follow your room’s proportions and how you actually move through the space. In long, narrow rooms, a rectangular table reinforces the architecture and keeps pathways clear.
In squarer rooms, a round or oval table softens corners, improves circulation, and feels current with pedestal bases. If your dining area shares space with a kitchen or living zone, consider a rectangular table with rounded corners for safer flow and easier styling.
For tight or irregular footprints, a square table can tuck neatly without wasting angles, while an oval offers shape versatility without the bulk. Match table material to the room’s wear: solid wood hides dings, stone feels luxe, and glass visually lightens crowded layouts.
Pick a Dining Table Size That Seats People Comfortably
Start by measuring your dining area so you can keep 36–48 inches of clearance around the table for easy chair pull-out and traffic flow.
Then match the tabletop length and width to your real seating needs, aiming for about 24 inches of space per person (and a bit more if you love oversized, cushy chairs).
When the size fits the room and the headcount, your dining setup feels streamlined, comfortable, and ready for everyday use.
Measure Clearance Around Table
Aim for 36–48 inches of clearance around your dining table so people can slide chairs back, walk behind seated guests, and open nearby doors or drawers without a squeeze. Start by taping the table’s footprint on the floor, then mark the clearance band all the way around; this makes Table placement decisions fast and visual.
If you’re tight on space, keep a minimum 36 inches on traffic sides and push to 42–48 inches where you’ll pass frequently, like between the table and a kitchen island.
Check Chair clearance by pulling a chair out to its use position, then walking behind it—if you can’t pass without turning sideways, shift the table or swap to slimmer chairs. Also account for radiator covers, curtains, and cabinet pulls nearby.
Match Size To Seating
Because your table’s footprint dictates how comfortably people eat and move, match the size to your real headcount—not the “maximum” a listing claims. Plan 24 inches of edge per person (18 if you’re squeezing), and 15 inches of depth for place settings.
For four, aim for a 36–44 inch round or a 48-inch rectangular; for six, look at a 60-inch rectangular or 54-inch round; for eight, 72–84 inches works best.
Leave room for dining upholstery—bulky armchairs need extra width and corner clearance, while slim side chairs let you scale down.
Keep table accessories proportional: a low bowl or runner beats tall centerpieces that steal elbow room and sightlines.
Choose Dining Chairs You’ll Enjoy Sitting In
While a dining table sets the stage, your chairs determine whether people linger or bail early. Prioritize Comfortable materials and ergonomic design: look for a supportive back angle, a seat that’s at least 16–18 inches deep, and a front edge that won’t cut into your legs.
If you work or linger over coffee, consider padded seats, performance bouclé, or wipeable faux leather for daily durability.
Check height and clearance: aim for about 10–12 inches between seat and tabletop, and make sure armrests slide under when you want extra space.
Mix styles for a trend-forward look—pair slimmer side chairs with two sculptural host chairs—then unify them with matching finishes or consistent upholstery texture.
Set Dining Lighting for Meals, Work, and Evenings
You’ll get the most out of your dining area when you layer lighting—pendant or chandelier for the table, a targeted task light for work, and soft ambient light for evenings.
Add a dimmer so you can shift brightness instantly, from crisp and functional to warm and low.
Choose bulbs with the right color temperature and high CRI so food looks appetizing and your space feels polished at any hour.
Layered Lighting For Flexibility
When your dining area has to handle everything from weeknight meals to laptop time and low-key evenings, layered lighting keeps it adaptable without constant rearranging. Start with a ceiling fixture or semi-flush mount to cast an even ambient glow across the table and surrounding circulation path.
Add a focused pendant or linear chandelier centered over the tabletop to define the zone and flatter place settings. For work sessions, bring in task illumination with a slim table lamp on a console, a plug-in sconce, or an adjustable floor lamp aimed at the laptop edge without glare.
Finish with accent light—picture lights, a small uplight on a plant, or LED strips in a hutch—to add depth and a modern, collected feel as the room shifts through the day.
Dimmer Controls And Bulbs
Even with great layered fixtures in place, dimmer controls and the right bulbs determine whether your dining area feels crisp for emails, comfortable for weeknight meals, or soft for evenings.
Install dimmer switches on your main overhead and any wall sconces, and choose LED bulbs labeled “dimmable” to prevent flicker and buzzing.
Aim for 2700K–3000K for food and conversation, then bump to 3500K–4000K when you’re working at the table.
Keep brightness flexible: 800–1100 lumens per bulb works for most pendants; add more only if your room is dark.
Trend-forward and practical, smart bulbs let you preset scenes—Work, Dinner, Nightcap—and adjust color temperature from your phone without swapping bulbs.
Choose the Right Rug Size Under a Dining Table
Although rug size feels like a small detail, it sets the tone for how comfortable—and polished—your dining area functions day to day. Choose a rug that extends at least 24 inches beyond the table on all sides, so chairs stay on the rug even when pulled out.
For tight spaces, prioritize the pull-back sides and go slightly longer than wide.
Pair the scale with your Rug pattern: subtle stripes or low-contrast geometrics keep a small room feeling open, while bold motifs anchor large layouts.
Match performance with Rug material that suits your lifestyle and climate; flatweaves and low-pile styles feel current and keep chair legs gliding smoothly.
Center the rug under the table, then align it with nearby lighting for a balanced look.
Use Dining Materials That Wipe Clean Fast
If your dining area does double duty for weeknight meals, crafts, and quick work sessions, choose surfaces you can wipe clean in seconds. Go for sealed wood, quartz, or laminate tops with tight seams so crumbs don’t lodge. Keep a microfiber cloth and gentle spray in a nearby drawer, and you’ll reset the table between tasks fast.
For seating, pick faux leather or performance upholstery; stain resistant fabrics handle sauce splatters and sticky fingers without panic. Add washable slipcovers if you like a softer look but need easy upkeep.
On the tabletop, use Non slip table mats to prevent sliding plates and to catch drips before they hit the finish. Finish with a wipeable tray for salt, napkins, and markers, so clutter stays contained.
Pick 3 Dining Colors That Won’t Date Fast
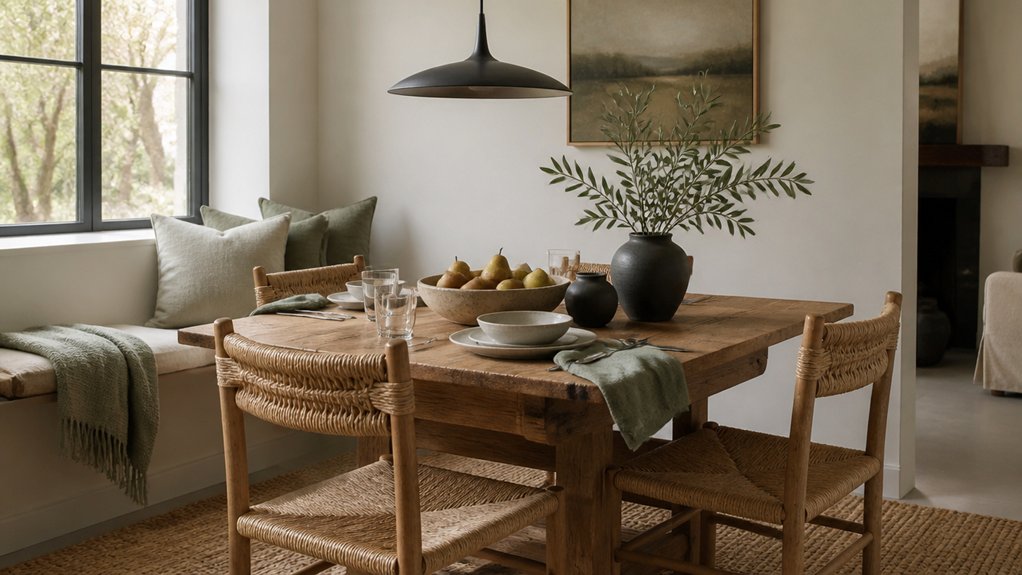
Easy-clean surfaces keep your dining area ready for anything, but color does just as much heavy lifting for everyday calm. For Color longevity, stick to three anchors that play well with changing decor and lighting.
First, warm off-white (ivory or bone) gives you a bright baseline without the starkness that can feel clinical.
Second, a soft greige or mushroom neutral adds depth, hides scuffs, and pairs with both cool metals and warm woods.
Third, muted blue-green (sage or dusty teal) reads fresh yet grounded, offering Trend resistant hues that won’t scream a specific decade.
Use the lightest shade on larger planes, the mid-tone on upholstery or rugs, and the accent on art or table linens for easy, flexible updates.
Add Dining Window Treatments for Privacy and Light
Because your dining area needs to feel open without putting you on display, the right window treatments should filter daylight, cut glare, and add privacy on demand.
Start with layered Privacy solutions: a light-diffusing sheer for daytime plus a lined drape or woven shade for evenings.
Choose solar shades (3–5% openness) to keep views while reducing heat and screen glare; pair them with pinch-pleat panels for a tailored, trend-forward look.
Mount rods 4–6 inches above the frame and extend them past the sides so fabric stacks off glass and your windows read larger.
In small spaces, use inside-mount Roman shades to stay clean.
If street-facing, try top-down/bottom-up shades so you can let light in without exposing the table.
Add Storage That Fits Your Dining Area (No Bulk)
While a dining area should feel airy, you still need storage that keeps daily essentials close without adding visual weight. Choose pieces that sit low and slim: a narrow console, a floating ledge, or compact shelving that tucks into an unused corner.
Prioritize closed fronts to reduce clutter, and look for Hidden storage like benches with lift-up seats or a sideboard with drawers sized for napkins, candles, and serving tools.
Keep clearances in mind—leave at least 36 inches for walkways—so doors and drawers open without bumping chairs.
Match finishes to your table or trim for a built-in look, and use baskets or dividers inside so everything stays easy to grab.
If you rent, try wall-mounted rails or modular cubes that can move.
Create a Centerpiece That Stays Put
Even if your dining table doubles as a homework station and a drop zone, you can anchor it with a centerpiece that looks intentional and won’t migrate every time someone sits down. Start with a low, weighty tray in stone, wood, or powder-coated metal; it corrals clutter and reads modern. Add felt pads or museum gel under the tray so it grips the surface without scratching. Keep height under 10 inches to preserve sightlines and daily usability.
Choose one “hero” item, like a matte vase or lidded jar, then layer two to three decorative accents: a small candle, match striker, or seasonal stem. For easy centerpiece maintenance, stick to wipeable materials and swap only one element monthly so it stays fresh, not fussy.
Make Your Dining Area Hosting-Ready (Extra Seats, Flex Space)
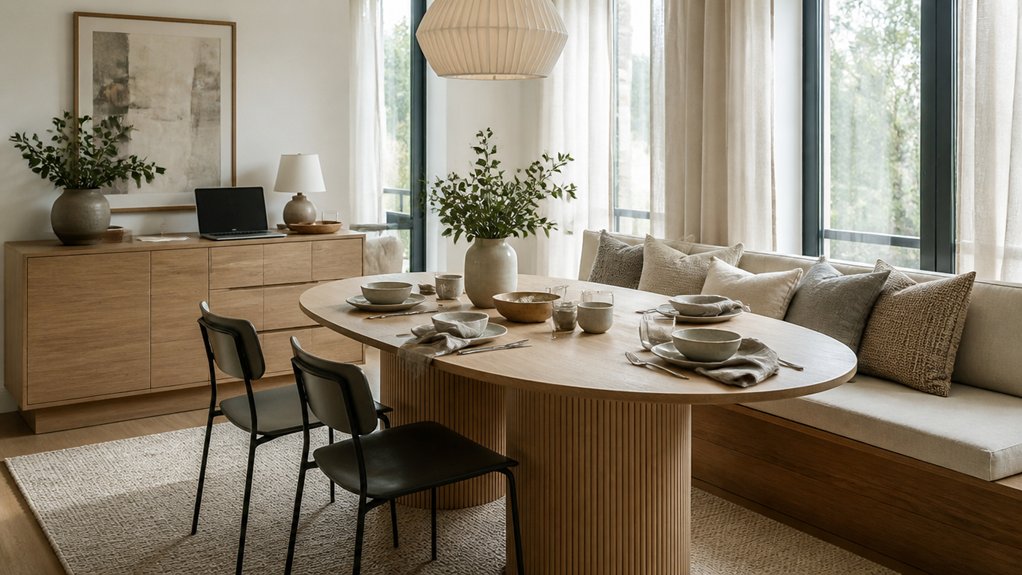
If you want your dining area to shift from weeknight workhorse to weekend host zone in minutes, plan for extra seating and flexible landing space before you need it. Stash two slim folding chairs in a nearby closet, or use a bench that tucks fully under the table to free circulation when it’s just you. Keep one lightweight accent stool that can float between dining and living for extra seating without visual bulk.
Build flexible zones with a narrow console or bar cart along one wall: it becomes a buffet, drink station, or dessert drop while keeping the tabletop clear. Choose nesting side tables to expand serving space, then stack away.
If you’re tight on square footage, add wall hooks for chair storage and a tray for pass-around apps.
Conclusion
You’ve now styled your dining area like a well-tuned toolkit—everything has a purpose, and nothing gets in the way. Stick to your daily checklist, protect clear walkways, and solve tight or awkward layouts with the right table shape and size. Layer window treatments for privacy and balanced daylight, add slim storage that won’t crowd the room, and choose a stable centerpiece. Keep extra seating and flex space ready, so hosting feels effortless.