

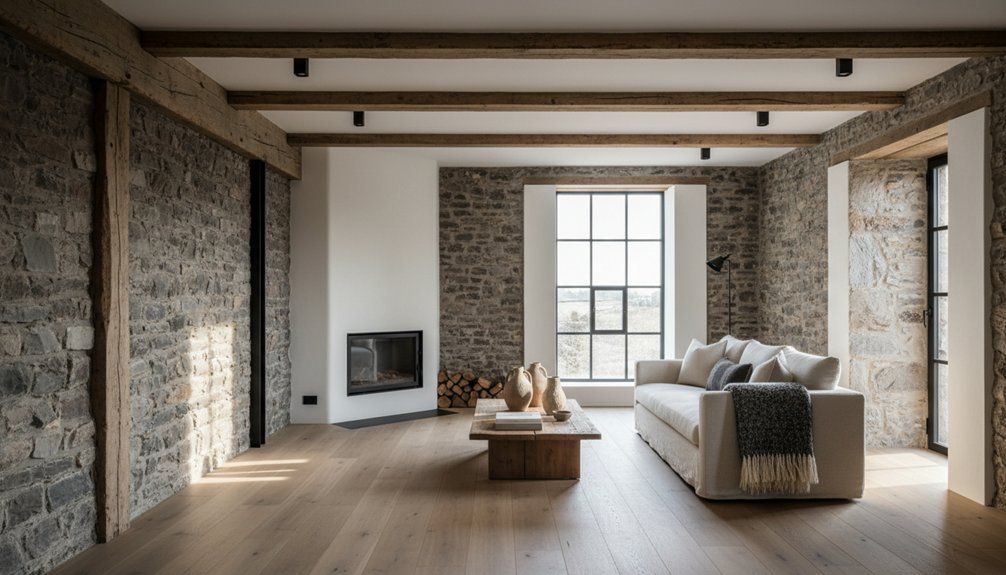
Renovating a stone cottage into a warm modern retreat, need not be too much of a project, if you plan correctly. Start by commissioning a measured survey and damp report, then budget for lime repointing, drainage, roof repairs, and services before cosmetic work. Fix leaks, lower high ground levels, and remove cement pointing so stone can breathe. Insulate with vapor-open materials like wood fiber or hemp-lime behind lime plaster, and keep ventilation steady with humidity-controlled extracts or MVHR. Restore timber sashes and doors with proper weatherstripping, then add low-temperature heating for even comfort. Keep going to see how each choice fits your cottage.
Key Takeaways
- Start with a measured survey, condition report, and 15–20% contingency to prioritize structural, damp, drainage, roof, and services over cosmetics.
- Fix damp at the source—gutters, downpipes, ground levels—then repoint in lime mortar and avoid cement, sealers, and impermeable paints.
- Add warmth using breathable insulation (wood fiber, cork, hemp-lime) with lime plaster, plus airtight detailing that doesn’t trap moisture.
- Upgrade windows and doors sensitively: repair originals or fit timber/steel double glazing to existing proportions, with discreet draughtproofing and thresholds.
- Create modern comfort with steady low-temperature heating, good ventilation (humidity-controlled extracts or MVHR), and vapor-open finishes like limewash and hardwax oils.
Plan Your Stone Cottage Renovation: Survey, Budget, Rules
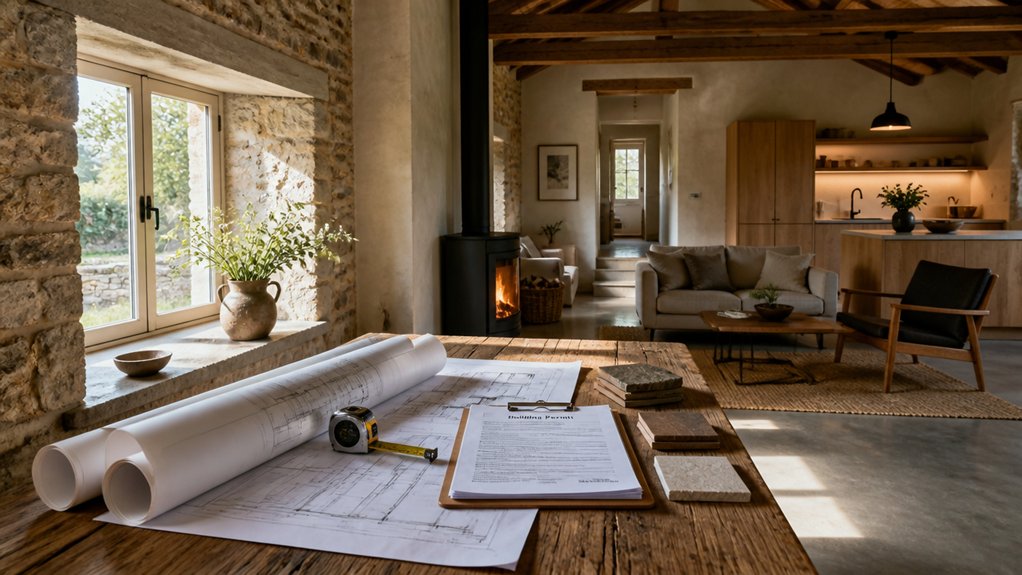
Before you pick finishes or knock through walls, start by treating the cottage like an artifact: commission a full measured survey and condition report that maps wall thicknesses, out-of-plumb areas, damp paths, and any movement in the stonework.
Then build your budget around what that survey reveals—masonry repairs, lime repointing, drainage, roof structure, and services often cost more than the “pretty” upgrades.
Next, confirm listing status, conservation-area constraints, and local planning triggers, then book a pre-application meeting with the authority so you’ll know what drawings, statements, and inspections you must fund.
Write a scope that specifies breathable materials, repair-first methods, and salvage targets for stone, slate, and timber, aligning with Historical preservation.
Lock your color palette selection to existing stone tones and daylight.
Add 15–20% contingency.
Stop Damp First: Assess and Repair Stone Walls
With your survey, scope, and permissions lined up, tackle damp next—because wet stone, salts, and trapped moisture will undo plaster, joinery, and finishes fast.
Map symptoms: tide marks, powdering, blistered paint, and musty corners. Check gutters, downpipes, ground levels, and splashback; fix leaks before you touch the walls.
Inspect external pointing: if it’s cement-hard, it can drive moisture inward—rake out carefully and repoint with compatible lime.
Open up suspect areas to read the build-up, then brush off efflorescence dry and let masonry breathe.
For Stone preservation, keep original stones, match mortar, and avoid waterproof sealers.
Where you find bulging or voided cores, plan Wall reinforcement: pin loose stones, grout with lime, and rebuild unstable sections with like-for-like masonry.
Insulate Stone Cottage Walls Without Trapping Moisture
Once you’ve stopped the damp at its source, you can insulate stone walls with breathable materials—like wood fiber, cork, hemp-lime, or mineral wool paired with lime plaster—so the masonry can still dry to the inside.
You’ll keep moisture moving in the right direction by managing vapor control with the correct membranes and airtight detailing, not by sealing the wall shut.
You’ll also plan for steady ventilation (especially in kitchens and baths) so indoor humidity stays low and condensation doesn’t build behind your insulation.
Breathable Insulation Options
Although thick stone walls look rugged, they often manage moisture by slowly absorbing and releasing it, so your insulation choice must keep that drying path open rather than sealing it shut.
Choose vapor-open systems that pair compatible capillary materials with lime-based plasters.
Wood fiber boards suit uneven masonry, buffer humidity, and add strong Acoustic performance, especially when you add resilient battens.
Hemp-lime or hemp batts bring Eco friendly materials into the build, resist settling, and work well behind breathable finishes.
Sheep’s wool fits irregular bays, tolerates intermittent damp, and improves sound absorption without plastic facings.
For tighter spaces, use calcium silicate or aerated lime-silicate boards; they’re mineral, noncombustible, and accept lime skim coats.
Avoid foil facers, closed-cell foams, and cement renders that block inward drying.
Moisture Control And Ventilation
Breathable insulation only works as intended if you also manage where the cottage’s moisture goes and how fast it can leave. Start by reading the building: check damp courses, gutters, and ground levels so rain and splashback don’t load the walls. Keep lime plaster and limewash vapour-open, and avoid vinyl paints or cement pointing that locks moisture in.
Then control indoor moisture. Fit extract fans in kitchen and bath, ducted outdoors, and choose a low-sone unit you’ll actually run. Add humidity sensors to trigger boost mode before condensation forms on cold stone. Maintain steady background air circulation with trickle vents, undercut doors, or a small MVHR sized for low airflow.
Finally, leave service cavities and avoid foil-faced boards so the wall can buffer moisture safely year-round.
Upgrade Stone Cottage Windows and Doors (Without Losing Charm)
When you replace leaky sash windows or a warped cottage door, you’re not just boosting comfort—you’re rewriting the façade, so every choice has to respect the stonework’s scale, depth, and texture. Measure reveals carefully and keep proportions: slim muntins, true divided lights, and deep-set frames preserve shadow lines.
Choose timber or steel with thermally broken profiles, and specify double glazing that fits existing rebates without fattening sightlines. Restore where you can—splice rotten sills, ease pulleys, reglaze with linseed putty—so Traditional craftsmanship stays visible.
For doors, pick solid wood, tight weatherstripping, and a discreet threshold; retain original ironmongery or match it in hand-forged finishes. Add Rustic accents with waxed brass or blackened handles, not bulky trims. Seal with lime-compatible mastics.
Open Up a Stone Cottage Layout for Light and Flow
Before you knock through a wall to chase an “open plan” feel, map how the cottage actually carries load, holds heat, and handles moisture so you can steal light and improve circulation without weakening the stone shell.
Work with a structural engineer to identify spine walls, chimney masses, and shallow lintels that can’t be casually altered. Instead of full removal, carve wider cased openings with reclaimed timber or slim steel lintels, and keep reveals deep so the masonry reads thick and original.
Borrow daylight by adding internal glazing above door heads, or fitting a glazed screen between kitchen and hall.
Run sightlines to key windows, then place Modern lighting where beams and niches need lift.
Let Rustic decor stay grounded: keep partitions low, storage built-in, thresholds aligned.
Pick Heating and Finishes That Suit Stone Masonry
Even if you’re aiming for crisp modern comfort, you’ll get the best results by treating stone walls like a moisture-buffering system and choosing heating and finishes that won’t trap damp.
Start with heating system options that deliver gentle, even warmth: low-temperature underfloor loops over insulated slabs, slim radiators, or air-to-water heat pumps set to steady output, not spikes.
Add controlled ventilation and humidity monitoring so the masonry can dry to the inside without salts blooming.
For finish material choices, keep the build breathable. Use lime plaster or limewash on interior stone, and avoid cement skim coats, vinyl paints, and foil-backed insulation that lock moisture.
Where you need insulation, pick wood fiber or calcium silicate boards with vapor-open adhesives.
Seal floors with hardwax oil, not impermeable film finishes.
Conclusion
When you renovate your stone cottage, you balance comfort with stewardship. Start with a careful survey, then budget for lime mortar repairs and drainage so damp can’t linger. Add breathable insulation, and choose timber windows and well-fitted doors that keep profiles and glazing bars intact. Open the plan selectively to pull daylight through thick walls. Finish with stone-friendly heating, lime plasters, and natural paints. Remember: measure twice, cut once.