

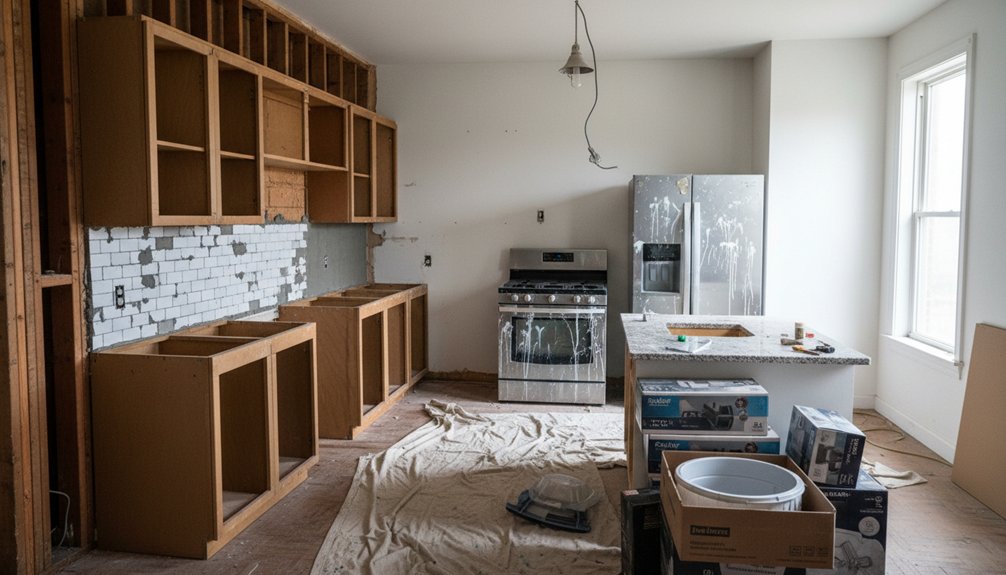
You’ll get burned when you start without a locked end goal, a permit-ready scope, and verified site measurements. If you skip laser checks for level, plumb, and service locations, you’ll pay for rework after demolition. If you budget without a 10–15% contingency, you’ll cut critical safety upgrades. Don’t hire unvetted contractors or ignore inspections. Once work starts, avoid layout changes and high-maintenance finishes—more pitfalls are ahead.
Key Takeaways
- Starting without clear, measurable end goals leads to unsafe midstream changes, rework, and ballooning costs.
- Skipping detailed scope documentation creates quote mismatches, missed inclusions, and constant site confusion.
- Ignoring permit requirements and inspections risks failed approvals, expensive tear-outs, and code or safety violations.
- Relying on assumptions instead of accurate measurements causes fit issues, delays, and compromises on quality and safety.
- Underbudgeting and avoiding formal change orders invites scope creep, schedule breakdowns, and cutting corners on critical upgrades.
Renovation Mistakes: Not Defining the End Goal

Before you swing a hammer or sign a contract, define the renovation’s end goal in measurable terms—function, layout, materials, performance targets, and budget ceiling—because vague intentions (“open it up,” “modernize”) drive unsafe midstream changes and costly rework.
Translate goals into specs: required clearances, load expectations, moisture control, HVAC capacity, lighting levels, and code-triggered upgrades. Lock a scope that states what stays, what’s demolished, and what’s new, so trades don’t improvise structural cuts or overload circuits.
Use Design trends selectively; don’t let a look dictate undersized spans, slippery flooring, or unvented enclosures. Specify material durability with rated products, warranties, and maintenance plans, especially for wet areas and high-traffic zones.
You’ll reduce change orders, delays, and safety risks.
Renovation Mistakes: Skipping Measurements and Site Checks
Once you’ve locked the scope and performance targets, the next common failure is treating the house like it matches the drawings or the showroom specs. You can’t assume walls are plumb, floors are level, or openings are square. Verify measurement accuracy: laser-check room dimensions, diagonals, and ceiling heights; confirm stud spacing, joist direction, and service locations before ordering cabinetry, doors, or tiles.
On site, walk the access route and staging areas, and document hazards. Prioritize site safety by identifying asbestos risk zones, live electrical circuits, load-bearing elements, and fall edges. Photograph and mark shutoffs, temporary supports, and exclusion zones.
If you skip these checks, you’ll force rework, compromise clearances, and create preventable injuries. Validate tolerances early, then build to verified conditions.
Renovation Mistakes: Budgeting Without a 15% Buffer
Even if your scope and quotes look airtight, the moment you open walls you’ll trigger variable costs—hidden water damage, out-of-plumb framing, code-driven upgrades, disposal fees, and schedule overruns that inflate labor.
If you don’t carry a 15% contingency, you’ll cut corners under pressure: you’ll defer licensed electrical work, skip ventilation, or accept subpar repairs that compromise fire safety, moisture control, and structural integrity.
Treat the buffer as locked funds, released only after you document the cause and approve the fix. Build it into Budget planning from day one, and track it separately from allowances and taxes.
During material sourcing, expect lead-time changes and price volatility; pre-verify alternates and freight to avoid paying rush premiums.
Renovation Mistakes: Vague Scope (No Inclusions List)
If you don’t issue a detailed inclusions checklist, your scope stays vague and your quote won’t match what you actually expect on site.
You’ll assume finishes are included (tile, fixtures, trim, paint systems), but the contractor may price only the minimum, which can trigger rushed substitutions and compliance risks.
When the gaps surface, you’ll face change orders that add cost, extend the schedule, and increase the chance of unsafe rework.
Missing Inclusions Checklist
Although your drawings and mood boards might look complete, you’re exposed to cost blowouts and delays the moment you start without a written inclusions checklist that spells out exactly what the builder must supply and install.
Missing inclusions turn into variations: fees, longer lead times, and rushed substitutions that can compromise compliance.
Write your checklist like a scope matrix. List every room and element, then specify supply, install, make-good, and disposal responsibilities.
Include quantities, model numbers where known, and connection points for electrical, plumbing, HVAC, and gas.
Call out temporary works, site protection, asbestos testing, access scaffolding, and certifications (waterproofing, electrical, pressure tests).
Add inspections, permits, and who books them.
Track checklist omissions with version control and issue it with the contract so the builder can price, program, and sequence safely.
Assumptions About Finishes
When you assume the builder knows what “standard finishes” means, you’ve already created a scope gap that turns into variations, rushed product swaps, and compliance risks.
You need every finish specified: paint system, sheen, number of coats, wet-area waterproofing membrane type, tile grade, grout class, slip rating, and sealants. Call out product codes, colours, edge profiles, and junction details so the installer can’t improvise.
Document performance requirements that protect you: fire and smoke ratings where required, VOC limits, moisture resistance, and compatible substrates.
Confirm material durability with wear-layer thickness, hardness, and cleaning tolerances, especially on floors and benchtops.
Lock in aesthetic consistency by aligning batch numbers, tile calibres, timber species, and gloss levels across rooms.
Include installation standards and curing times to prevent failures.
Change Orders And Costs
Finish schedules stop installers from improvising, but they won’t stop the budget from bleeding if your scope doesn’t include a clear inclusions list. Without it, every “assumed” item becomes a change order: trim profiles, hardware grades, waterproofing membranes, even disposal fees. Each revision triggers re-quoting, schedule impacts, and sometimes rework that can compromise safety—like opening finished walls to add missing fire blocking or GFCI protection.
You can’t manage what you didn’t define.
Lock down allowances with model numbers, quantities, lead times, and installation standards. Tie Design innovation to explicit specs so upgrades don’t appear midstream as extras. Document material sourcing responsibilities: who orders, who receives, who verifies compliance (VOC limits, slip ratings, UL listings). Require written pricing before work proceeds.
Renovation Mistakes: Hiring a Contractor Without Vetting
Before you sign anything, understand that hiring a contractor without vetting can turn a straightforward renovation into a safety and compliance problem. Do Contractor vetting like a risk assessment: confirm licensing, trade certifications, and active insurance; verify permit history; and check for safety citations or unresolved claims.
Ask for three recent, similar projects and call references about schedule control, dust containment, and jobsite housekeeping. Inspect at least one finished site to spot uneven tile, improper flashing, or missing GFCI/AFCI protection.
Require a clear supervisor-of-record and confirm subcontractor qualifications. Pair this with End goal clarification: define performance requirements, code-driven upgrades, and tolerances so the contractor can price and sequence work safely.
If answers stay vague, you’re buying uncertainty, not expertise.
Renovation Mistakes: No Written Contract or Payment Terms

If you start work without a written contract, you’re accepting uncontrolled scope, cost, and safety risk.
You need a contract that defines the scope in measurable terms and sets a clear payment schedule tied to verified milestones, not vague dates.
When conditions change, you should require written change orders before anyone proceeds, so you don’t authorize unreviewed work or surprise charges.
Contract Scope Defined
While a verbal “we’ll figure it out” feels flexible on day one, it turns into a liability the moment the scope shifts or money changes hands. Lock down the contract scope in writing: drawings, spec sheets, fixture allowances, demolition limits, disposal, protection of existing finishes, and who pulls permits.
Define inclusions and exclusions (painting, patching, electrical upgrades, structural repairs) so you don’t inherit unsafe, code-violating gaps. Require referenced standards: local code, manufacturer installation instructions, and required inspections.
Set a change-order process that documents impacts to materials, access, and sequencing. Tie deliverables to a project timeline with milestones for rough-in, inspections, and close-out.
You’ll reduce rework, prevent stop-work orders, and keep trades coordinated safely.
Clear Payment Schedule
One unclear payment schedule can derail an otherwise solid renovation by incentivizing rushed work and sparking disputes mid-stream. You should set Payment schedules that tie draws to verified milestones, not calendar dates. Define deposit limits, inspection checkpoints, and retainage so you don’t pay ahead of installed, code-compliant work.
Require lien waivers with each draw and specify who pays permit fees, dumpsters, and utility hookups to prevent surprise invoices. For safety, hold payment until rough-ins pass inspection and critical items—GFCI/AFCI protection, venting, gas pressure tests, and waterproofing—are documented.
Your financial planning should also include contingency cash for delays, plus clear due dates, accepted payment methods, and late-fee terms. Put it in writing, signed by both parties.
Change Orders In Writing
A milestone-based payment schedule only works when the scope stays locked, so you also need every change order in writing before anyone picks up a tool. When you tweak layouts, chase Design trends, or swap finishes, you’re changing labor, lead times, permits, and inspection requirements.
A written change order should list the revised scope, drawings, materials, unit costs, added days, and any safety controls (dust containment, shutoffs, temporary supports). It must also state how the change affects the payment schedule and retainage. Don’t approve “we’ll figure it out later”; that invites disputes, rushed work, and code misses.
If you substitute products, document Material durability ratings, manufacturer specs, and installation methods so warranties stay valid. Sign, date, and file every revision before work continues.
Renovation Mistakes: Missing Permits and Required Inspections
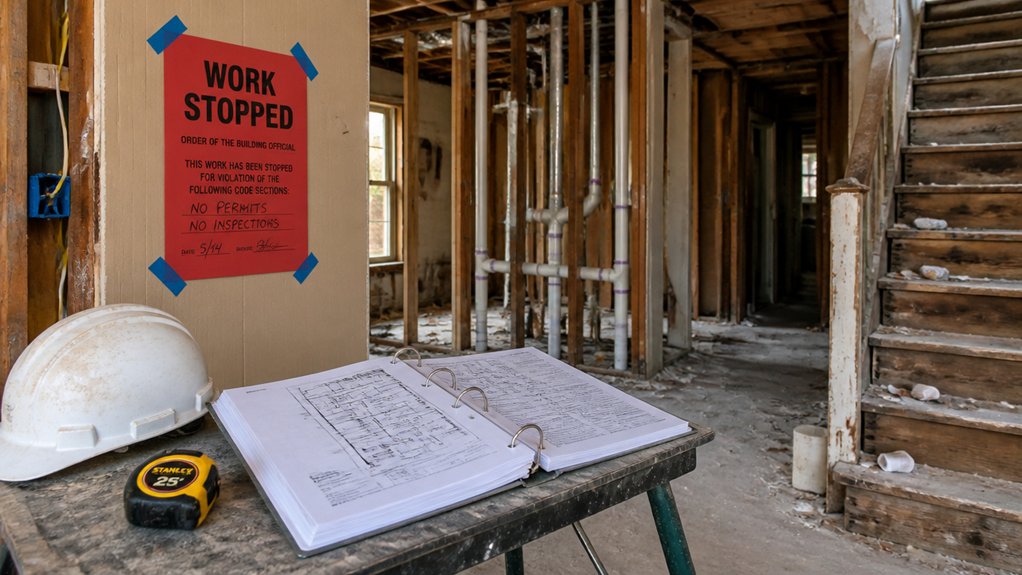
Before you swing a hammer or call in a contractor, verify whether your project requires permits and scheduled inspections, because skipping them can create unsafe conditions and expensive rework. Check local permit requirements for structural changes, electrical circuits, plumbing relocations, HVAC modifications, window egress, and fire-rated assemblies. If you ignore them, you may void insurance, fail appraisal, or face stop-work orders and fines.
Plan the inspection process into your schedule: rough-in approvals before insulation or drywall, and final sign-offs before occupancy. Keep approved drawings on site, post the permit, and document material specs and load calculations. Don’t let anyone “cover it up” before an inspector sees it.
When in doubt, call the building department; you’ll get clear direction fast.
Renovation Mistakes: Changing Plans After Work Starts
If you change plans after work starts, you trigger scope creep that disrupts sequencing, extends site exposure, and increases safety risks from repeated mobilizations.
You’ll pay for rework, wasted materials, and additional inspections, and your budget can blow out fast when trades have to undo and redo critical assemblies.
You also create change orders that must be documented and priced, and if you skip that paper trail, you invite disputes over cost, schedule, and liability.
Scope Creep And Delays
Once demolition starts, every “small tweak” you approve can ripple through the schedule and budget, turning a controlled renovation into scope creep. If you chase new design inspiration midstream, you’ll force resequencing: framing pauses while electrical and plumbing layouts get rechecked, then inspections may need rescheduling.
Late material sourcing changes can also stall critical-path items like windows, waterproofing membranes, and cabinets, leaving trades idle and increasing site risk. You can prevent delays by locking drawings and specifications before mobilization, running all changes through a single decision log, and setting cut-off dates for selections.
Require updated RFIs, revised permits when needed, and written safety plans for any new penetrations or structural work. Hold weekly coordination meetings to confirm lead times and access controls.
Budget Blowouts From Rework
How do budgets explode after you’ve already started building? You trigger rework: tearing out fresh drywall to move plumbing, re-routing wiring after cabinets are set, or changing tile layouts after waterproofing cures. Each reversal doubles labor, burns materials, and interrupts critical-path sequencing, creating unexpected delays that ripple through inspections, deliveries, and trade availability.
You also increase safety risk when crews rush to “catch up,” working around live circuits, open trenches, and partially supported walls. Prevent this by locking layouts, fixture specs, and rough‑in locations before demolition, then verifying dimensions on site with a marked plan.
Hold short weekly check-ins and document decisions; tight contractor communication keeps field changes from turning into expensive do‑overs. Build a 10–15% contingency anyway for hidden conditions.
Change Orders And Disputes
Because a renovation runs on a tightly sequenced scope, changing plans after work starts almost always triggers formal change orders—and that’s where disputes ignite. Every revision affects labor, inspections, and lead times, so you can’t treat it like a quick swap.
If you move plumbing after rough-in, you’ll reopen walls, reroute vents, and risk code violations or hidden leaks. Protect yourself by requiring written change orders that state scope, unit pricing, schedule impact, and who owns permitting.
Keep Design consistency to avoid cascading conflicts between framing, electrical, and finish tolerances. Confirm Material sourcing before you approve: substitutions can alter fire ratings, slip resistance, or load limits.
Hold a short jobsite meeting, update drawings, and lock decisions before crews remobilize.
Renovation Mistakes: Layout Choices That Hurt Daily Flow
Even if you pick quality finishes, a flawed layout will slow you down every day and can create real safety hazards in tight zones. Start with measured clearances: keep primary walkways at least 36 inches, and don’t pinch kitchen work aisles below 42 inches (48 inches for two cooks).
Align door swings so they don’t collide or block egress, and avoid placing appliances where open doors cross traffic paths. Plan furniture arrangement off actual room dimensions, not showroom drawings, so you don’t trap outlets, vents, or emergency routes.
Coordinate lighting placement with circulation: put switches at every entry, light stairs and thresholds evenly, and avoid fixtures that cast glare into sightlines. If you ignore flow, you’ll create daily bottlenecks and trip points.
Renovation Mistakes: Choosing Finishes You Can’t Maintain
If you choose finishes for the photo instead of the cleaning cycle, you’ll end up with surfaces that stain, chip, or turn into slip hazards under normal use. Choosing finishes means matching porosity, hardness, and coefficient of friction to your household’s traffic and cleaners.
Polished marble etches with acids; matte black fixtures show mineral spotting; soft pine dents; high-gloss cabinets telegraph fingerprints.
Make Maintenance considerations non-negotiable: verify stain resistance, abrasion class, and manufacturer-approved cleaning agents. Specify sealed grout, textured shower floors (DCOF ≥ 0.42), and edge protection on brittle tile.
In wet zones, avoid unsealed stone and slick large-format tile without proper slope. Ask for cut sheets, not showroom labels, and test samples with your detergent, sunscreen, and red wine before you buy.
Conclusion
Coincidentally, the same week you pick tile samples, you’ll also spot that hidden pipe and the unpermitted wiring that could’ve derailed your schedule. If you define your end goal, measure twice, and keep a 15% buffer, you’ll control risk instead of reacting to it. Lock an inclusions list, vet your contractor, pull permits, and pass inspections. Once work starts, freeze changes, protect flow, and choose finishes you can safely maintain.