

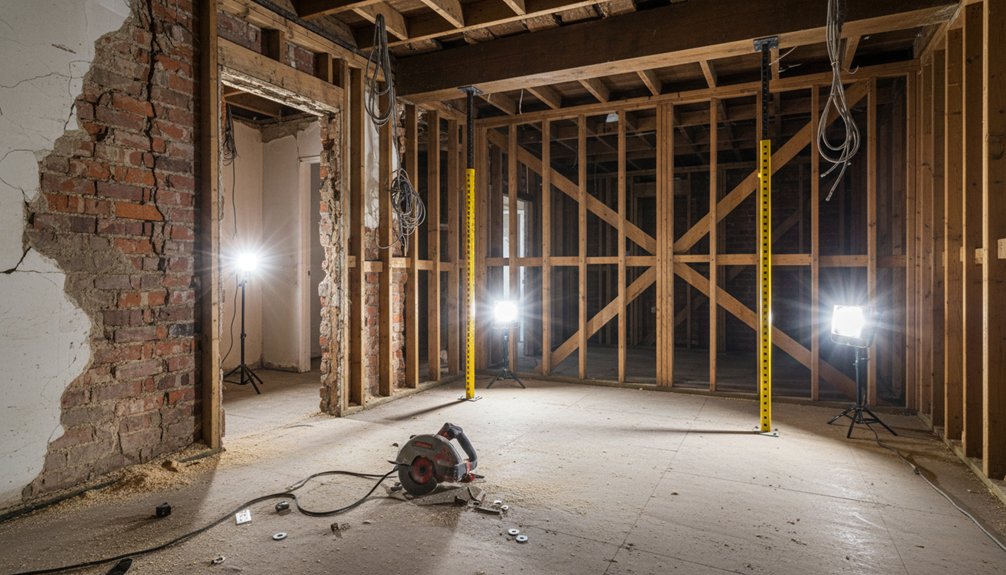
You shouldn’t DIY structural renovation the moment you change a load path, remove a load-bearing wall, replace beams/headers/columns, or modify foundations, footings, or shear walls. You can’t guess at spans, bearing, connectors, or shoring without risking deflection or collapse. Don’t DIY moving plumbing stacks or main lines, or electrical panel upgrades and whole-home rewires, since permits, inspections, and code-mandated materials apply. Keep going to see red flags and who to hire.
Key Takeaways
- Never DIY removing or altering load-bearing walls, beams, columns, or shear walls; mistakes can cause rapid deflection or partial collapse.
- Never DIY cutting, notching, or over-boring joists, rafters, trusses, or studs; it can violate code limits and weaken the structure.
- Never DIY foundation repairs, crack “fixes,” or underpinning; misdiagnosis or bad sequencing can worsen settlement and trigger structural failure.
- Never DIY roof or attic framing changes, including bracing removal; hidden load paths and lateral stability requirements make failures hard to predict.
- Never DIY major plumbing or electrical reroutes through framing; improper work risks leaks, sewer gas, fire, shock, and failed inspections.
Should You DIY This Structural Renovation at All?
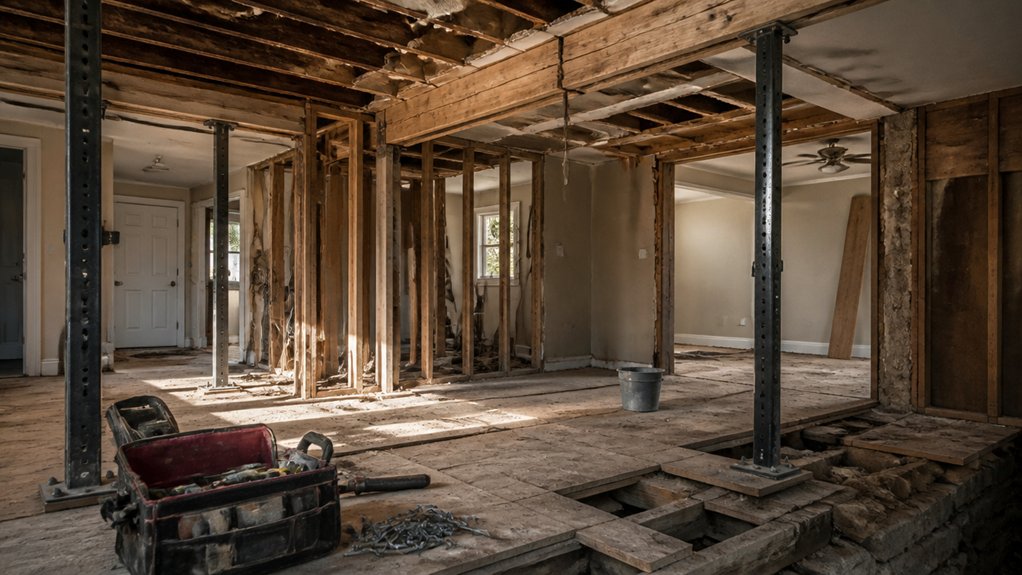
Before you pick up a sledgehammer or start cutting into framing, you need to decide whether the work belongs in the “licensed, engineered, and permitted” category, because structural changes carry life-safety and code-compliance consequences.
If the scope affects load paths, foundations, beams, columns, shear walls, or lateral bracing, you can’t treat it like DIY decor or simple painting projects. You’re altering elements governed by the building code, and the authority having jurisdiction may require sealed drawings, inspections, and special anchorage or connector schedules.
If you guess wrong, you risk progressive collapse, excessive deflection, cracked finishes, and compromised fireblocking. Also consider utility conflicts: cutting or drilling may violate plumbing, electrical, or HVAC clearance rules.
When permits apply, you’re responsible for documentation and verified compliance.
How to Tell If a Wall Is Load-Bearing
Although you can spot some load-bearing clues from layout and framing direction, you shouldn’t assume a wall is nonstructural unless you verify how it carries gravity and lateral loads down to the foundation.
Check the floor/ceiling framing: if joists or trusses bear on the wall or splice over it, it’s likely load-bearing.
Look for stacked alignment: walls that sit directly above beams, girders, posts, or foundation walls usually transfer loads.
In attics or basements, identify bearing points and spans; long joist runs often need intermediate support.
Confirm with plans, an engineer’s letter, or permitted revisions; codes require a continuous load path.
If you’re only adding decorative accents or aesthetic improvements, keep fasteners shallow and don’t notch or drill studs.
Behind-the-Wall Red Flags (Stop-Work Signs)
Once you’ve confirmed how a wall carries load, stop and reassess the moment you open it up and see conditions that don’t match what you expected.
If studs aren’t continuous, aren’t plumb, or show crushing at plates, you may have hidden point loads or a failed load path.
Water staining, moldy wall insulation, or powdery wood suggests chronic moisture that can invalidate fastener capacity.
Burned, notched, or over-bored members, especially near ends or midspan, can violate IRC limits and reduce bending strength.
If you find doubled members without proper bearing, loose hangers, missing nails, or spliced top plates, treat it as structural.
In the attic, mismatched ceiling framing, sagging joists, or shifted webs signal instability.
Stop work, document, and call a licensed pro.
Removing Load-Bearing Walls: Don’t DIY
Even if you’ve confirmed a wall is load-bearing, you shouldn’t remove it yourself because that single cut can interrupt the load path and trigger rapid deflection or partial collapse.
You can’t rely on “looks” to judge what’s carrying gravity, lateral, or uplift forces, especially where joists splice, trusses bear, or posts hide inside finishes. A Decorative wall may still act as a shear or braced-wall segment, and non structural drywall can conceal hold-downs, straps, blocking, or fire-resistance assemblies required by code.
If you cut studs without engineered shoring and a permitted plan, you can overstress adjacent members and crack finishes throughout the structure. You also risk violating egress, smoke separation, and electrical/mechanical clearances.
Hire a licensed pro and pull permits.
Replacing Beams, Headers, or Columns: Don’t DIY
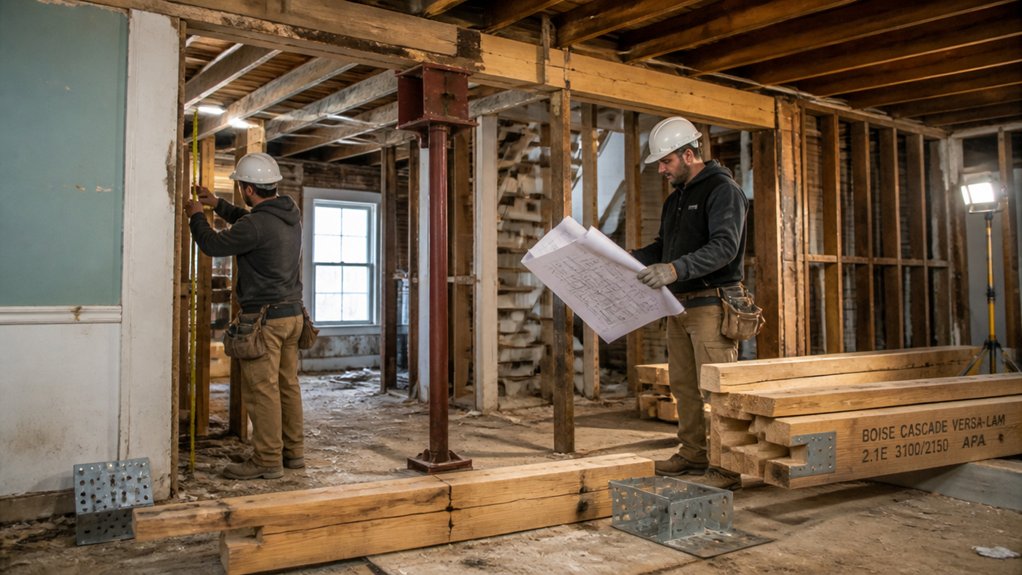
Cutting out a load-bearing wall often leads homeowners to “just swap in a bigger beam,” but replacing beams, headers, or columns isn’t a DIY upgrade. You must size members using span tables or engineered calculations, verify bearing conditions, and meet local code for deflection, fire protection, and connectors.
If you guess wrong, you’ll trigger sagging, cracked finishes, stuck doors, or progressive failure.
You also need a safe sequence: install temporary shoring, transfer loads gradually, and keep floors plumb while you remove the old member.
Material selection matters—LVL, glulam, steel, and built-up lumber behave differently and require specific fasteners, end bearings, and corrosion protection.
A permit and inspections typically apply, and an engineer’s stamp may be required.
Cutting Joists for Stairs, Ducts, or Drains: Don’t DIY
Although it looks like a simple notch or hole, modifying floor or ceiling joists for a stair opening, HVAC run, or plumbing drain can compromise the member’s bending and shear capacity and violate code limits on where and how you’re allowed to cut.
Joist cutting in the wrong zone can trigger cracking, bounce, drywall failure, and even progressive collapse under overload. For a stairwell, you must size and install headers and trimmers, verify bearing, and transfer loads into approved supports—not “double up” blindly.
For duct installation and drains, you can’t just drill oversize holes or notch the bottom chord; limits on diameter, edge distance, and midspan location matter. A licensed framer or engineer will design reinforcing, sistering, or rerouting so inspections pass.
Altering Roof Trusses or Rafters: Don’t DIY
If you cut, notch, or drill roof trusses or rafters, you can interrupt hidden load paths and push stresses into members and connections they weren’t designed to carry.
You’ll also likely trigger engineered design requirements, permits, and inspections under the building code, and unapproved field modifications can fail compliance.
Get it wrong and you risk progressive cracking, sagging, or a sudden roof collapse.
Hidden Load Path Risks
When you notch, drill, or remove members in a roof truss or rafter system, you can unknowingly break the engineered load path that carries dead, live, wind, and snow loads down to bearing walls and foundations.
Trusses act as triangulated assemblies; one altered web or chord can shift load distribution to joints and plates that weren’t designed for it.
You can’t see many failure points until they move. Hidden supports like gable bracing, collar ties, rafter ties, purlins, and strongbacks may look optional, yet they control thrust, uplift, and lateral drift.
If you cut for a skylight, HVAC run, or storage platform, you may create overstress, connector withdrawal, or progressive cracking. Symptoms include sagging ridges, ceiling splits, and doors that rack.
Code And Permit Violations
Those hidden load-path failures often start with an unpermitted cut or field “fix” to a truss or rafter. When you alter engineered framing, you’re no longer within the stamped design, and most building codes require permits, plan review, and an engineer’s repair detail.
Inspectors will look for manufacturer-approved plates, fastener schedules, and connector compatibility; improvised plywood gussets or random screws won’t pass.
You also create compliance problems for insulation, fireblocking, and mechanical penetrations routed through chords. Material selection matters: species, grade, moisture content, and approved hardware must match the specified repair.
If you skip permits, you risk failed inspections, insurance disputes, and resale disclosure issues. For DIY safety, don’t cut, notch, drill, or “sister” without engineered drawings and documented approval. Always.
Sudden Roof Collapse Danger
Although a truss or rafter can look like simple framing, it works as a calibrated load-path system. Even a small DIY cut, notch, hole, or “sister” can trigger a progressive failure that ends in sudden roof collapse.
Trusses rely on engineered web geometry and metal plate joints; you can’t alter them without stamped redesign and inspection. Rafters depend on span, species, spacing, bracing, and ridge support. Improper notching violates code limits and concentrates stresses at bearing points.
When you chase Roof ventilation or add attic insulation, you might remove lateral bracing, block baffles, or overload chords with stored materials. You also risk hidden deflection, cracked drywall, and irreversible settlement.
Hire a structural engineer and qualified framer; get permits, then verify as-built bracing and ventilation paths.
Foundation Cracks, Footings, and Underpinning: Don’t DIY
When you see foundation cracks, you can’t assume they’re cosmetic—you’ve got to identify the cause (settlement, hydrostatic pressure, expansive soils, or structural overload) before any repair meets code intent.
Footing repairs require engineered details, proper shoring, and controlled load transfer, because improper excavation or patching can trigger differential settlement and structural failure.
Underpinning is permit- and inspection-driven work with high collapse risk if sequencing and temporary supports aren’t engineered, so you shouldn’t attempt it without a licensed professional.
Diagnosing Foundation Crack Causes
Before you fill a foundation crack or start “leveling” a settling corner, you need a cause diagnosis—not a cosmetic patch—because the wrong fix can violate code intent and worsen structural distress. You should map crack patterns, measure widths, and note displacement, moisture staining, and seasonal movement.
Vertical hairlines often signal shrinkage; stair-step masonry cracks may indicate differential settlement; horizontal cracks can imply lateral soil pressure or inadequate drainage. You also need to verify loads, framing bearing points, and any recent grading or plumbing leaks.
Improper material selection for sealants or mortars can trap water, accelerate spalling, and hide active movement from inspection. Bad insulation techniques at rim joists can drive condensation and freeze-thaw damage near cracks.
If movement is ongoing, you must involve a licensed engineer.
Safe Footing Repair Methods
Once you’ve identified the crack mechanism and confirmed movement or load-path issues, you can’t treat the footing as a patch-and-paint problem—footing repair changes how the structure bears on soil and must meet code requirements for capacity, frost depth, bearing conditions, and drainage.
You start by controlling loads with temporary shoring, then excavate in short, sequenced sections to avoid undermining adjacent bearing.
You verify bearing soils, remove loose material, and rebuild grade with documented soil compaction to specified density.
You place engineered concrete with proper cover, dowels, and keyways to tie new work to sound concrete, maintaining continuous load transfer.
You install perimeter drainage, filter fabric, and free-draining backfill to reduce hydrostatic pressure that re-triggers movement.
You document elevations to confirm footing stability.
Underpinning Risks And Permits
Although underpinning can stop settlement and restore load paths, it’s one of the fastest ways to trigger a partial collapse if you excavate too much, sequence pits incorrectly, or miss weak bearing soils. You can’t “wing it” with ad hoc pit sizes or unshored trenches; you must maintain soil stability and continuous support while loads transfer.
Underpinning changes stress paths, and a small error can accelerate foundation settlement, crack masonry, and rack framing.
Most jurisdictions require engineered drawings, geotechnical input, and permits before you touch footings. Inspectors will look for excavation limits, dewatering plans, rebar schedules, concrete strength, and curing times.
If you skip approvals, you risk stop-work orders, insurance denials, and forced removal. Hire a licensed engineer and qualified underpinning crew.
Moving Plumbing Stacks or Main Lines: Don’t DIY
When you move a plumbing stack or main line, you’re changing the home’s core drainage and venting geometry, and small mistakes can snowball into code violations and costly failures. You can’t “eyeball” slope, trap-arm length, or vent tie-ins; the wrong pitch or fittings invite siphoned traps, sewer gas, and chronic clogs.
You’ll also risk overloading joists with new chases, drilling limits, and firestopping breaches. Permits and inspections typically require approved materials, cleanouts at code intervals, and proper supports to prevent settlement and noise.
Don’t chase Plumbing aesthetics by rerouting without an engineered plan; you’ll compromise access for future service. If you skip Pipe insulation, condensation can rot framing and freeze lines.
Hire a licensed plumber.
Electrical Panel Upgrades and Whole-Home Rewires: Don’t DIY
When you upgrade an electrical panel or rewire a whole home, you’re working on the service and branch circuits that must meet NEC requirements and your local AHJ’s permit and inspection rules.
If you get load calculations, breaker sizing, grounding/bonding, or conductor terminations wrong, you can create arc-fault conditions, overheating, and energized enclosures that trigger fires or lethal shock.
You can’t verify compliance or safety with guesswork, so you shouldn’t DIY this scope.
Code Compliance And Permits
Before you even touch an electrical panel or plan a whole-home rewire, you must account for permitting and code compliance, because these projects trigger strict requirements under the NEC and your local Authority Having Jurisdiction.
You’ll need Building permits before replacing service equipment, relocating a panel, increasing ampacity, or altering branch-circuit topology. Additionally, you must submit load calculations, riser diagrams, grounding/bonding details, and equipment specs.
Your work must match adopted NEC editions and local amendments for conductor sizing, overcurrent protection, AFCI/GFCI placement, working clearances, and service disconnect rules.
Inspection processes typically include rough-in, service, and final approvals; they also verify labeling, torque documentation, and utility coordination.
If you skip permits, you can face stop-work orders, failed inspections, forced rework, and resale or insurance complications later.
Fire And Shock Risks
Although a panel upgrade or whole-home rewire can look like “just swapping parts,” it exposes you to lethal shock and high-energy arc-flash conditions, and a single misstep can turn into a structure fire.
When you open service equipment, you can’t fully de-energize the utility side, so shock hazards remain even with the main breaker off.
If you undersize feeders, mis-torque lugs, nick insulation, or mix neutrals and grounds, you create loose connections and overheating—classic fire hazards inside walls and at terminations.
You also risk defeating required bonding, GFCI/AFCI protection, and proper breaker matching, which violates code and masks faults until they ignite.
Licensed electricians use permits, load calculations, torque specs, insulation testing, and labeling to verify safe operation.
Permits and Inspections for Structural Renovations
Even if your framing plan looks solid on paper, structural renovation work usually triggers permit and inspection requirements that you can’t sidestep without risking stop-work orders, failed resale disclosures, and insurance denials. Your local Permit process may require stamped drawings, load-path notes, and product approvals for beams, posts, anchors, and shear walls.
Submit accurate scope, calculations, and materials; if you “field-change” headers or fasteners, you can invalidate the permit set and restart review. Expect inspections at demolition, footing, framing, structural connectors, and final, plus specialty checks for lateral bracing and fireblocking.
Use an inspection checklist to verify fastener schedules, bearing lengths, hold-down torque, and nailing patterns before the inspector arrives. Missing one critical item can force invasive rework and delays.
Which Licensed Pro to Hire (Engineer vs. GC)
When your project alters a load path—like removing a bearing wall, resizing a header, or adding a point load—you need to match the license to the risk: a structural engineer designs and stamps the solution, while a general contractor (GC) executes it to the approved plans and coordinates trades.
Hire the engineer when you need calculations, beam sizing, connection details, foundation checks, or code-required sealed drawings for permits. You’ll also rely on them for field changes, unexpected rot, or undersized framing that demands revised loads.
Hire the GC to manage temporary shoring, sequencing, inspections, and subcontractors, and to keep work within the engineer’s specs.
Don’t let Decorative accents or aesthetic upgrades drive structural decisions; treat finishes as secondary to compliance and life-safety.
Conclusion
Before you swing a sledge, treat structural work like life-safety work. FEMA reports that over 60% of U.S. homes have been damaged by a natural disaster—meaning your framing may already be compromised, and a DIY mistake can trigger progressive collapse. If you can’t verify load paths, sizes, and connections to code, you can’t validate the fix. Pull permits, schedule inspections, and hire a structural engineer or licensed GC—you’re managing risk, not just renovations.