

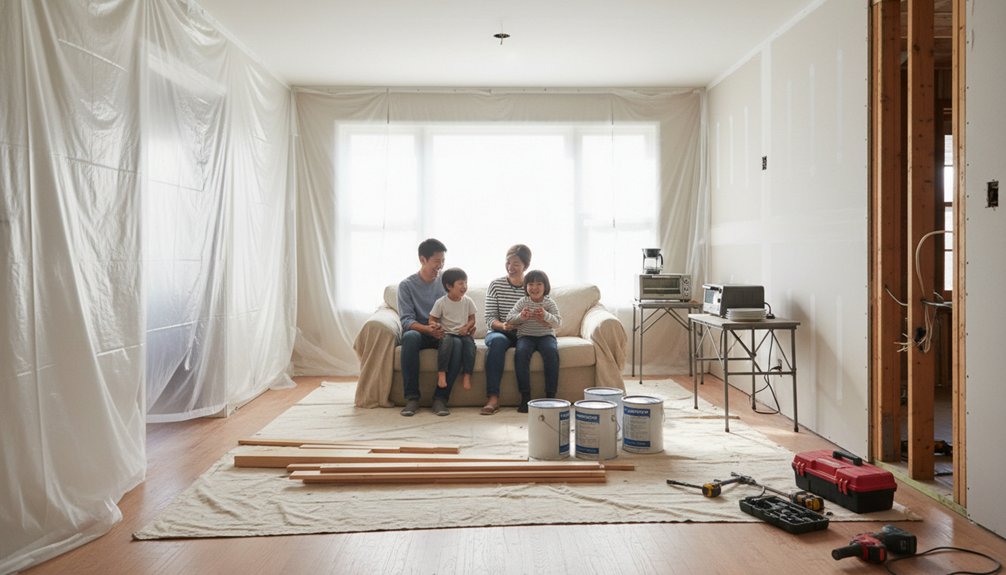
Renovate safely while living at home by phasing work room by room and protecting a “core zone” with one code-compliant bathroom, a sleeping area, and a basic kitchenette on GFCI outlets. Start with structural, plumbing, and electrical work, and don’t close walls until inspections pass. Use plastic dust barriers, seal HVAC registers, and run HEPA filtration daily. Budget 10–20% extra, set written work hours, and keep kids and pets out of no-go zones. Keep going to learn the full checklist.
Key Takeaways
- Phase work room-by-room, keeping a functional core zone with one bathroom, sleeping area, and basic kitchen always usable.
- Schedule structural, plumbing, and electrical first, and close walls only after required permits and inspections are complete.
- Control dust and hazards with sealed plastic barriers, HEPA air filtration, covered HVAC registers, and daily HEPA vacuuming and cleanup.
- Set clear house rules for work hours, shutoff notices, no-go zones for kids and pets, and daily egress path checks.
- Budget 10–20% contingency plus temporary living costs, utility spikes, and a code-safe mini-kitchen or short-term housing during heavy demo.
Decide If Living Through Renovation Is Feasible
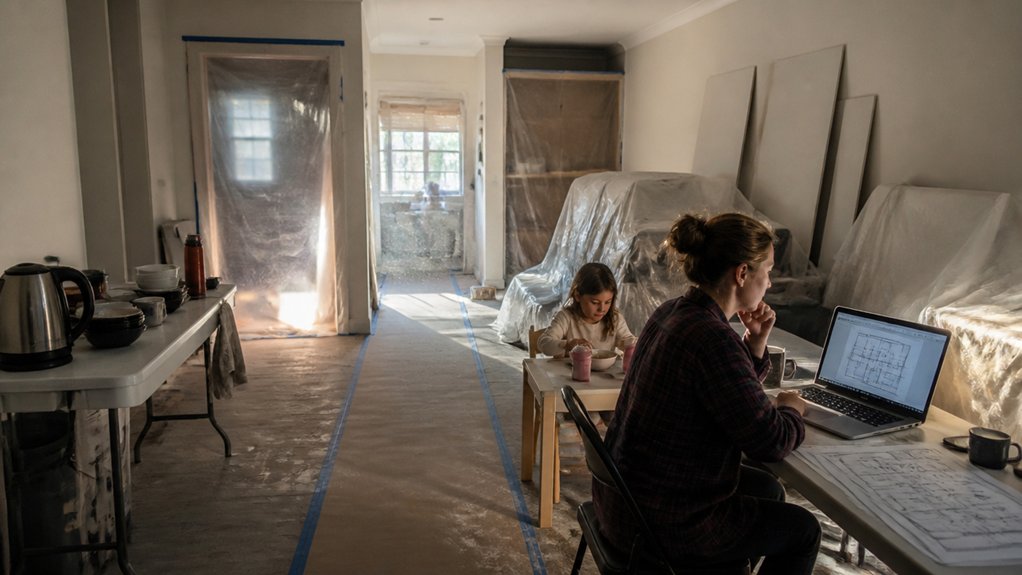
Before you commit to staying put, assess whether the renovation scope can meet basic safety and code requirements while you’re still occupying the home. Confirm you’ll maintain safe egress, working smoke/CO alarms, and at least one code-compliant bathroom and cooking area.
If your project affects structural elements, gas lines, or the main electrical panel, plan for temporary shutoffs and ask the contractor if occupancy is allowed under local inspections.
Next, weigh dust, lead, asbestos, and noise risks against your household’s needs. Budget for containment barriers, negative-air filtration, and daily cleanup.
Historical preservation can restrict demolition and require specialty trades, increasing duration and cost.
If exterior upgrades involve roofing, windows, or siding, verify weatherproofing so you don’t lose heat, cooling, or security.
If these controls don’t pencil out, relocate temporarily.
Map a Livable Renovation Schedule (Room by Room)
Once you’ve confirmed it’s safe to stay, map your renovation in room-sized phases so you always maintain a functional “core” zone—one bathroom, one sleeping area, and a basic cooking setup—while the rest of the house rotates offline.
Start with messy, permit-heavy work (structural, plumbing, electrical), then close walls only after rough inspections pass.
Sequence by systems: keep one bath operational while you gut the other; finish that bath to final inspection before switching.
Next, rotate bedrooms so you’ve always got a dust-free sleeping space.
Tackle the kitchen last or set a temporary kitchenette on a GFCI-protected circuit.
Use zip walls, negative air, and clear egress paths daily.
Log lead times and deliveries to avoid rework.
Coordinate interior decor choices early for design inspiration without changing scope.
Budget for Living Costs During Renovation
You’ll need a living-cost budget that covers temporary housing, extra meals out, and safe alternatives when a room is off-limits due to dust, fumes, or shutoffs.
Plan for utility spikes from heaters, fans, dehumidifiers, and extended lighting, and confirm any temporary hookups meet local code and permit requirements.
Add a contingency buffer (often 10–20%) so surprise repairs or schedule slips don’t force unsafe shortcuts or blow up your cash flow.
Temporary Housing And Meals
If your renovation will take a kitchen or bathroom out of service, build temporary housing and meal costs into the budget from day one. Price out a short-term rental, hotel, or staying with family, and include deposits, pet fees, and parking. Don’t sleep in areas under active demolition or where dust control isn’t in place.
Set up a code-safe “mini-kitchen” only where permitted: a GFCI-protected outlet, cleared combustibles, and a stable surface for an electric hot plate, microwave, and fridge. Plan meals around groceries you can store safely, plus a realistic takeout allowance.
Keep pathways clear for egress and protect interior decor with plastic walls and doormats. Use long term planning to schedule shutdowns in short, predictable blocks.
Utility Spikes And Contingencies
How much will your utilities jump once the tools, temporary heaters, dehumidifiers, and extra laundry kick in? Expect utility spikes and plan for them before work starts. Ask your GC which equipment runs 24/7, then add a buffer to your monthly electric, gas, and water budgets.
If you’re using temporary power, keep loads within panel limits, use GFCI-protected circuits in damp areas, and don’t run unvented heaters indoors. Track usage weekly so you can react fast—seal off work zones, close registers, and schedule high-draw tasks off-peak if your rate plan allows it.
Build contingency planning into cash flow: set aside 10–15% for overruns, plus a separate reserve for emergency shutoffs, permits, or repairs.
Phase Work to Keep Kitchen and Bath Usable
You’ll keep your household running if you phase the work so the kitchen only shuts down in short, planned windows and you always have a safe, code-compliant way to cook and wash up.
Sequence demolition, rough-ins, and inspections to restore essentials fast, and set up a temporary prep area that doesn’t overload circuits or create fire risks.
Protect your budget by limiting hotel and takeout costs, and keep one working bath online by scheduling plumbing and waterproofing so you never lose toilet and handwashing access.
Stagger Kitchen Shutdowns
While a full kitchen tear-out can feel faster, phasing the work keeps your sink, fridge, and at least one cooktop option available so you can live safely and avoid costly last-minute takeout.
Start with Kitchen design that maps temporary appliance locations, clear egress paths, and GFCI-protected countertop circuits.
Set up a “dirty zone” with poly sheeting, negative air, and covered returns to limit dust, and require daily debris removal.
Schedule demolition after new cabinets and fixtures arrive so you don’t pay for extended downtime.
During Material selection, choose in-stock, durable finishes and matching edge profiles to reduce rework.
Keep plumbing capped, gas lines shutoff-tagged, and permits posted.
Ask for rough-in inspections before closing walls.
Maintain One Working Bath
One functioning bathroom keeps your household sanitary, code-compliant, and out of emergency-hotel territory, so phase the work to preserve a toilet, a sink, and either a shower or a safe temporary alternative. Keep that bath last on the schedule, and if you’ve got only one, build a temporary plan before you demo.
Shut water off by fixture, not whole-house, and cap lines to prevent leaks and sewer gas. Choose stock Bathroom fixtures that match existing rough-ins to avoid pricey reframing. Stage plumbing upgrades in short windows: replace shutoff valves, then supply lines, then drains, and pressure-test before closing walls.
Use GFCI protection, a vented fan, and non-slip floor coverings. If the shower’s down, set up a listed portable unit or arrange gym access.
Set Up No-Work Zones for Daily Life
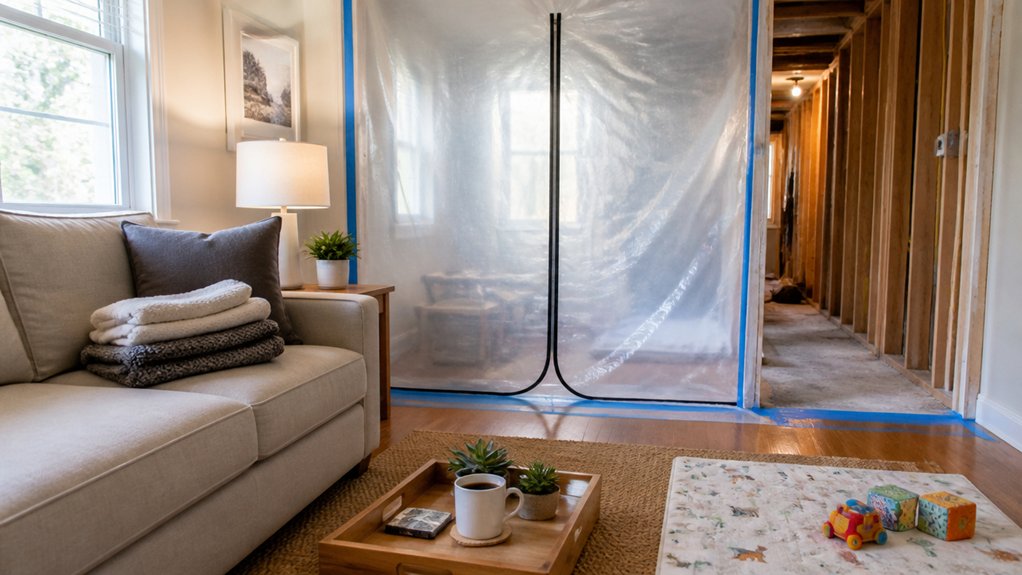
Even if the renovation schedule looks airtight, you’ll function better when you clearly separate “living space” from “work space.” Pick at least one no-work zone—typically a bedroom or a corner of the living room—and keep it off-limits to tools, materials, and dust-producing tasks. Post a simple sign and set a hard threshold at the doorway so everyone follows it.
Use a zipper dust barrier and painter’s tape to define boundaries without damaging finishes, and keep paths to exits and smoke/CO alarms unobstructed for code compliance. Run a HEPA air cleaner in the zone, and clean daily with a damp microfiber cloth to limit particles.
Choose washable rugs and slipcovers to protect interior decor. If you need a reset, step outside to handle outdoor landscaping.
Plan Safe Storage for Tools, Materials, Deliveries
Designate a lockable, out-of-the-way storage zone so tools and materials don’t block egress paths, trip you up, or invite theft.
Schedule deliveries for when you can receive them, then stage items on pallets or drop cloths to prevent damage and avoid costly reorders.
Store paints, solvents, and batteries in labeled, sealed containers away from heat and living areas, and follow local code for ventilation and disposal.
Designate Secure Storage Zones
Before demolition starts, set up two secure storage zones****—a locked “clean” area for boxed items and a contained “dirty” area for tools and materials—so you don’t trip over clutter or expose kids and pets to hazards.
Choose a room with a door for the clean zone; add shelves, label bins, and keep valuables in lockable totes for Secure storage.
Use the garage or a cordoned corner for the dirty zone; hang tarps, place a drop cloth, and keep walkways at least 36 inches wide to meet basic egress expectations.
Follow Safety protocols: store solvents in approved containers, keep batteries off chargers when unattended, and cap sharp edges.
Add a fire extinguisher, a first-aid kit, and a cheap hasp lock.
Schedule And Stage Deliveries
Once you’ve set up clean and dirty storage zones, control what flows into them by scheduling and staging deliveries like a jobsite manager. Book drop-offs for days you can receive, inspect, and move items immediately, so boxes don’t block egress paths or smoke alarms. Confirm lead times, delivery windows, and return policies to avoid rush fees and double-handling costs.
Stage heavy materials close to the work area but off walkways; use plywood runners to protect floors and meet load limits. Coordinate outdoor landscaping deliveries (mulch, pavers, plants) to land on a tarp in the driveway, not the lawn.
Plan furniture rearrangement before large items arrive, creating clear turning radii and a temporary “parking” room. Label stacks, keep receipts, and update your daily plan each evening.
Separate Hazardous Materials Safely
While you’re living through the work, treat hazardous materials like a separate “mini jobsite” so you don’t create fire, fume, or poisoning risks in your daily paths. Choose one lockable, well-ventilated area away from kitchens, HVAC returns, water heaters, and sleeping spaces. Keep products in original containers with labels; never decant into drink bottles.
Store flammables in an approved metal safety can or cabinet, and keep oily rags in a lidded metal can to prevent spontaneous combustion. Separate acids, bases, and bleach from ammonia and solvents.
Stage tools on shelves, not floors, and cap blades and bits. Schedule deliveries so you can store items immediately.
For Safe disposal, use your local household hazardous waste site and follow SDS instructions closely.
Control Dust and Air Quality During Renovation
Even if your renovation stays contained to one room, dust and fumes can travel through HVAC returns, door gaps, and plumbing chases fast enough to affect the whole house.
Start with Dust barriers: hang 6-mil plastic from ceiling to floor, tape seams, and add a zipper door; seal registers in the work zone, but don’t block required combustion air for gas appliances.
Run Air filtration continuously. A rented HEPA air scrubber vented outdoors creates negative pressure; if that’s not possible, use a HEPA room purifier sized for the space and replace filters on schedule.
Protect the rest of the home with MERV 11–13 HVAC filters, change them often, and vacuum daily using a HEPA vac—never dry-sweep.
Keep paint and solvent containers sealed and follow label ventilation requirements.
Set Up a Temporary Kitchen That Actually Works
If your main kitchen goes offline for more than a day or two, set up a temporary kitchen with the same priorities you’d use for a permanent one: safe power, clean water, and a sanitary food-prep workflow.
Pick a room with a GFCI-protected outlet, or use a portable GFCI and heavy-gauge cord; don’t overload circuits with hot plates, kettles, and microwaves.
Create a handwashing station at a nearby sink and keep a covered bin for trash and compost.
Use a folding table as “counter,” then separate raw and ready-to-eat zones with washable trays.
Stock only essentials to control costs and clutter.
Add Decorative accents sparingly, and choose paint color choices that reflect light so the space feels cleaner and safer.
Maintain One Working Bathroom at All Times
Because a bathroom outage affects sanitation and habitability faster than any other room, plan your schedule so you always keep at least one fully functional bath in service: a working toilet, a sink with potable hot/cold water, a vented or operable window, and safe lighting on a GFCI-protected circuit.
If you’re gutting the main bath, stage the work: demo and rough-in first, then restore fixtures before you touch the backup. Cap lines, test for leaks, and keep a trap primer where required. Use a temporary shower kit only if it drains to an approved receptor.
To control costs, reuse the vanity or refinish the tub, then apply interior decor updates—paint, mirrors, hardware—after inspections.
Borrow gardening tips: store dusty tools outside and rinse boots at an outdoor hose bib.
Set Daily Hours and Clear Contractor House Rules
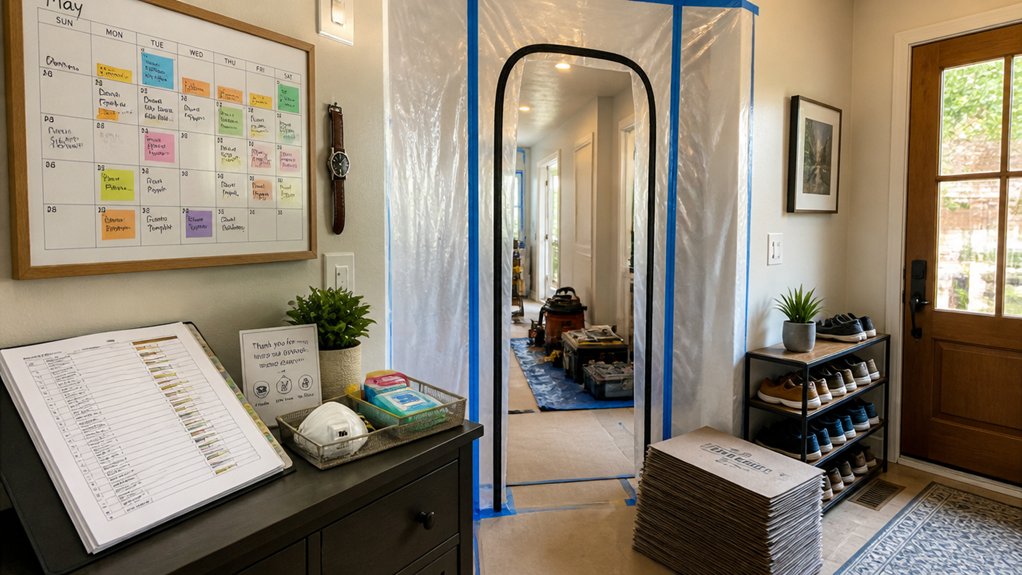
When you set fixed work hours and spell out house rules before demo starts, you’ll reduce delays, protect your family’s safety, and keep change orders from inflating the budget. Put hours in the contract, including start/stop times, weekend limits, and required notice for shutoffs.
Require permits, inspections, and code-compliant temporary barriers, signage, and egress paths. Define where crews can park, stage materials, and store tools; keep access clear for emergency responders.
Specify dust control, daily cleanup, and trash handling so nails and debris don’t end up in hallways or Exterior landscaping. Lock in standards for Interior lighting: task lights must be grounded, GFCI-protected where required, and cords secured to prevent trips.
Document everything in writing.
Handle Noise, Pets, Kids, and Working From Home
Although renovation noise and traffic feel like “just a nuisance,” they can create real safety and productivity risks unless you plan for them. Schedule loud work for blocks that match your meetings, and post quiet-hour expectations in writing for basic Noise management.
Use plastic zipper doors, taped floor runners, and a dedicated debris path to limit dust and trip hazards without overspending.
Create a “no-go” zone with a hard barrier, not just tape, and keep kids out of tool and material staging areas.
For pet safety, set up a closed room with water, bedding, and white noise, or use daycare on demo days.
If you work from home, relocate your desk away from the work zone, add a HEPA air purifier, and verify GFCI-protected outlets for temporary power.
Know Renovation Red Flags: and When to Pause
If your renovation suddenly feels “off,” treat that as a safety and budget signal—not a vibe—and pause long enough to verify you’re still code-compliant and in control.
Common renovation red flags include unexpected structural cracks, new water stains, burning smells, tripped breakers, or permits that “aren’t needed.” Don’t keep living through it—shut down the affected area, cut power or water if needed, and document everything with photos.
Use pause signals when your contractor changes scope without a written change order, materials arrive unlabeled, dust containment fails, or you see exposed wiring, open combustion vents, or missing guardrails.
Call your inspector or a licensed pro, re-check the plan, and renegotiate before work resumes. Pausing protects your family, schedule, and cash.
Conclusion
Living through a renovation can work if you plan like it’s a jobsite and protect your daily routine. Keep one bathroom and a simple kitchen setup running, and phase work so utilities stay code-compliant and safe. Lock in hours, rules, and clean-up expectations with your contractor, and budget for takeout, storage, and contingencies. Mark no-work zones, manage dust and noise, and remember: measure twice, cut once.