

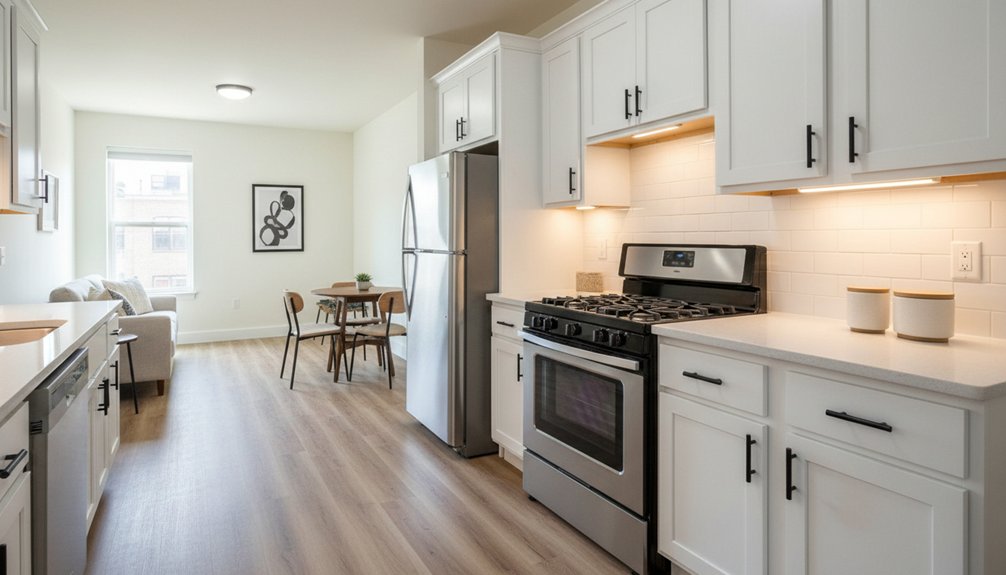
You boost rental yield by setting a comp-backed rent ceiling and targeting a specific tenant profile, then choosing only upgrades that add proven premiums and cut vacancy. Pull 8–12 true comps, price feature bumps (like in-unit laundry or better HVAC), and cap your scope to a payback you’ll accept. Budget with ROI math and a 10–20% contingency, and pull permits for code items (egress, GFCI/AFCI, detectors). Next, you’ll see which upgrades win fastest.
Key Takeaways
- Set a target tenant and rent ceiling using verified comps, then choose upgrades that remove leasing friction and fit that rent cap.
- Quantify rent premiums for specific features (laundry, HVAC, flooring), and convert the expected rent bump into a ROI-based renovation budget.
- Add contingency reserves—10% light, 15% mid, 20%+ older properties—and reforecast payback if contingency use exceeds 50%.
- Prioritize high-impact, durable updates in kitchens, baths, and flooring to justify $100–$250 rent increases while reducing maintenance.
- Schedule renovations between tenants, pull permits early, use licensed trades, and document compliance to avoid delays, fines, and lost rent.
Identify Your Target Tenant and Rent Ceiling
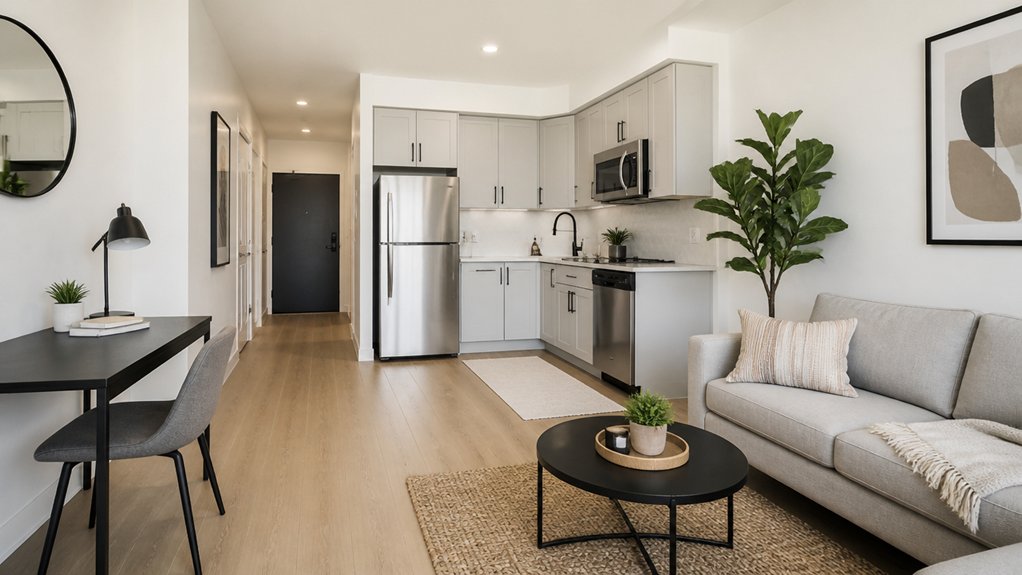
Before you spend a dollar on upgrades, define who you’re renovating for and what the market will actually pay.
Start by profiling Tenant demographics: income bands, household size, pet ownership, car count, and remote-work needs.
Then quantify your rent ceiling using current leases in your portfolio, recent signed rents in your building, and verified listings, adjusting for seasonality in Rental market trends.
If the ceiling only supports a $75 monthly lift, don’t underwrite a $12,000 kitchen.
Prioritize features that remove leasing friction—durable flooring, in-unit laundry readiness, secure entry, and reliable HVAC—while meeting local habitability codes, permit rules, and fair-housing standards.
Document assumptions, target rent, and payback period before you scope work.
Use Comps to Choose Rental Renovations That Pay
You’ll use rental comps to build a feature checklist—unit finishes, appliances, parking, laundry, HVAC, pet policy, and included utilities—and verify which upgrades actually correlate with higher achieved rents in your submarket.
Then you’ll quantify each potential renovation’s rent premium versus total installed cost (including permits, code-required work, and turnover time) to estimate payback and ROI.
If an upgrade can’t be supported by compliant comp data or it pushes you past your rent ceiling, you won’t fund it.
Rental Comps Feature Checklist
Because rental markets reward specific features—not “nice” finishes—a rental comps feature checklist keeps your renovation budget tied to measurable rent lifts.
Build your checklist from 8–12 true comps: same bed/bath count, similar square footage, school zone, parking, and distance to transit.
Then log only observable items: in-unit laundry, dishwasher, HVAC type, insulation/energy score, windows, flooring type, lighting, storage, private outdoor space, pet policy, security (deadbolts, cameras), and internet readiness.
Note compliance flags: smoke/CO detectors, egress windows, GFCI/AFCI, handrails, and lead/asbestos disclosures under landlord laws.
Track operating line items that shift net yield, including property tax reassessments tied to permitted work.
Use the checklist to prioritize repeatable upgrades comps consistently feature.
Rent Premiums Versus Costs
Even if a renovation looks “premium,” it only pays when comps prove tenants will fund it with higher rent after accounting for vacancy, maintenance, and any permit-driven tax reassessment.
Pull 6–10 true comparables within 0.5 miles, similar beds/baths, parking, and lease terms, then isolate features that move rent. Quantify the expected premium (e.g., +$125/month for in-unit laundry) and discount it by your stabilized vacancy rate and higher operating costs.
Next, annualize: premium × 12 × (1–vacancy) minus added repairs, insurance, utilities, and property management.
Compare that net gain to total project cost to compute payback and ROI.
Stress-test against Market trends like supply spikes.
Finally, verify zoning regulations and permit scope so you don’t trigger costly compliance upgrades.
Set a Rental Renovation Budget With ROI Math
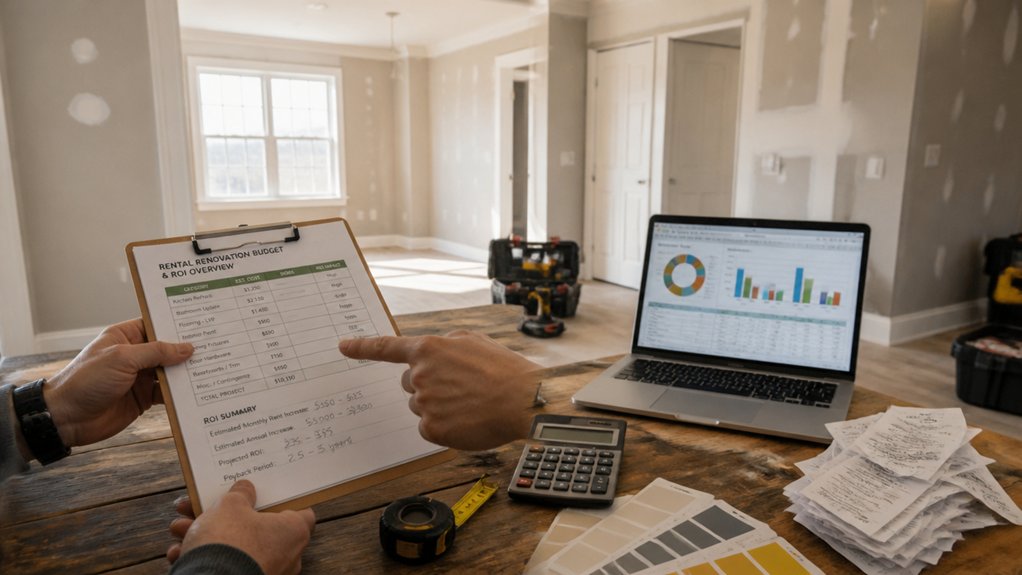
You’ll set your renovation budget by first estimating post-reno rent from compliant, apples-to-apples comps.
Then, you’ll back into a spend cap that supports your target yield.
Next, you’ll calculate payback period and ROI using all-in costs (permits, labor, materials, downtime) so the numbers—not optimism—approve the scope.
Finally, you’ll allocate a contingency reserve to cover code-driven change orders and protect returns when surprises hit.
Estimate Post-Reno Rent
How much rent can this renovation realistically add—and will it clear your required return once you factor in vacancy, concessions, and local code-compliance costs?
Start with Market analysis: pull 6–12 comps within 0.5–1 mile, matched by beds, baths, parking, and unit quality. Use closed leases, not asking rents, and adjust for seasonality.
Quantify premiums per feature (in-unit laundry, HVAC, quartz) and apply only what your submarket consistently pays for.
Then haircut the headline rent by a stabilized vacancy rate and typical concessions (free weeks, reduced deposits).
Confirm compliance-driven scope—smoke/CO detectors, egress, GFCI/AFCI, lead/asbestos—so you don’t overpromise rent.
Finally, note Property depreciation: new finishes age fast, so don’t price at “brand-new” unless everything is.
Calculate Payback And ROI
Once you’ve pressure-tested the post-reno rent, convert that rent bump into an ROI-based renovation budget by running simple payback and cash-on-cash math on net income—not headline rent.
Start with incremental monthly NOI: (rent increase) minus vacancy, utilities you’ll cover, turnover, management, and added maintenance.
Annualize it, then set a target payback (e.g., 3–5 years): Max Reno Budget ≈ Incremental NOI × target years.
Next, run cash-on-cash: (Incremental NOI − annual debt service from renovation financing) ÷ cash invested.
Compare results against your required return and current market trends for cap rates and rent growth assumptions.
Stay compliance-aware: factor permit fees, required safety upgrades, and rent-control rules so your underwriting reflects what you can legally charge and deliver.
Allocate Contingency Reserves
Where do ROI-perfect renovation budgets go off the rails? Usually in the unknowns you didn’t price: hidden water damage, electrical upgrades, permit delays, or code-required safety fixes. You protect your yield by allocating contingency reserves upfront, not “hoping” the bid holds.
Build contingency planning into your ROI math: set budget buffers at 10% for light turns, 15% for mid-scope renovations, and 20%+ for older properties or when systems are exposed.
Tie each buffer to a trigger—inspection findings, change orders, or compliance items like GFCI/AFCI, smoke/CO standards, lead-safe practices, and local permit fees.
Track contingency drawdowns weekly and reforecast payback if you use more than 50%. Unused reserves become your profit, not your panic fund.
Upgrade Rental Kitchens and Bathrooms to Lift Rent
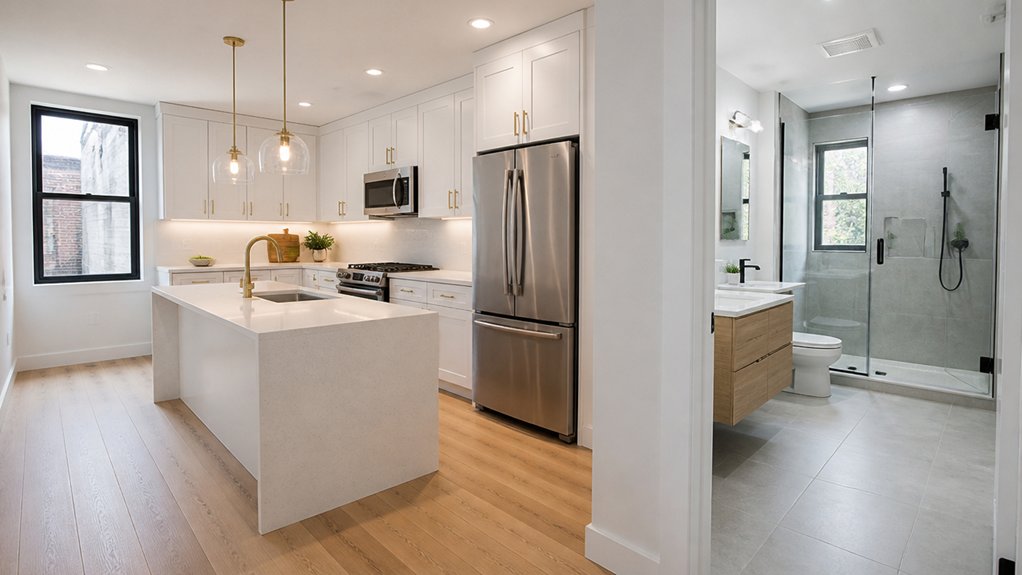
Although paint and flooring help, kitchens and bathrooms typically drive the biggest rent premiums because they’re the highest-use, highest-scrutiny rooms for tenants and appraisers.
Target changes that tenants notice on day one and that underwriters can justify: Appliance upgrades (Energy Star ranges, dishwashers, vented microwaves) and aesthetic enhancements (modern pulls, durable counters, cohesive lighting).
In baths, replace failing vanities, add water-saving toilets, upgrade exhaust fans, and re-caulk/tile where needed to prevent moisture claims.
Track your market: if comparable units rent $100–$250 more after a “updated kitchen/bath” note, back into a max budget using a 12–18 month payback target.
Stay compliance-aware: use licensed trades, pull permits, meet GFCI/AFCI and ventilation codes, and document invoices for depreciation.
Pick Rental-Proof Flooring and Paint That Last
Kitchen and bath upgrades can lift rent fast, but your yield erodes if the rest of the unit shows wear after a few turnovers—so pick flooring and paint that survive traffic, pets, and frequent cleaning.
For Durability considerations, choose commercial-grade LVP or porcelain tile in wet zones; they resist scratching and moisture better than carpet, cutting replacement cycles and labor. Target a wear layer of 20 mil for LVP in rentals, and document warranties for underwriting and insurance.
For paint, use washable, low-VOC eggshell or satin in living areas and semi-gloss in trim; it reduces touch-up frequency and supports indoor-air compliance.
Keep Aesthetic appeal high with neutral, consistent palettes and mid-tone floors that hide scuffs and meet fair-housing presentation standards.
Add Lighting, Storage, and Layout Fixes Tenants Want
If you want a measurable rent bump without chasing major permits, fix lighting, storage, and flow first—these upgrades routinely score higher in tenant surveys and cost less per “wow” factor than full-room remodels.
Start with Lighting enhancements: swap to LED fixtures, add dimmers where allowed, and increase lumens in kitchens and baths for safer, brighter task zones. Choose Energy Star or DLC-listed products to protect operating costs and reduce maintenance calls.
Next, add Storage solutions tenants feel daily: closet organizers, wall-mounted shelves, over-toilet cabinets, and a pantry pull-out. Keep loads within manufacturer specs and anchor to studs to meet safety expectations.
Finally, improve layout by widening pathways, re-hanging doors to prevent clashes, and adding hooks by entries—small moves that shorten vacancy days and justify higher asking rent.
Schedule Renovations Between Tenants and Follow Local Rules
When you time renovation work for the gap between leases, you cut disruption risk and keep rent-producing days higher, but you’ll only capture that ROI if you follow local rules from day one. Build a turnover schedule backward from move-in, targeting a 7–14 day scope so vacancy stays below one rent cycle.
Pull permits early, use licensed trades where required, and document inspections to avoid stop-work orders and fines that erase yield gains. Align upgrades with habitability codes, lead/asbestos rules, and noise-hour ordinances.
Update Lease agreements to clarify access, utilities shutoffs, and final cleaning standards. Pair renovations with tighter Tenant screening so you protect the new finishes and reduce costly early turnovers.
Track costs per day saved; faster completion boosts annualized returns noticeably.
Conclusion
When you renovate for yield, you’re not guessing—you’re underwriting. Start with your rent ceiling, then choose upgrades backed by comps and ROI math, not trends. Focus on kitchens, baths, durable finishes, and smart lighting or storage that reduce turns and boost rent. Like planting seeds in measured rows, each dollar should grow predictable cash flow. Schedule work between leases, document costs, and follow permits, safety codes, and fair housing rules.