

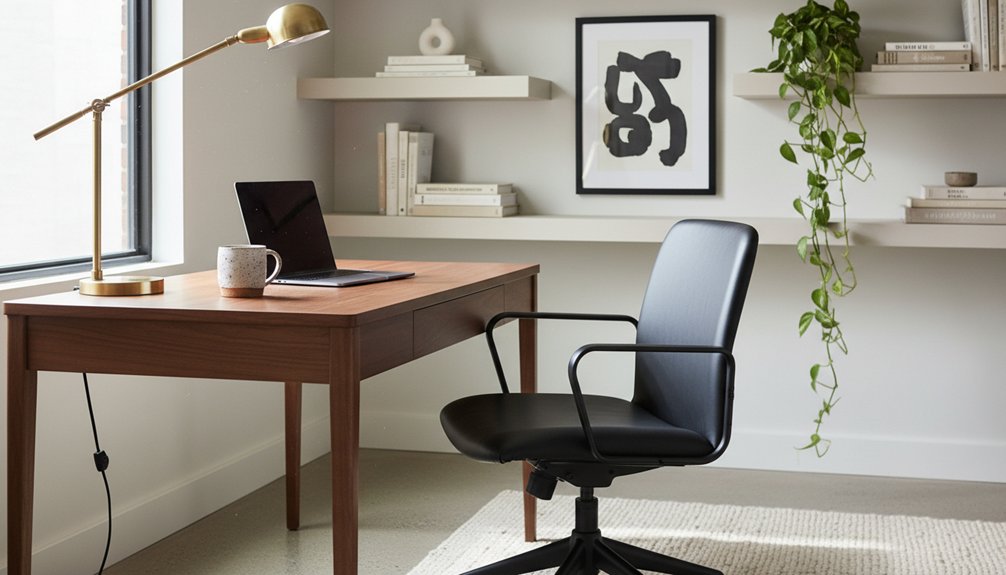
You can make your home office look professional without feeling bland by choosing one anchor finish (oak, matte black, or white) and repeating it across hardware and accessories. Keep the desktop clear with closed storage, trays, and hidden cable routes. Zone the room for deep work and calls, then set your camera at eye level with soft, front-facing light (3500–4500K). Add quiet texture—wood grain, micro-patterns, and one personal piece—and you’ll find more ways to refine it.
Key Takeaways
- Choose one anchor finish and a cohesive color palette, then add a few personal pieces for character without visual clutter.
- Zone the room for deep work and calls, using a clean backdrop and eye-level camera framing for polished video meetings.
- Prioritize ergonomics with proper monitor height, laptop stands, and a streamlined chair that matches your hardware finishes.
- Layer ambient, task, and accent lighting at consistent color temperature to feel professional while adding warmth and depth.
- Hide clutter with closed storage and clean cable routing, then use subtle textures or natural materials to keep it interesting.
What Makes a Home Office Look Professional?
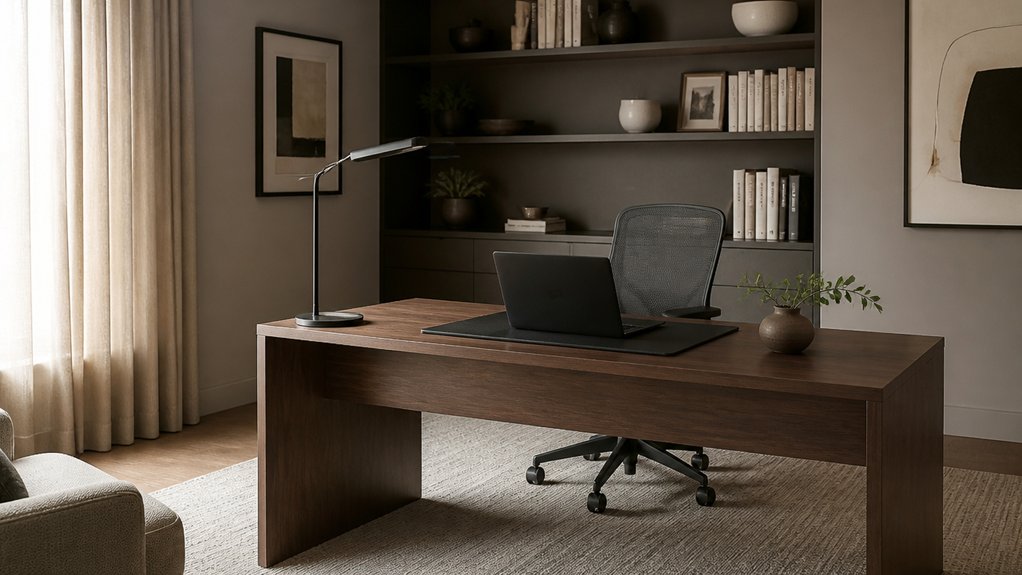
Although your setup doesn’t need to look like a corporate suite, a professional home office always reads as intentional: clean lines, a cohesive color palette, and a clutter-free work surface supported by smart storage.
Choose one anchor finish—oak, matte black, or white—and repeat it across shelves, hardware, and accessories for visual discipline.
Prioritize ergonomics with a chair that supports your lower back and a monitor at eye level, then hide cables with trays or raceways so nothing competes for attention.
Use soft, even task lighting to reduce glare and make your face look clear on screen.
Add Personal branding through a restrained art print, a signature color, or one meaningful object. That’s workspace personalization without visual noise.
Keep supplies in matching containers.
Plan a Layout for Focus and Video Calls
Start by zoning your setup: keep your desk area distraction-free for deep work, and designate a separate, tidy spot for calls.
Position your camera at eye level and frame a clean, intentional backdrop that matches your style.
Then tune your lighting with a front-facing lamp or window light to reduce shadows and keep you looking sharp on screen.
Zone Your Desk And Calls
When you separate your “deep work” zone from your “on-camera” zone, you reduce distractions and look more polished on calls. Keep your primary work surface clear for keyboard, notebook, and one task tray, so your posture stays neutral and your attention stays locked.
Use desk organization to assign a dedicated “grab zone” for pens, chargers, and reference files, and a separate “drop zone” for incoming papers.
For calls, pivot to a consistent spot where your background looks intentional and your tools sit within reach. Park a headset, mute button, and meeting notes there, and stash snacks or clutter elsewhere.
Good call etiquette starts with silence: set a visible “in call” marker and pre-place water so you won’t fidget or roam.
Optimize Camera And Lighting
A tidy call zone works best if your camera angle and lighting flatter you without stealing focus from your desk. Set your laptop on a riser or monitor arm so the lens sits at eye level, then place it slightly off-center to keep your screen notes near your gaze. Keep the camera 24–30 inches away for a natural perspective and tidy background.
For lighting control, face a window for soft, even light, but add a dimmable key lamp at 45 degrees to stay consistent through the day. Use a sheer shade to cut glare, and avoid bright ceiling lights that cast shadows under your eyes.
Hide cables, choose matte surfaces to reduce reflections, and test exposure before calls. Adjust color temperature to match your room.
Place Your Desk for Better Zoom Angles
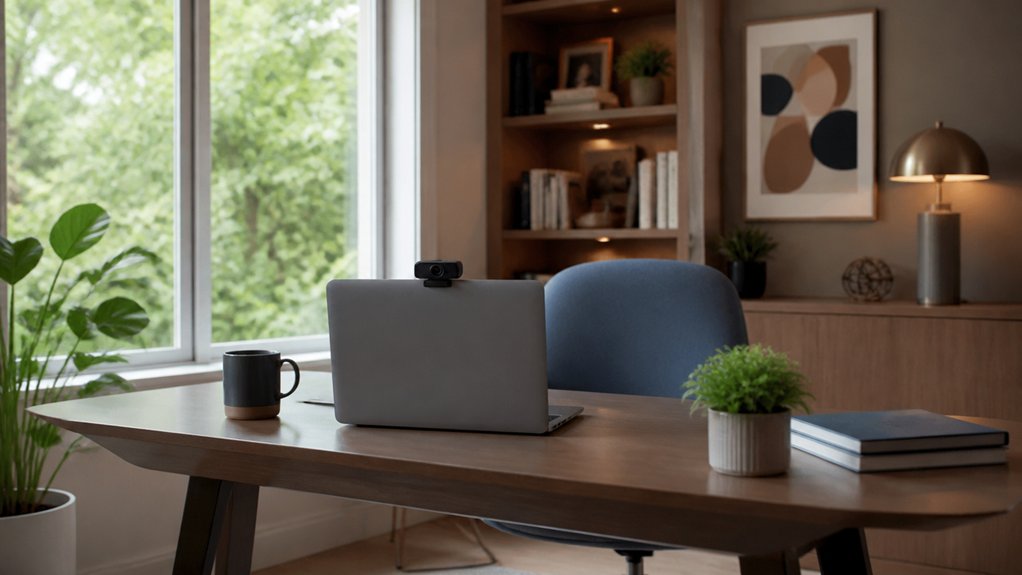
Position your desk so you face a natural light source, which keeps your face evenly lit and your background clean.
Set your camera at eye level using a monitor riser or sturdy stand, so your posture stays neutral and your angles look polished.
With those two moves, you’ll look sharper on Zoom and feel more comfortable through back-to-back calls.
Face Natural Light Sources
Because natural light flatters your face and sharpens your on-camera presence, set your desk so a window sits in front of you or slightly off to one side. This window placement minimizes harsh shadows and keeps your expression readable, even on grainy calls. If the window’s too bright, soften it with a sheer shade that still preserves natural light.
Keep your monitor perpendicular to the glass to reduce glare and eye strain, and angle your keyboard so your wrists stay neutral while you type.
Balance the scene with a matte desktop and a light-toned wall behind you so your camera sees clean contrast, not clutter. If you work late, match your lamp’s warmth to daylight for a seamless, professional look on calls.
Raise Camera To Eye Level
Once you’ve aimed your desk at flattering natural light, get your camera up to eye level so your Zoom view looks confident and balanced. Skip the laptop-on-desk angle that looks up your nose and shortens your neck. Raise your screen with a sturdy stand, a stack of hardcovers, or a monitor arm, then add an external webcam if needed.
Keep camera positioning centered over your keyboard so your gaze stays near the lens when you read notes. Set the lens slightly above your pupils, tilt down a touch, and you’ll slim visual distortions.
Check framing: mid-chest to head, a little breathing room above. Finally, place your chair so your shoulders relax and your posture stays tall without perching. Your background will look cleaner too.
Choose a Desk Sized for Your Workflow
Two measurements decide whether your desk feels effortless or cramped: your workflow footprint and your reach zone. Map the footprint by placing your laptop/monitor, keyboard, notebook, and one “active” surface for writing or sketching.
If you’re constantly stacking, you need more width; if you’re reaching around clutter, you need better depth. Keep your reach zone tight: the items you touch hourly should sit within a forearm’s sweep, not past your shoulders.
Prioritize desk organization with a slim tray, vertical file, and a cable channel so surfaces stay clear. For workflow optimization, match the desk to your tasks: 48–54 inches suits laptop-heavy work, while 60+ inches supports dual screens and paper layouts. Keep legroom open, too.
Pick an Ergonomic Chair That Still Looks Polished
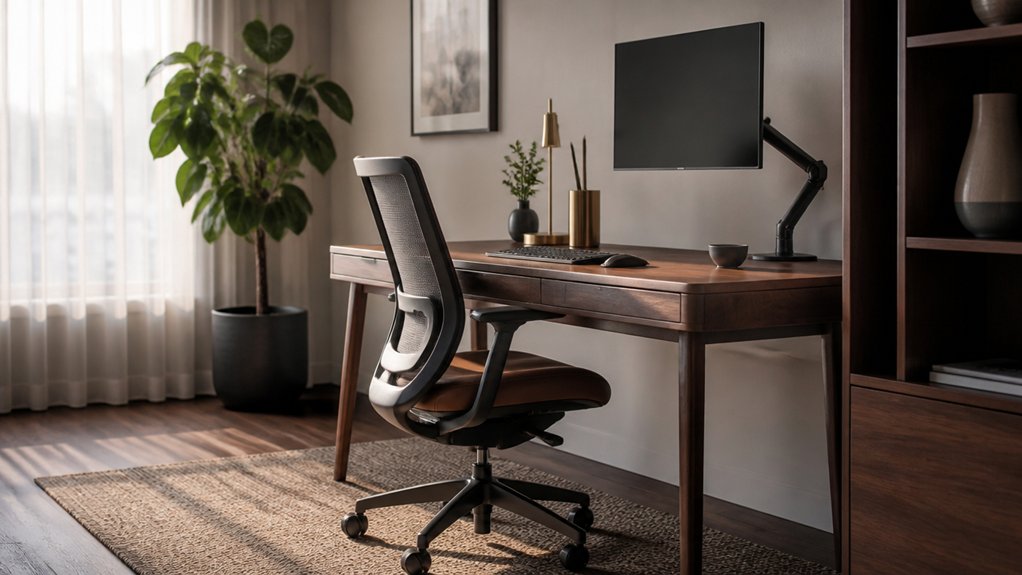
After you’ve sized your desk for your workflow, you need a chair that supports your posture without looking like office surplus.
You can balance ergonomics and style by choosing clean silhouettes, durable materials, and finishes that match your room’s palette.
Look for smart adjustability—seat height, lumbar support, and armrests—that stays streamlined so the controls don’t clutter the design.
Balance Ergonomics And Style
How do you choose a chair that supports your back without looking like it belongs in a cubicle farm? Start with adjustability you’ll actually use: seat height that keeps feet flat, lumbar support that meets your curve, and armrests that let shoulders drop.
Then pick a silhouette that reads intentional—clean lines, a slim back, and a base that doesn’t dominate the room. Keep the color aligned with your desk so the chair feels like part of the plan, not an afterthought.
Add ergonomic accessories that blend in, like a low-profile footrest or a compact lumbar cushion.
Finally, control visual clutter: tuck cables, stash notebooks in stylish storage, and let your chair be the functional focal point you enjoy sitting in daily.
Choose Materials And Finishes
Once you’ve nailed the adjustments, the chair’s materials and finishes determine whether it reads sleek and intentional or purely utilitarian. Prioritize Material selection that supports long sessions: breathable mesh for heat control, high-density foam for lasting support, or supple leather for a tailored look and easy wipe-downs. Check the fabric’s abrasion rating and choose stain-resistant weaves if you snack at your desk.
For frame and base, aluminum feels refined and stable, while reinforced nylon keeps weight down without looking cheap when it’s matte. Explore Finish options that match your room’s palette: powder-coated black for a studio vibe, brushed metal for modern, or warm walnut accents for softer professionalism. Keep textures consistent so the chair looks designed, not patched together.
Adjustability Without Visual Clutter
Even if you need full ergonomic range, you don’t have to settle for a chair covered in levers and knobs. Choose a model with concealed controls, a single paddle, or weight-activated recline so the silhouette stays clean.
Prioritize height, seat depth, and lumbar tuning, but look for adjustments integrated into the frame, not hanging off it.
Match the chair’s finish to your desk hardware: matte black, warm gray, or polished aluminum reads intentional and professional.
A slim back or upholstered shell softens the workstation while keeping support.
Pair it with other adjustable furniture, like a sit-stand desk, and route cables under the top for clutter reduction.
When everything adjusts quietly, your office feels calm, capable, and design-forward.
Set Monitor Height and Gear for Good Posture
Although your chair and desk set the foundation, your monitor height and everyday gear determine whether you sit tall or slowly fold forward.
Place the top of your screen at or slightly below eye level, and keep it an arm’s length away so you don’t crane your neck.
If you use a laptop, raise it on a slim stand and add a compact keyboard and mouse to keep shoulders relaxed.
Choose ergonomic gear that looks intentional: a low-profile wrist rest, a matte monitor riser that matches your wood or metal finishes, and a discreet cable channel to keep the line of sight clean.
Angle your screen to reduce glare and keep your chin level during calls.
Your posture stays sharp, and the setup still feels designed.
Layer Your Home Office Lighting for All-Day Comfort
Layer your home office lighting with focused task light at your desk, balanced ambient light for the room, and subtle accent light to reduce contrast and add polish.
You’ll cut eye strain and keep your setup comfortable from morning work sprints to late-afternoon calls. Add smart controls that track daylight and let you tune brightness and color temperature as the sun shifts.
Task, Ambient, And Accent
When you mix task, ambient, and accent lighting, you’ll get a home office that supports focus, reduces eye strain, and still looks intentional.
Start with ambient light that fills the room evenly, so your screen doesn’t compete with harsh contrast.
Add a task lamp at your dominant-hand side, aimed at paperwork, with an adjustable arm so you keep your shoulders relaxed and your neck neutral.
Then use accent light to add depth: a picture light, shelf strip, or small uplight that highlights decor accessories without glare.
Match bulb color to your color schemes—warm for cozy neutrals, cooler for crisp modern palettes—so the space feels cohesive.
Keep fixtures dimmable when possible, and hide cords to maintain a clean, professional finish.
Smart Controls For Daylight
Because daylight shifts hour by hour, smart controls help you keep your home office lighting consistent without constantly adjusting switches. Pair dimmable overheads with daylight sensors so brightness tapers smoothly as clouds roll in or the sun drops. You’ll cut glare on screens, reduce eye strain, and keep your posture steady because you won’t hunch toward a dim corner.
Set scenes for morning focus, afternoon calls, and evening wrap-up: cooler light for alert work, warmer tones for wind-down. Use a smart dimmer or app schedule to balance your task lamp with ambient fixtures, so your desk stays evenly lit without harsh shadows.
Choose minimalist switches or hidden hubs that match your decor, so the tech feels built-in, not cluttered.
Light Your Face Well for Video Calls
How you light your face can make your entire home office look more polished on camera, even with a simple setup. Prioritize face lighting first: place a soft, diffused lamp or ring light slightly above eye level, about an arm’s length away, so shadows fall gently under your cheekbones instead of across your eyes.
Match the light to your screen height and camera angles. If your webcam sits low, lift it to eye level, then aim the light straight on or 30 degrees off-center to keep glasses glare down. Choose a neutral temperature (around 3500–4500K) so skin tones stay natural and your room reads calm, not clinical.
Add a small fill light or reflector on the dim side to balance.
Build a Clean, Camera-Ready Background
Even if your desk sits in a busy room, you can build a background that reads intentional on camera. Start by choosing a simple backdrop zone: a blank wall, a bookcase with consistent lines, or a curtain panel.
Center your chair so your head lands in the upper third of the frame, and keep the horizon level.
Add one strong focal point, not five. Hang Decorative wall art at eye height to anchor the shot, and pick a limited palette that matches your room’s finishes.
Use a plant or slim floor lamp to add depth without stealing attention. Then place Personalized accessories—like a framed certificate, small sculpture, or branded notebook—within reach, so your space feels credible and lived-in without looking staged.
Hide Clutter With Closed Storage and Trays
When your work zone has to flex between calls, paperwork, and daily life, closed storage keeps the visual noise off your desk and out of your headspace. Choose a credenza, wall cabinet, or drawer unit that sits within arm’s reach, so you don’t twist or stand up mid-task. Use doors and drawers to hide supplies, peripherals, and paperwork the moment you’re done.
Add tray organization to create “drop zones” that stay tidy: one tray for incoming mail, one for active projects, and one for pens and sticky notes. Look for Hidden compartments in desk organizers or monitor stands to stash small essentials while keeping your surface clear.
Match finishes to your chair and hardware for a cohesive, professional look, even on camera.
Tame Cables With Simple Routing and Covers
Because cable sprawl makes a clean setup feel chaotic, route your cords with intention and hide the rest with low-profile covers. Start by mapping power and data paths: keep power bricks off the floor with an under-desk tray, then run cables along the back edge of your desk so your knees and chair don’t snag them.
Bundle related lines with reusable ties, label both ends, and leave a small service loop so you can adjust monitor height without yanking plugs. For Cable management that looks built-in, use adhesive raceways or snap-on cable covers down a desk leg, then tuck excess length behind the tray.
Add a grommet or clamp channel to guide cords where they exit the surface cleanly.
Choose a Professional Color Palette (and Accents)
If you want your home office to feel polished and distraction-free, start with a restrained, professional palette—think warm neutrals, soft grays, or muted blues/greens—and keep the main surfaces consistent across the desk, walls, and large storage pieces. This tight color coordination reduces visual noise and helps your screen, notes, and calls stay the focus.
Then add controlled accent accents to keep it from feeling flat: one deeper tone for a chair, lamp, or framed print, and one metal finish for hardware and monitor arms. Limit accents to 10–15% of what you see from your seated position. Match accessories you touch often—keyboard, notebook, pen cup—so your setup looks intentional and your posture-friendly layout reads clean on camera.
Add Texture Without Making It Feel Busy
Even with a restrained color palette, your home office can still feel flat, so add texture in a few large, repeatable materials rather than lots of small decor. Start with a woven rug under your chair zone to soften the floor while keeping roll clearance.
Pair a matte desk surface with a slightly sheened lamp or monitor stand for clean textural contrast.
Use one upholstered element—an ergonomic chair or a slim bench—then echo it with a fabric pinboard or linen curtains. Bring in wood grain through a shelving unit or a single desktop tray, not a cluster of trinkets.
Choose subtle patterns, like a tone-on-tone stripe or micro-grid, on one item (rug, cushion, or shade) to add depth without visual noise. Keep edges tidy and repeat materials.
Quiet the Room for Calls and Deep Work
While a beautiful setup looks polished on camera, your calls and deep-focus blocks won’t feel calm until the room sounds controlled. Start with soundproofing tips that target leaks: add door sweeps, seal gaps around trim, and close off rattling vents.
Place a thick rug under your chair to cut footfall and rolling noise, and hang lined drapery to soften harsh reflections without darkening the space.
Use acoustic paneling where it works hardest: behind your monitor for voice clarity, and on the wall opposite your desk to reduce slap echo. Keep panels aligned and symmetrical so they read like intentional décor, not studio gear.
Angle your desk away from windows and shared walls, and you’ll hear less while speaking more comfortably.
Small-Space and Budget Upgrades That Matter Most
Once your room sounds calmer, the fastest wins come from a few small-space, budget-friendly upgrades that make your setup feel bigger, cleaner, and easier to use.
Raise your laptop on a stack of books or an inexpensive stand so your eyes stay level, then add a compact keyboard and mouse to keep wrists neutral. Mount a power strip under the desk and route cables with adhesive clips; your floor clears instantly.
Swap one bulky lamp for a slim task light with a warm bulb to reduce glare and look intentional on video. Use vertical storage: a narrow shelf, pegboard, or wall rail keeps essentials within reach without crowding your surface.
These Budget friendly upgrades are the Small space solutions that change daily comfort most.
Conclusion
Your home office should work like a well-tuned compass: it keeps you pointed at focus while still looking sharp on camera. You’ve set the desk where light flatters, sized it for your real tasks, and paired it with a chair that supports long days without shouting for attention. A calm palette anchors the room; texture adds quiet confidence. Softer surfaces hush echoes. Even small upgrades become hinges—everything opens smoother.