


Start with a 10-minute clutter audit: keep daily essentials, relocate strays, and remove trash so your desk holds only your computer, one notebook, and one pen. Face the desk toward natural light, center the monitor, and keep daily tools within swivel reach. Set clear desk zones for focus, admin, and meetings, and use closed drawers with labeled bins. Add In/Out/Archive trays, one charging station, and a simple start-up and shutdown routine. Keep going to tighten every step.
Key Takeaways
- Do a 10-minute clutter audit: keep daily essentials, relocate misplaced items, and remove trash to reset your workspace fast.
- Create task-based desk zones and keep only frequently used tools within reach to reduce distractions and speed up workflows.
- Use closed storage with labeled bins and folders to hide visual clutter and ensure every item has a designated home.
- Set up an In/Out/Archive system and schedule a weekly 10-minute filing session to prevent paper and admin buildup.
- Digitize documents and standardize file names in one cloud folder, while bundling and labeling cables to keep surfaces clear.
Do a 10-Minute Home Office Clutter Audit
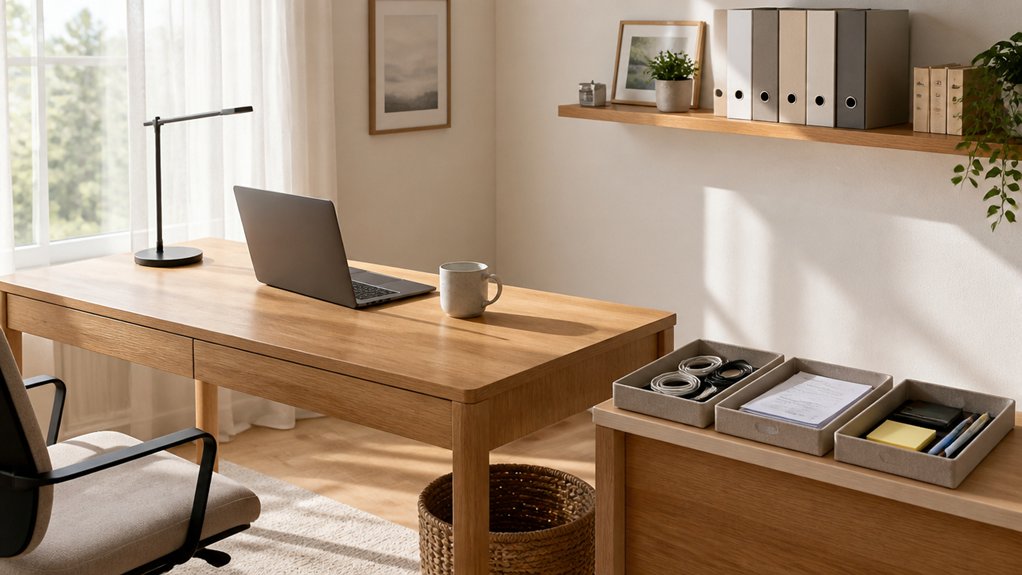
Set a timer for 10 minutes and do a fast, systematic scan of your home office. Start with a Clutter assessment: look at your desk surface, floor, shelves, and cables. Spot anything that doesn’t support today’s work. Make three quick piles: Keep (daily use), Relocate (belongs elsewhere), and Remove (trash, recycle, shred). Don’t sort details yet; you’re auditing, not organising.
Next, do workspace decluttering in micro-steps. Clear the desk first: put only your computer, one notebook, and one pen back. Stack loose papers into a single tray or folder. Corral small items into one container. Coil or tie one cable bundle.
When the timer ends, stop and write a two-line note: top three clutter sources, first fix tomorrow.
Plan Your Home Office Layout for Reach and Light
Once you’ve cleared the visual noise, map your home office around two priorities: what you can reach without strain and where the best light falls. Start by placing your desk so you face or sit perpendicular to a window, reducing glare while maximizing natural lighting. Keep your monitor an arm’s length away and center it with your body.
Choose ergonomic furniture that lets your elbows rest at 90 degrees and your feet stay flat. Next, position storage by frequency: daily-use items within a single swivel, weekly items within one step, and archives farther out.
Leave a clear path behind your chair so you don’t twist or bump. Finally, test the layout at different times of day and adjust for shadows, reflections, and temperature.
Set Up Desk Zones for Your Daily Workflow
Set up your desk in task-based zones—one for focused computer work, one for writing or sketching, and one for quick admin—so you can switch modes without resetting.
Place tools by frequency: keep daily essentials within arm’s reach, weekly items in a nearby tray or drawer, and rarely used gear out of the way.
Maintain a clear surface by returning each item to its zone after you use it, so your next task starts instantly.
Define Task-Based Zones
Where does your attention go when you sit down to work? Define clear task-based zones so your brain doesn’t waste energy switching contexts.
Start with a focus zone: monitor centered, keyboard aligned, and chair height set for solid workspace ergonomics.
Add an admin zone for quick planning and notes, kept visually separate from deep-work materials.
Create a meeting zone for calls, with your camera angle pre-set and background consistent.
Reserve a recharge zone for short resets: water, stretch band, or breathing timer.
Use ambient lighting to signal mode changes—brighter for focus, softer for calls—without moving gear around.
Label each zone’s purpose, then commit to staying in one zone per task block.
You’ll work faster and feel calmer.
Place Tools By Frequency
How often do you reach for each tool during a normal work block? Track your grabs for one day, then rank items by use: hourly, daily, weekly. Let that list set your Organizational priorities, not habit or aesthetics.
Build three reach zones. In the primary zone (within forearm range), keep only hourly tools: keyboard, mouse, notebook, pen, headset, phone stand.
In the secondary zone (one arm’s stretch), place daily items: planner, stapler, charger, reference cards.
In the tertiary zone (stand-and-reach), store weekly tools: spare cables, labeler, backup drive, manuals.
Use drawers, caddies, or wall storage so Tool accessibility matches frequency. Recheck monthly; if something migrates, your zones should too.
Maintain A Clear Surface
When your desk surface stays clear, you think faster and switch tasks without friction. Define three zones: focus, reference, and reset. Keep only today’s active project in the focus zone, centered in front of you.
Put a slim tray or vertical stand in the reference zone for notebooks, mail, and manuals you’ll check, not shuffle. Use the reset zone for incoming items and a small bin for returns.
Bundle cables, park chargers in a drawer, and digitize loose papers daily. Limit Decorative accents to one calming piece that doesn’t steal space. Choose ergonomic accessories you’ll actually use—keyboard, mouse, and stand—and store anything extra off-surface.
End each session with a 60-second sweep: file, toss, reset zones, and start tomorrow clean.
Choose Closed Home Office Storage to Hide Clutter
Even if you keep your desktop tidy, open shelves can still make your home office look cluttered fast. Swap them for closed cabinets, credenzas, or drawers so visual noise disappears.
Choose units with adjustable shelves to fit tech, notebooks, and supplies, then assign each category a “home” behind a door.
Use Decorative storage like lidded boxes or matching bins inside cabinets to group small items and prevent spillover.
Look for furniture with Hidden compartments to stash chargers, spare cables, and backup drives without tangles.
Add a tray in one drawer for daily grab-and-go tools and a deeper drawer for bulky equipment.
Label internal bins, not the exterior, so the room stays calm and clean.
Keep one empty spot for overflow.
Create a Simple Home Office Filing System (In/Out/Archive)
Set up three clearly labeled zones—In for new paperwork, Out for items you’ve handled and need to send or file, and Archive for anything you must keep but don’t need daily.
Choose a simple archive method (a file box or drawer with dated folders) so you can store records fast and find them later.
Then lock in a weekly 10-minute filing habit to empty In and Out, refresh your Archive, and keep clutter from rebuilding.
Define In/Out Categories
Where does that paper go the moment it hits your desk? Define two clear trays: IN and OUT, and you’ll eliminate decision fatigue.
IN holds anything unprocessed: mail, receipts, meeting notes, prints, and forms. OUT holds items you’ve handled but haven’t sent, filed, or acted on: signed documents, paid invoices, replies ready to post, and tasks waiting on someone else.
Set a rule: touch each IN item once daily, then move it to OUT or trash. Mirror this for digital decluttering: create an IN folder for downloads and scans, and an OUT folder for files ready to email, upload, or submit.
Keep trays within reach of your ergonomic essentials so you don’t pile papers elsewhere. Label boldly and commit.
Set Up Archive Storage
Once your IN and OUT trays stay under control, you need an Archive system so finished paperwork doesn’t drift back onto your desk. Start by defining what qualifies: paid bills, completed projects, reference documents, tax records, and warranties. Assign each a retention window and label it clearly.
Choose one physical archive: a lidded file box or drawer with hanging folders, arranged by Year > Category. Use consistent, short folder names so you can retrieve items fast. For bulky items, add a “Receipts/Warranties” envelope folder.
Mirror the same structure in digital archives: create matching folders, scan to PDF, and name files YYYY-MM-DD_Vendor_Purpose. Add a single index sheet (paper or note) that lists your archive locations and rules. These storage solutions keep your desktop clear.
Maintain Weekly Filing Habit
Even if your IN and OUT trays work perfectly, paperwork will creep back in unless you schedule a weekly filing reset. Block 20 minutes every Friday, set a timer, and process everything in one pass: trash, act, file, or scan.
Empty IN first, then close loops from OUT—sign, pay, reply, or delegate.
Keep filing simple: three destinations only. Current items go into labeled project folders; long-term records go to your Archive box; anything you can digitize becomes part of Paperless organization.
Scan with a phone app, name files consistently (YYYY-MM-DD_Vendor_Topic), and store them in one cloud folder structure.
Finish with Digital decluttering: delete duplicates, clear your desktop, and reset trays to zero.
Tame Cables and Tech With One Charging Station
If your desk’s turning into a nest of cords and half-charged devices, one dedicated charging station can pull it back under control. Pick a single spot near an outlet and route everything there instead of scattering chargers across drawers and monitors.
Choose a station with enough ports for your daily gear, plus Wireless charging for your phone or earbuds. Label each cable, match lengths to the distance, and keep extras off the surface.
For solid cable management, clip lines to the desk underside, bundle them with Velcro, and use a small cable box to hide the power strip. Park devices in one tray or vertical stand so they charge upright and stay visible.
You’ll stop hunting for adapters and free up working space every day.
Build a Focus Routine: Start-Up, Breaks, Shutdown
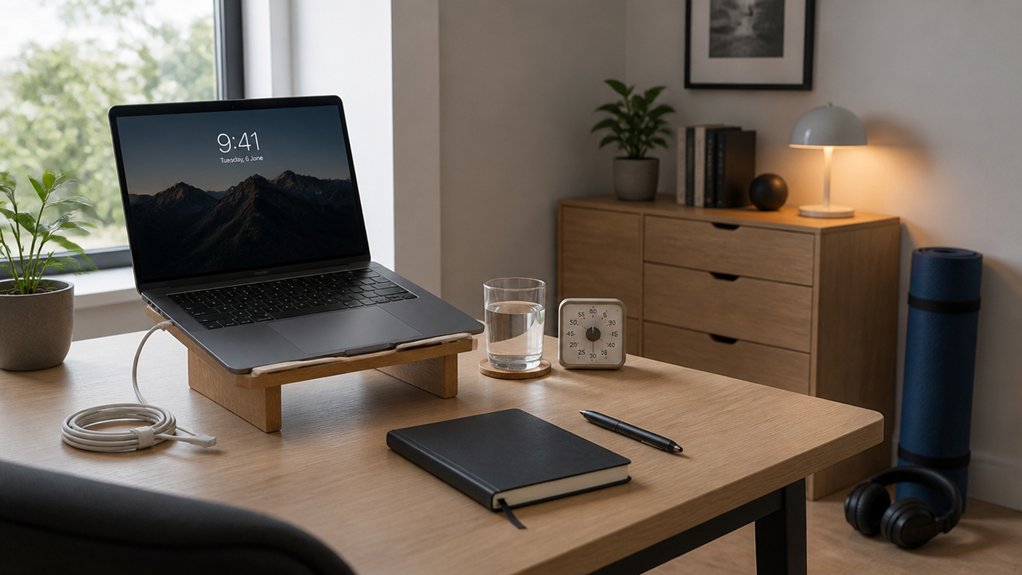
Because your brain works best with clear shifts, build a simple focus routine with three parts: a start-up to cue “work mode,” timed breaks to prevent drift, and a shutdown to close loops.
Start-up: follow a consistent morning routine—open your task list, pick your top three outcomes, silence notifications, and set a 25–50 minute timer. This primes personal focus fast.
Breaks: schedule 5 minutes off each block; stand, hydrate, and look away from screens to reset attention. Every two hours, take a longer 15-minute walk or stretch.
Shutdown: spend 3 minutes capturing loose ends, deciding next actions, and putting tomorrow’s first task at the top. Then set an out-of-office cue—close tabs, mute work apps, and stop checking email.
Finish With a 5-Minute End-Of-Day Office Reset
When you end the day with a quick reset, you start tomorrow with less friction and fewer loose ends. Set a five-minute timer and follow a fixed sequence so you don’t think, you execute.
First, clear your desk: file papers, close notebooks, and put tools back in their homes.
Next, capture open tasks in one trusted list, then choose tomorrow’s top three to lock in daily motivation.
Third, wipe your work surface and empty mugs so you begin fresh.
Fourth, reset tech: save files, close tabs, shut down apps, and put your laptop on charge.
Finally, restore ergonomic essentials: align chair height, center your monitor, and place keyboard and mouse squarely.
You’ll clock out calmly and return ready.
Refresh Your Home Office on a Small Budget
Working with what you’ve already got, you can refresh your home office fast without spending much. Start by clearing your desktop, then rehome anything that doesn’t support today’s work. Shop your house: move a lamp, tray, or small plant into the space for budget friendly decor.
Next, improve ergonomics for free—raise your monitor with sturdy books and roll up a towel for lumbar support.
For DIY organization, repurpose jars for pens, boxes for cables, and binder clips to route cords along the desk edge. Add one low-cost upgrade that solves a real problem: a hook for headphones, a secondhand file sorter, or adhesive labels for drawers.
Finish by setting a “one in, one out” rule so clutter can’t rebuild.
Conclusion
When you organise your home office with quick audits, smart zones, and closed storage, you don’t just gain space—you gain time. The average worker spends about 1.5 hours a day searching for information, which is like watching half a movie before you even start real work. Set your layout for light and reach, run one charging station, and follow a start-up/shutdown routine. End with a 5-minute reset, and tomorrow starts clean.