

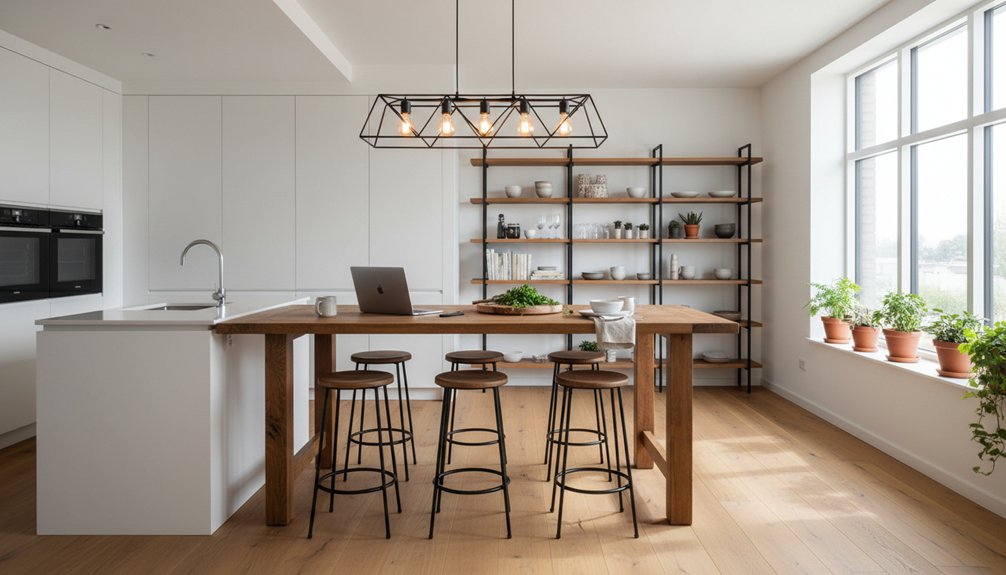
You create a multi‑use kitchen‑dining space by designing around your top three daily routines, then measuring the room and taping walkways, island edges, and seating to test traffic. Keep aisles 36 inches for one cook and 42–48 inches for shared flow, and allow 24 inches per diner plus 36–48 inches behind chairs. Choose wipeable, mid‑tone surfaces and layered lighting to zone cooking, meals, and homework. Keep going for smarter storage and noise control.
Key Takeaways
- Define your top daily uses and design zones for cooking, eating, work, and play with durable surfaces and task lighting.
- Measure the room and tape layouts to test islands, tables, and walkways against real traffic patterns.
- Protect flow with clearances: 36″ aisles minimum, 42–48″ for shared traffic, and avoid appliance-door pinch points.
- Choose flexible furniture—extendable tables, benches, slim stools—and use rugs or lighting to clearly define each zone.
- Build storage where you use it: deep drawers by the range, tray pullouts, and credenzas or banquettes for dining essentials.
Decide Your Top 3 Daily Uses
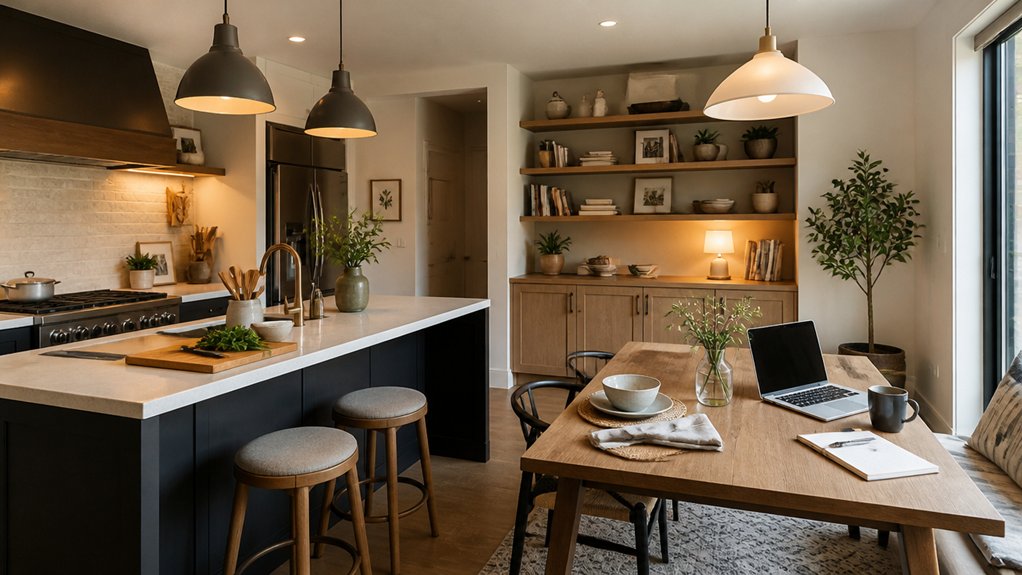
Start by naming your top three daily functions for this kitchen‑dining zone—think “weeknight cooking,” “quick breakfasts,” and “homework or laptop time”—because those priorities should drive every layout move, from where you place prep and landing areas to how many seats you actually need.
If cooking leads, you’ll favor durable quartz or stainless near the hot zone and specify Storage solutions like deep drawers for pots and vertical tray pullouts.
If breakfast is key, you’ll choose wipeable stools, a compact banquette, and a warm wood tabletop that softens the palette.
If work time matters, you’ll add task lighting, outlets, and a surface that resists scratches.
Tie it together with Decorative accents—repeat metal finishes, textiles, and one signature color.
Measure the Room and Mark Walkways
With your top three daily uses set, you can now verify that the room’s dimensions and circulation will actually support them. Measure wall to wall, note ceiling height, and map fixed elements like windows, doors, radiators, and existing plumbing.
Then sketch a quick plan and mark your primary walkways from entry to sink, fridge, cooktop, and table. Use painter’s tape on the floor to trace proposed island edges, dining placement, and traffic lines, then live with it for a day.
Watch where bags land, where kids cut through, and where chairs scrape. As you adjust, align traffic paths with your material choices: durable runners, easy-clean flooring, and lighting cues.
Keep Decorative accents and color schemes consistent so circulation reads intuitive, not chaotic.
Use Clearance Rules for Aisles and Seating
Now that you’ve marked your walkways, you’ll lock in aisle widths that keep prep zones flowing and let two people pass without bumping cabinets or chair backs.
You’ll also set seating clearances—behind dining chairs and at island stools—so your daily routine feels effortless, whether you’re hosting or grabbing a quick breakfast.
As you choose slimmer profiles, rounded edges, and durable finishes, you’ll balance circulation with the look and feel of your material palette.
Aisle Width Guidelines
Because your kitchen‑dining zone has to handle both daily prep and pulled‑out chairs, you’ll want aisle widths that protect flow without sacrificing a cohesive material palette. For a one‑cook route, plan about 36 inches; for shared traffic or frequent hosting, push aisles to 42–48 inches so two people can pass without bumping cabinet pulls or island corners.
Treat pinch points like the sink, fridge, and pantry as your aisle safety checkpoints, and use clearance optimization to keep door swings and appliance handles from colliding with circulation.
If you’re blending warm oak with matte stone, keep aisle lines clean so finishes read continuous, not chopped up by detours. When budgets tighten, widen the primary path first, then trim secondary routes.
Seating Clearance Essentials
Good aisle widths keep people moving; smart seating clearances keep them staying put without blocking the route. Plan 24 inches per diner at the table edge, and keep 12 inches between chair backs for easy elbow room.
Allow 36 inches from table edge to a wall for basic pull-out, or 44–48 inches where traffic passes behind seated guests.
For banquettes, give 18–20 inches seat depth and 12 inches from table to cushion for seating comfort.
If you’re mixing chairs, match seat heights and finishes to your cabinet hardware and lighting metals for aesthetic harmony.
Choose wipeable textiles, rounded chair corners, and a durable rug with low pile so scooting feels smooth and pathways stay clear.
Choose a Layout That Keeps Traffic Moving
Where do people naturally cut through your kitchen-dining zone—past the fridge, between the island and table, or straight to the patio door? Map those desire lines first, then place the table and island so the main path stays clear and direct.
Keep 42–48 inches for primary walkways, and avoid pinch points at appliance doors.
If you entertain, align the island parallel to the table so guests circulate without crossing the cook zone; if you’ve got kids, shift seating toward the perimeter to protect play and homework flow.
Build kitchen storage along dead walls to pull clutter off counters.
Support the route with layered lighting design: brighter task light at prep, softer ambient near dining.
Choose durable, matte finishes that hide smudges.
Zone With Rugs, Lighting, and Furniture Placement
Even in an open plan, you can make the kitchen and dining area feel purpose-built by zoning with a few deliberate cues. Anchor the dining zone with a rug that’s large enough for chair movement, then pick Rug patterns that echo your cabinetry grain or backsplash geometry to keep the palette cohesive.
In the kitchen run, skip rugs that fight the floor; use a slim runner only where you want softness underfoot.
Layer lighting fixtures to signal function: pendants or a linear suspension centered over the dining zone, and quieter task lighting over prep.
Float the dining chairs and sideboard to hold a clear circulation lane between fridge, sink, and seating.
Angle the dining grouping toward the view or conversation area so it fits how you actually live.
Choose a Dining Table Size for the Room
You’ll start by measuring clearances and pathways so chairs pull out cleanly and traffic flows between cooking and dining zones.
Then you’ll match the table shape to your layout—round for tight corners, rectangular for long sightlines—while keeping the base and finish aligned with your material palette.
Finally, you’ll scale seating to your real life, choosing the smallest footprint that still covers weeknights and expands for guests when you need it.
Measure Clearances And Pathways
Before you fall for a table’s finish or silhouette, map the clearances and pathways so the kitchen‑dining zone functions as smoothly as it looks. Tape the table’s footprint on the floor, then add chair pull‑back and walk zones so you can move from range to sink to pantry without side‑stepping.
Keep circulation routes generous enough for two people to pass, and protect appliance doors and drawer swings. If you rely on open shelving, allow room to browse and unload groceries without blocking seating.
Use under cabinet lighting to reveal pinch points at night and confirm the path stays safe during quick breakfasts. Let your lifestyle lead: homework sprawl, hosting, or meal prep should all flow cleanly.
Match Table Shape To Layout
Because the room’s circulation lines and sightlines set the rules, match the table shape to the layout before you lock in a size. In a long, galley-like zone, an oval or rectangular top tracks the axis and keeps corners from snagging traffic.
In a square nook or bay, a round pedestal supports smoother turns and equal reach from every side.
Test layout compatibility by aligning the table’s long dimension with the primary path, not the cabinetry run, and by keeping chair-pull zones out of door swings and appliance clearances.
Let material choices reinforce flow: a slim-profile wood top warms hard-working kitchens, while matte stone or durable laminate reads calm beside busy counters.
Choose Table shapes that mirror how you host—quick weeknights or lingering weekend spreads.
Scale Seating To Needs
When your kitchen-dining zone has to flex from solo breakfasts to full-house dinners, scale seating to the people count you host most often, not the max-capacity fantasy.
Start by mapping clearances: keep 36 inches for circulation, 24 inches per place setting, and enough pull-back room for chairs. If you entertain seasonally, choose a compact everyday table plus a leaf or slim extension so the footprint stays calm.
Prioritize Seating ergonomics with seat heights that match your counter stools and supportive backs for long meals.
In your material palette, pair a hardwearing top (solid wood, quartz, or laminate) with wipeable textiles.
For Furniture durability, specify sturdy joinery and replaceable chair glides to protect floors.
Pick a Table Shape That Fits Your Flow
If your kitchen-dining zone needs to work like a hallway, a homework station, and a weeknight landing pad all at once, the table shape has to support that traffic pattern—not fight it. In tight pass-throughs, choose an oval or round top to soften corners and keep clearance consistent.
For long, galley-like rooms, a narrow rectangle aligns with the run and reinforces a clean furniture arrangement without pinching aisles. If you host occasionally but live casually, consider a square table that sits compactly, then expands with leaves when needed.
Match materials to your palette and pace: matte oak warms busy family use, quartz-look laminate resists spills, and a dark-stained top hides scuffs while grounding bright cabinetry. Prioritize walkways first.
Add Flexible Seating (Benches, Stools, Extras)
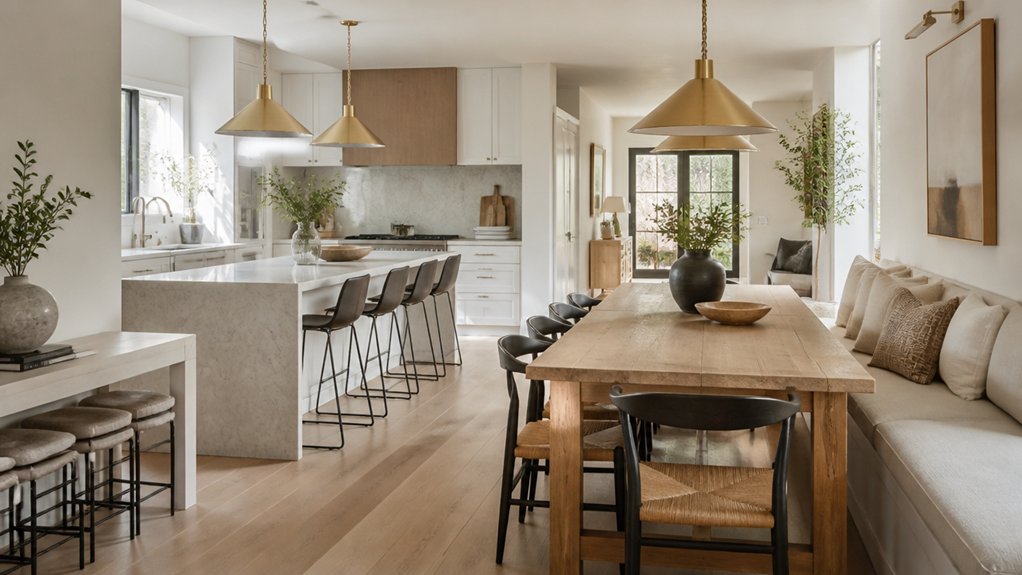
Keep your floor plan nimble by layering flexible seating where you need it most: a space-saving bench that tucks tight to the table or wall, slim stools for quick perch moments, and a couple of pull-out chairs stashed nearby.
You’ll match finishes to your palette—warm wood, matte metal, or upholstered neutrals—so every extra seat feels intentional, not like an afterthought.
When guests linger or weeknights get hectic, you can slide, stack, and store pieces fast without choking your circulation paths.
Space-Saving Bench Options
Where can you sneak in extra seats without stealing floor space? Start with space saving benches that tuck under a table or run along a wall, so your circulation path stays clear.
Choose a built-in banquette if you want a tailored footprint; it anchors the dining zone and visually calms an open kitchen.
For renters, pick a slim, backless bench you can slide away after meals.
Make it multifunctional seating by adding lift-up lids or drawers for linens, school bags, or small appliances.
Match the palette to your life: wipeable performance fabric for kids, warm oak for coziness, powder-coated steel for a modern edge.
Add a cushion depth that supports long dinners, and keep corners rounded for easy pass-throughs.
Stools For Quick Seating
Benches handle the long side of the table, but stools solve the in‑between moments—coffee at the peninsula, homework at the island, an extra guest who needs a perch fast. Place them where circulation stays clear: tuckable underhangs, 36″ aisles behind, and corners that don’t pinch.
Choose Stool styles that match your palette and cleanup habits: wipeable leatherette for kids, textured oak or ash to warm a white kitchen, powder‑coated metal to echo matte black hardware.
Prioritize Seating height so posture stays easy—counter stools for 36″ tops, bar stools for 42″ rails—and add a footrest to reduce fidgeting.
Backless stools disappear visually; low backs add comfort without blocking sightlines across the room. Add glide feet to protect floors.
Pull-Out Extra Chairs
When the guest list expands midweek, pull‑out extra chairs let you add seats without sacrificing your everyday clearances. Tuck them into a sideboard bay, under a banquette, or behind an island panel so traffic lines stay 36 inches or more.
Choose slim, armless profiles that slide out in one motion and stack neatly when you’re done. Match finishes to your palette: matte black steel for modern kitchens, white oak to echo open shelving, or upholstered seats in wipeable performance fabric that suits kids and spills.
If you entertain often, keep two pull out chairs near the table and stash two more in a pantry niche. You’ll get flexible seating that reads intentional, not improvised, and it doubles as space saving furniture.
Choose Island vs Peninsula vs Open Space

How do you decide between an island, a peninsula, or leaving the center open? Start with your room’s clearances and how you actually live day to day.
If you host often, Island advantages include 360° access, flexible seating, and a strong visual anchor for a two-tone palette—say, rift-oak base with a honed quartz top.
Choose a peninsula when walls limit circulation; it can frame the dining zone and carry matching surfaces for continuity. Still, note peninsula drawbacks: it can pinch the main aisle, create dead corners, and make the layout feel more enclosed.
If you crave an airy, multipurpose hub—kids’ projects, luggage drops, dance space—keep the center open and let lighting, rugs, and finishes define zones.
Plan Prep Space Near Dining and Serving Paths
You’ll get smoother meals when you place your prep zone right beside the dining route, so chopping, plating, and passing dishes happen in one tight loop.
Keep the serving path clear with a straight shot from cooktop and fridge to table, using durable, wipe-clean counters and low-glare finishes that hide daily wear.
If you host often or feed kids on the fly, this layout cuts cross-traffic and keeps the room calm while everyone moves.
Prep Zone Beside Dining Route
Although the prep zone often lands in the busiest stretch of the room, it can run smoothly if it sits just off the dining route rather than directly in it. You’ll keep chopping, mixing, and plating comfortable while others move between table and kitchen, because your work surface stays protected by a shallow offset or peninsula end.
Anchor the zone with a durable, low‑gloss quartz or compact laminate top, and pair it with a wipeable matte backsplash that hides splatter. Place drawers for cooking gadgets at hip height, and keep a landing spot beside the sink for rinsed produce and compost.
If your household hosts often, tuck beverage stations on the same wall run so drinks don’t invade your cutting board. Add undercabinet lighting and a slim stool perch for kids’ homework.
Clear Serving Traffic Flow
Where does the serving line naturally want to run—sink to prep to pass‑off to table—and what happens when a stool, open dishwasher, or island corner cuts across it? You feel the pinch at every meal.
Keep that spine clear by aligning sink, main prep counter, and a landing zone that faces the dining table. Give yourself 42–48 inches of aisle so two people can pass while plates move.
Place the dishwasher to the “dirty return” side, not in the serving lane, and choose a rounded island end or clipped corner to soften turns.
Support your routine with Storage solutions: tray dividers near the pass‑off, drawer stacks for flatware, and a slim beverage pullout outside the path.
Finish with Decorative accents that don’t snag circulation.
Add Storage for Cooking, Eating, and Paper Clutter
Because a kitchen‑dining room has to perform like two zones in one footprint, build storage that supports cooking, eating, and the paper trail of daily life. Put deep drawers near the range for pots, spices, and prep tools, then add slim pullouts for oils and sheet pans.
Anchor the dining side with a low credenza or banquette base so you can stash linens, placemats, and serving pieces within arm’s reach.
Create a paper station in a tall cabinet: a cork or magnetic panel inside the door, file slots, and a charging cubby to corral mail, menus, and school forms.
Choose a calm palette—matte fronts, warm wood, and a single metal—then use Organizational hacks and Decorative accents to keep it tidy.
Pick Multitask Surfaces for Table and Counters
When you ask one surface to handle breakfast, homework, and weeknight prep, you’ll get better flow by specifying materials that take heat, spills, and daily wipe-downs without looking “kitchen-only” or “dining-only.”
For the table, consider a sealed oak or walnut top (warm, forgiving, repairable) or a compact laminate/Fenix-style matte surface (low glare, fingerprint resistant). Pair these with a slim, sturdy base that keeps knees and chairs clear.
For counters, pick quartz or sintered stone in a quiet, mid-tone that bridges cabinetry and dining chairs, so your palette reads continuous. Add a matching or complementary waterfall edge only where it protects high-traffic corners.
Use integrated trivets and a flush cutting board slot to keep multifunctional surfaces tidy. These durable materials let you host, work, and cook without babying finishes.
Layer Lighting for Prep, Meals, and Homework
Even if your kitchen-dining zone runs as one open rectangle, you’ll get cleaner sightlines and better usability by layering light the same way you layer materials—each task gets its own brightness and color. Start with a dimmable ambient wash that matches your palette: warm for wood and brass, neutral for stone and matte black.
Add Task lighting where your hands work. Run undercabinet LEDs to erase counter shadows for prep, then center a pendant over the table to define meals without blasting the whole room.
If homework lands at the island, add a slim linear fixture aligned to stools so papers read clearly. Put everything on separate circuits and scenes, so you switch from cooking to dinner to study in a tap.
Reduce Wear and Noise in Busy Zones
Once your lighting scenes are set, protect the zones that take the daily beating—aisles between sink, range, fridge, and table—so the room stays calm and good-looking under real use. Start with a durable floor: matte porcelain, sealed hardwood, or LVP with a thick wear layer. Then add low-profile runners where chairs scrape and kids pivot. Specify tight grout, eased edges, and wipeable wall protection near high-traffic corners.
For quiet, layer Soundproofing materials: cork underlayment, acoustic mats beneath cabinets, and soft-close hinges and drawer slides. Plan Appliance noise reduction by spacing the dishwasher away from seating, enclosing it with insulated panels, and choosing low-dBA models. Add felt pads on stools, and keep trash and recycling on full-extension slides to prevent clatter.
Unify Kitchen and Dining With Color and Sightlines
Because the kitchen and dining areas share the same daily backdrop, you’ll get the most “one-room” feel by controlling what the eye reads first: a tight, repeatable color story and uninterrupted sightlines. Start with Color coordination: match undertones across cabinets, wall paint, and dining upholstery, then repeat one metal finish in lighting, pulls, and chair frames.
Limit contrasts to one focal element, like a bold island or art wall, so the space reads calm during busy mornings and entertaining nights. For Sightline enhancement, align major lines: keep the island parallel to the dining table, center pendants to the table axis, and choose low-back chairs that don’t block views.
Use matching floor runs and minimal thresholds to visually stitch zones together.
Conclusion
You’ve mapped your priorities, measured movement, and matched a layout to your real routine. Now keep it cohesive: choose a calm, consistent material palette—durable counters, wipeable upholstery, and warm wood tones—that can handle cooking, company, and coursework. Define zones with rugs and radiant lighting, then protect high‑traffic paths with sound‑softening surfaces. When sightlines stay simple and circulation stays clear, your kitchen‑dining space feels polished, practical, and pleasantly seamless every day.