

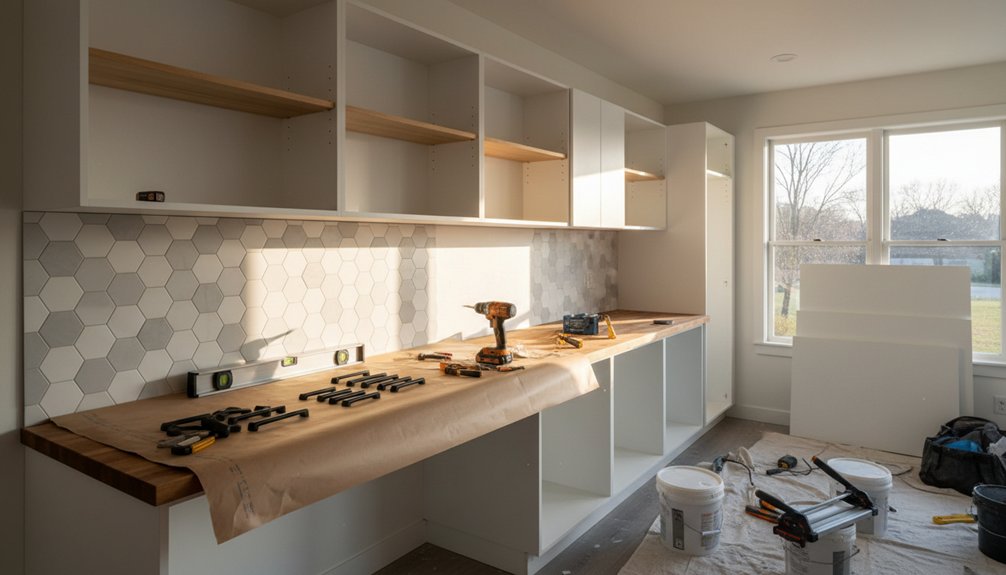
You can transform your kitchen in a weekend by choosing one high-impact move—paint cabinets, swap hardware, or upgrade lighting—then adding a quick supporting tweak like peel-and-stick backsplash or smarter storage. Start Friday by degreasing, labeling, and sanding (150–220 grit), then prime and roll two thin coats Saturday, letting doors cure flat Sunday. Add matte black or warm metal pulls, hide cords with raceways, and style shelves with 20% empty space. Keep going to see the exact steps and tools.
Key Takeaways
- Pick one main upgrade (cabinet paint, hardware, or lighting) plus one small tweak, and set a budget with 15% contingency.
- Plan around traffic flow and sightlines, focusing updates on high-touch areas like handles, sink, and main prep counter.
- Refresh cabinets fast: degrease, label, sand 150–220 grit, prime, then apply two thin topcoats with light sanding between.
- Upgrade instantly with new pulls/knobs, peel-and-stick backsplash, and warm 2700–3000K under-cabinet LEDs with hidden cords.
- Add organization and styling: pull-out caddies, tiered risers, matching canisters, a simple coffee station, plus one plant and washable runner.
Pick Your Weekend Kitchen Makeover Game Plan
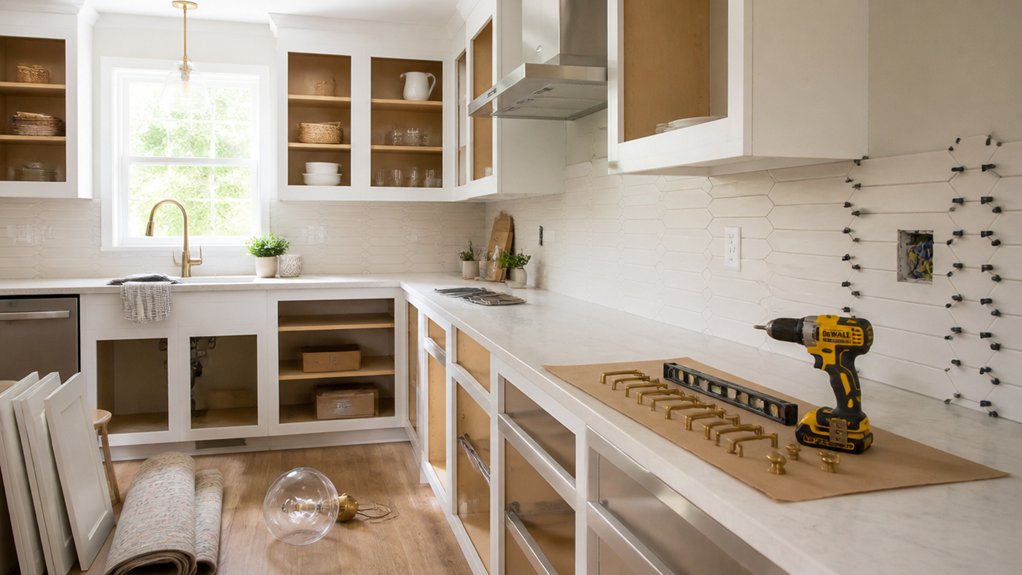
Where do you want the biggest impact by Sunday night—fresh color, smarter storage, or upgraded fixtures? Pick one primary move and one supporting tweak, then build your plan around traffic flow and sightlines.
Start with budget planning: set a hard cap, reserve 15% for surprises, and prioritize “high-touch” updates like pulls, faucets, or lighting.
Next, lock in timeline scheduling: measure Friday, buy Saturday morning, install Saturday afternoon, style Sunday.
Choose trends that read current but timeless—matte black hardware, warm metals, or layered task lighting.
If storage is the win, swap in slide-out bins, add shelf risers, and label zones (prep, coffee, snacks).
Finish with a tight reset: declutter counters, unify containers, and edit decor.
Paint Cabinets Fast (Prep, Paint, Cure Tips)
If you want your kitchen to look dramatically different by Sunday night, painting your cabinets is the fastest high-impact move—provided you treat prep, paint, and cure like a streamlined system.
Start Friday with degreasing, then label doors and hinges so reassembly’s frictionless. Do quick Cabinet sanding: scuff with 150–220 grit to dull the sheen, then vacuum and tack-cloth for a dust-free surface.
Saturday morning, nail primer application with a bonding primer; it’s the trend-proof step that prevents tannin bleed and peeling. Spray if you can, or use a microfiber mini-roller for a factory-smooth finish.
Apply two thin topcoats, sanding lightly between. Sunday, set doors flat to cure, keep airflow up, and avoid heavy use for 48 hours.
Swap Hardware for a 10-Minute Makeover
Fresh paint sets the stage, but new hardware is the 10-minute swap that makes cabinets look custom and current. Treat this hardware upgrade like jewelry: it should match your kitchen’s undertone and vibe. Warm brass flatters creamy whites; satin nickel keeps cool grays crisp; matte black adds modern contrast.
Measure your existing hole spacing (center-to-center) before you buy, and decide whether you’ll keep knobs, switch to pulls, or mix both for a designer look—knobs on uppers, pulls on lowers.
Choose cabinet handles with a comfortable projection and softened edges so they feel good daily. Use a template to keep heights consistent, tighten by hand to avoid stripping, and align every piece before the final snug.
Install a Peel-and-Stick Backsplash (Outlet Cuts Included)
Although tile looks like a weekend project, you can get the same high-end payoff in an afternoon with a peel-and-stick backsplash—especially the newer matte, textured, and “grout-line” sheets that read far more like real ceramic than the glossy versions from years ago.
Start by degreasing the wall, then dry-fit sheets to map seams and align tile patterns with your countertop line. Use a level to snap a light guideline, and work from the most visible corner outward, pressing with a roller to lock edges.
For outlets, shut off power, remove outlet covers, and trace the opening on the sheet. Cut with a sharp utility knife, test-fit, then stick and trim tight so plates sit flat. Seal edges near the sink with clear silicone.
Upgrade Kitchen Lighting (No Electrician Needed)
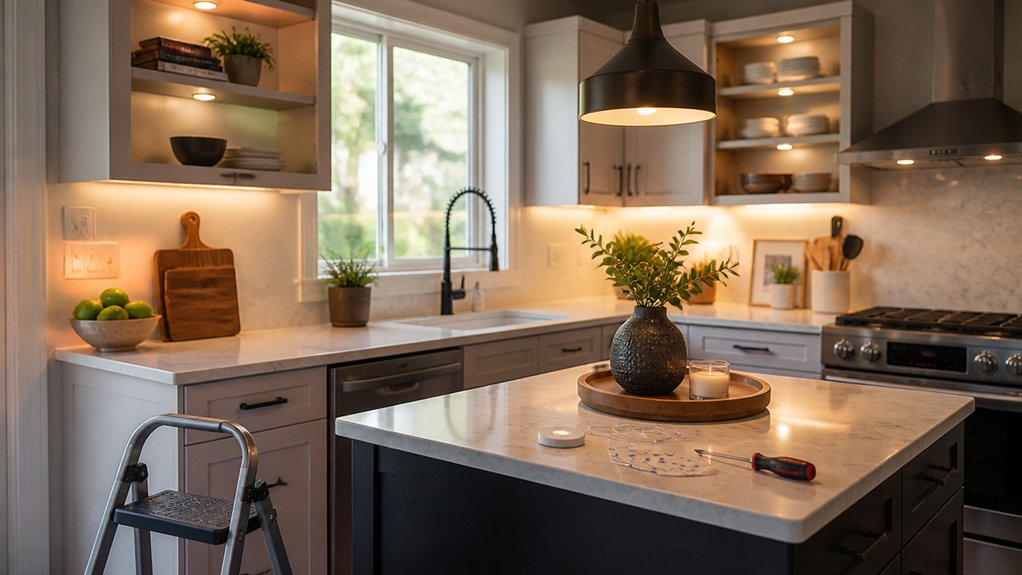
Once your peel-and-stick backsplash sharpens the wall line, lighting becomes the quickest way to make that upgrade read intentional instead of “just new.” You can boost brightness and mood without touching hardwired circuits by swapping in plug-in under-cabinet LED bars, rechargeable puck lights, or a slim plug-in pendant kit, then controlling everything with a dimmable smart plug.
Aim for 2700–3000K warmth to keep surfaces flattering, then add a cooler task strip near prep zones. Hide cords with paintable raceways and route them behind small appliances for a clean, editorial look.
Use Smart lighting routines to fade on at dusk and dim after dinner. For Mood lighting, set puck lights to a low glow inside open shelving or glass-front cabinets. Finish by matching bulb finishes (soft white) so the room reads cohesive.
Replace Your Faucet for an Instant Upgrade
Swap your faucet and you’ll change the kitchen’s whole vibe in one move, especially when you pick a modern finish like matte black, brushed gold, or stainless.
Choose a style-forward silhouette—high-arc, pull-down, or touchless—to match today’s clean, functional look.
You can usually install it in under an hour with basic tools, so the upgrade feels immediate and high-impact.
Choose A Modern Finish
If you want a fast, high-impact refresh without touching your cabinets, start with a modern faucet finish. Modern finishes set the tone: matte black reads graphic and architectural, brushed brass adds warm polish, and stainless or chrome keeps things crisp and timeless.
Match your choice to the room’s undertone—cool counters love steel, while wood or creamy stone looks richer with brass.
Look for contemporary textures, too. Brushed, satin, and fingerprint-resistant coatings hide water spots and daily smudges better than high-shine options.
If your hardware is mixed, commit to one “hero” finish at the sink and echo it subtly with a soap dispenser, drain cover, or light trim. You’ll create cohesion without making the kitchen feel overly matched.
Install In Under Hour
Because a faucet sits at eye level and gets used nonstop, replacing it delivers a surprisingly modern “new kitchen” feel in under an hour. Pick a profile that complements your kitchen layout: tall arc for deep sinks and prep zones, compact gooseneck for tight corners. Trend-forward choices include matte black, brushed brass, and stainless with slim silhouettes.
Before you buy, check hole count, deck thickness, and reach so the spout lands centered in the bowl. Match the finish to cabinet pulls, but also consider countertop materials—busy granite can handle contrast, while quiet quartz rewards a refined tone-on-tone look.
Shut off valves, swap supply lines if they’re old, and use plumber’s putty only when the manufacturer specifies. You’ll feel the upgrade every day.
Fix Kitchen Storage to Hide Daily Clutter
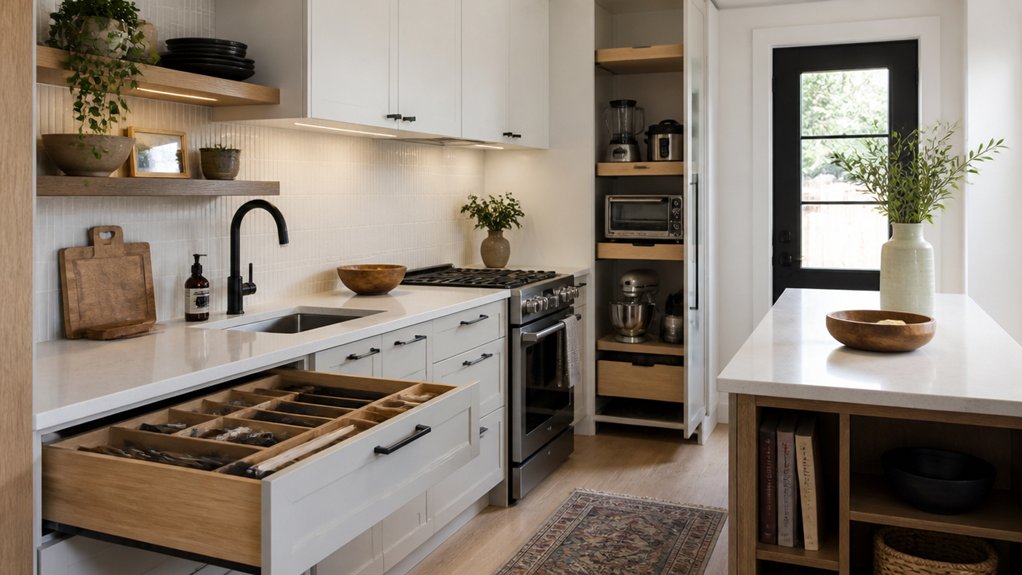
Although a beautiful backsplash and fresh paint set the mood, smart kitchen storage is what keeps your counters from turning into a daily drop zone. Start by mapping your “landing items” (mail, keys, water bottles) and give each a concealed home: a slim drawer insert near the entry, a pull-out trash/recycling caddy, and a lidded bin for snack overflow.
Add Organizational tips that work fast: stackable canisters for pantry staples, a tiered riser for spices, and under-sink trays that corral cleaners.
For clutter concealment, swap mismatched countertop holders for a single valet tray, then tuck appliances into an appliance garage or a cabinet with a lift shelf. Finish with clear labels so everything returns to place.
Weekend win, no renovation required.
Style Open Shelves So They Look Intentional
To make open shelves look intentional, you’ve got to curate a cohesive color palette that ties dishes, glassware, and accents into one clean visual story.
Keep the look trend-right by layering neutrals with one or two signature tones, then repeat them in small hits across the shelf.
Balance decor with function by mixing everyday essentials with a few sculptural pieces, and leave negative space so everything reads styled—not stuffed.
Curate A Cohesive Color Palette
Three colors can do more for your open shelves than any single styling trick: they make the display read as deliberate, not cluttered. Pick a hero hue, a supporting neutral, and a warm metal or wood tone, then repeat them across the shelf line for effortless color coordination.
For a current look, try soft stoneware whites, inky charcoal, and brushed brass, or sage, cream, and light oak.
Get palette inspiration from what’s already fixed: countertops, tile, and cabinet paint. Pull one undertone (warm or cool) and stay loyal to it.
Edit anything that fights the scheme, and swap in matching textiles or canisters. Keep finishes consistent—matte with matte, glossy with glossy—so the arrangement feels curated and modern.
Balance Decor With Function
How do you keep open shelves from feeling like a dumping ground? Start by deciding what earns that real estate: everyday dishes, glassware, or pantry staples. Group like items in tight clusters, then repeat shapes and materials for a calm, curated rhythm. Use one “hero” zone per shelf—stacked plates, matching mugs, or a set of clear jars—so the eye lands with purpose.
Next, build in functional storage: trays corral oils, risers add height, and lidded bins hide the messy stuff. Then layer decorative accents sparingly—one sculptural bowl, a small framed print, or a trailing plant—so it reads styled, not staged. Keep 20% empty space, and you’ll get that airy, modern look without sacrificing utility.
Set Up a Simple Coffee or Beverage Station
If mornings tend to bottleneck in your kitchen, a simple coffee or beverage station fixes the flow by giving drinks their own dedicated zone. Choose a low-traffic counter corner or rolling cart near an outlet, then edit it down to essentials: machine, grinder, mugs, spoons, and a small tray to corral drips.
Mount two hooks under a shelf for mugs, and add a slim canister for pods or tea sachets to keep the surface calm. Build a “grab-and-go” layer with sugar, stir sticks, and napkins in one caddy.
For a trend-forward beverage nook, mix textures—wood tray, matte black canisters, ribbed glass jars—and label everything. Your Coffee station stays tidy when every item has a defined footprint.
Fake a New Countertop (Film, Kits, Overlays)
Once your beverage station has its own zone, the countertop becomes the visual “floor” that makes the whole kitchen feel finished—and you can refresh it without a full renovation.
If countertop replacement isn’t in the budget, use peel-and-stick film to mimic marble, concrete, or terrazzo; choose thicker vinyl with a matte finish for a modern look and fewer glare lines.
For higher durability, try a countertop refinishing kit: you’ll sand, prime, roll on color, then seal with a tough topcoat. Keep edges crisp by taping the backsplash line and using a foam roller to reduce stipple.
Prefer zero-demolition upgrades? Explore overlay techniques like thin quartz or acrylic sheets that cap the existing surface, hide seams with color-matched adhesive, and update the profile with new edging strips.
Add the Final Kitchen Makeover Details (Rugs, Art, Greenery)
After you’ve handled the big-ticket surfaces, the final layer—rugs, art, and greenery—gives your kitchen its personality and polish.
Start with rugs and runners: choose a low-pile, washable option that echoes your cabinet tone and adds contrast to hard floors. Place a runner along the sink run to soften long prep sessions and visually lengthen the room.
Next, treat blank walls like a gallery. Swap generic signs for wall art and decor that feels elevated—framed line drawings, vintage food prints, or a single oversized photograph. Keep frames consistent for a modern, curated look.
Finish with greenery: tuck an herb pot by the window, hang a trailing plant, or style eucalyptus in a vase. You’ll add color, texture, and life fast.
Conclusion
By Sunday night, you’ll realize the “weekend” wasn’t a coincidence—it was the perfect container. You painted cabinets while the playlist looped, and the new pulls arrived right as the last coat flashed off. The peel-and-stick backsplash lined up with your outlets like it was measured twice. Lighting got brighter, shelves got styled, and your coffee station suddenly made mornings feel designed. Add a rug, art, and a plant, and it all clicks.