

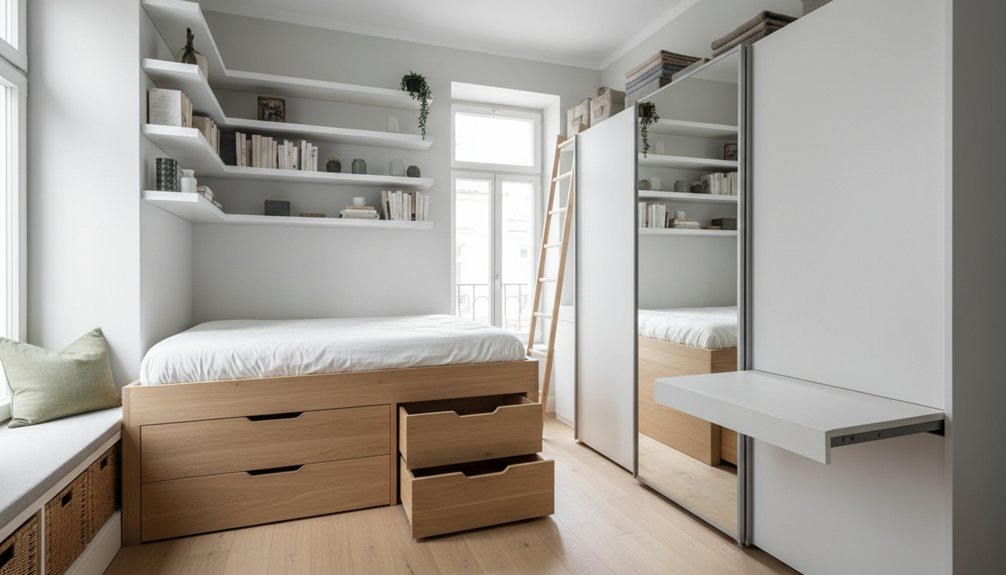
Maximise storage in compact living spaces by doing a 10-minute audit and pulling duplicates and rarely used items into a review pile. Then go vertical with shallow shelves, pegboards, and over-door hooks, keeping 20–30% of wall space empty to avoid visual clutter. Add double-duty pieces like storage ottomans, lift-top benches, and beds with drawers, plus hidden zones like under-bed bins and inside-door racks. Next, turn dead corners into shelves and set up clear daily, weekly, and seasonal zones—there’s more ahead on keeping it that way.
Key Takeaways
- Use vertical space: shelves above doors, pegboards, and hooks behind doors to store essentials without using floor area.
- Add multi-functional furniture: storage ottomans, lift-top benches, and beds with drawers to double capacity in the same footprint.
- Exploit hidden zones: under-bed bins, over-door racks, and cabinet-door hooks for backups, seasonal items, and rarely used gear.
- Create zone-based homes: entry drop zone, kitchen prep zone, work zone; keep daily items within reach and occasional items higher.
- Run quick storage audits: remove duplicates, shrink bulky containers, label by use frequency, and maintain weekly resets to prevent clutter drift.
Quick Wins to Maximise Storage in Small Homes
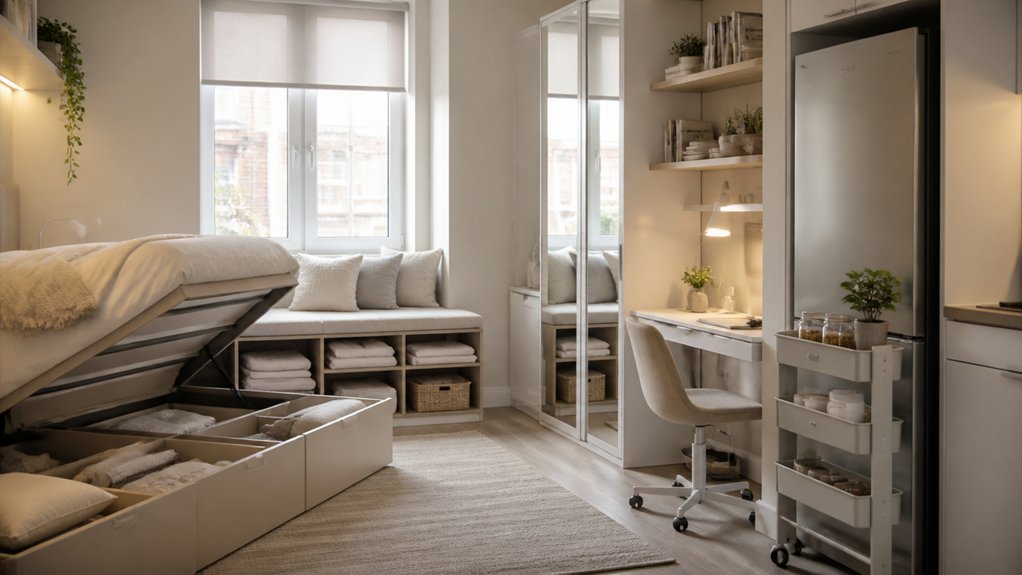
If your home feels cramped, you can gain storage fast by targeting the easiest, highest-impact spots first—vertical surfaces, dead corners, and underused furniture. Mount shelves above doors, add pegboards in kitchens, and hang hooks behind every interior door.
Drop a slim rolling cart into narrow gaps for pantry or bathroom supplies. Use corner shelves or a corner desk to reclaim dead angles without blocking walkways.
Choose storage ottomans, bed risers, and a bench with lift-top seating to double capacity instantly. Keep color schemes tight: matching bins and labels reduce visual noise and make stacked storage look intentional.
Add lighting solutions like stick-on LEDs in closets and under cabinets so you can see, access, and maintain every zone quickly.
Do a 10-Minute Small-Space Storage Audit
Set a timer for 10 minutes and scan each room for space hogs—bulky duplicates, rarely used gear, and oversized containers that block access.
Pull those items into one “review” pile so you can decide what stays, shrinks, or goes.
Then map clear storage zones (daily, weekly, seasonal) and assign each zone a specific home so nothing drifts back into prime space.
Identify Space Hogs
Where does your storage space disappear first—closets, countertops, or that “just for now” chair? Set a 10-minute timer and hunt for space hogs: bulky packaging, duplicate tools, oversized décor, and rarely used appliances.
Pull items out one category at a time and stack them on the floor so you see volume, not just mess. Tag each item with a quick label: daily, weekly, seasonal, or “why do I own this?” This exposes clutter causes like buying backups, keeping freebies, and saving “maybe someday” projects.
Challenge storage myths: more bins won’t fix overflow, and hiding piles isn’t organizing. Your goal is to spot what eats shelves and airspace, then decide what must earn its footprint today.
Map Storage Zones
How efficiently does your home’s layout support what you actually do each day? Do a 10-minute audit with storage mapping: walk each room and note what you use there, not what you “should” store there. Group items into daily, weekly, and occasional use, then assign a home within arm’s reach of the action zone.
Next, apply zone planning. Create a drop zone by the door (keys, bags), a prep zone in the kitchen (tools, staples), a work zone (chargers, paper), and a sleep zone (laundry, linens). Use vertical space: hooks, slim shelves, door racks. Label bins by zone, not category, so you’ll return things faster.
Recheck traffic paths and keep them clear.
Use Vertical Storage Without Visual Clutter
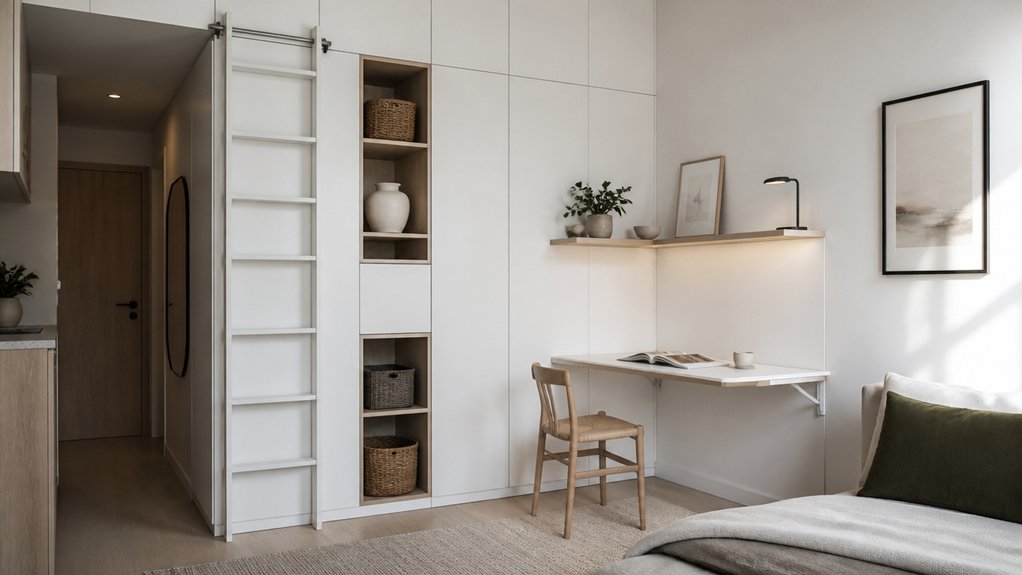
Although vertical storage can quickly overwhelm a small room, you can make it work by limiting it to a few clean lines and repeating the same finish across pieces.
Start by choosing one primary wall and commit to Wall mounted solutions there, not everywhere. Install Floating shelves in a single column or a long run, then keep spacing consistent to calm the sightline.
Cap shelf depth at 8–10 inches so you gain storage without crowding the room. Use matching boxes, baskets, or binders to hide visual noise, and label them on the spine.
Keep everyday items between shoulder and eye level; push rarely used items higher.
Finally, leave 20–30% of wall area empty so the room can breathe.
Choose Double-Duty Furniture With Built-In Storage
In a compact home, double-duty furniture gives you storage without adding another footprint. Start with your highest-use zones: seating, sleeping, dining, and work.
Choose a storage ottoman for blankets and cables, then swap a standard sofa for one with lift-up bases or drawer modules.
Pick a bed frame with integrated drawers or a headboard with shelving so you store books and chargers where you use them.
For meals and work, use a dining bench with a hinged seat, or a desk with file drawers that also functions as a console.
Prioritize multifunctional furniture with tight tolerances so lids open smoothly.
Look for hidden compartments that keep small items contained, labeled, and easy to access quickly.
Add Hidden Storage (Under-Bed, Over-Door, Inside Doors)
Once you’ve squeezed storage out of your furniture, start harvesting the “invisible” zones you already own: under the bed, above doors, and the backs of doors and cabinet fronts. Slide low-profile bins on casters under the frame, or swap to drawers; label by category so you can pull what you need fast. Add a bed skirt to keep it tidy.
Mount over-door racks for shoes, cleaning supplies, or pantry items, but measure clearance so doors still close cleanly. Inside closet and cabinet doors, install hooks, slim baskets, or magnetic strips for lids and tools.
Use concealed shelving above door trim for rarely used items in matching boxes. Finally, build Hidden compartments into headboards or toe-kicks for valuables and backups.
Turn Awkward Corners Into Smart Storage
When a corner feels too tight or too weird to furnish, you can still turn it into a high-efficiency storage zone by matching the solution to the corner’s shape and traffic flow. Start by measuring wall length, baseboard depth, and door swing so you don’t block movement.
Use corner shelving to lift items off the floor: go shallow for entryways, deeper for living rooms, and add lips or bins to stop drops.
In kitchens, choose angled cabinets to reclaim dead space without bulky protrusions; add pull-out trays or a lazy Susan to keep reach easy.
In bedrooms, tuck a narrow corner bookcase beside the bed and run a basket on the bottom shelf. Finish by labeling containers and keeping heavy items at waist height.
Set Up Zone-Based Storage That Stays Tidy
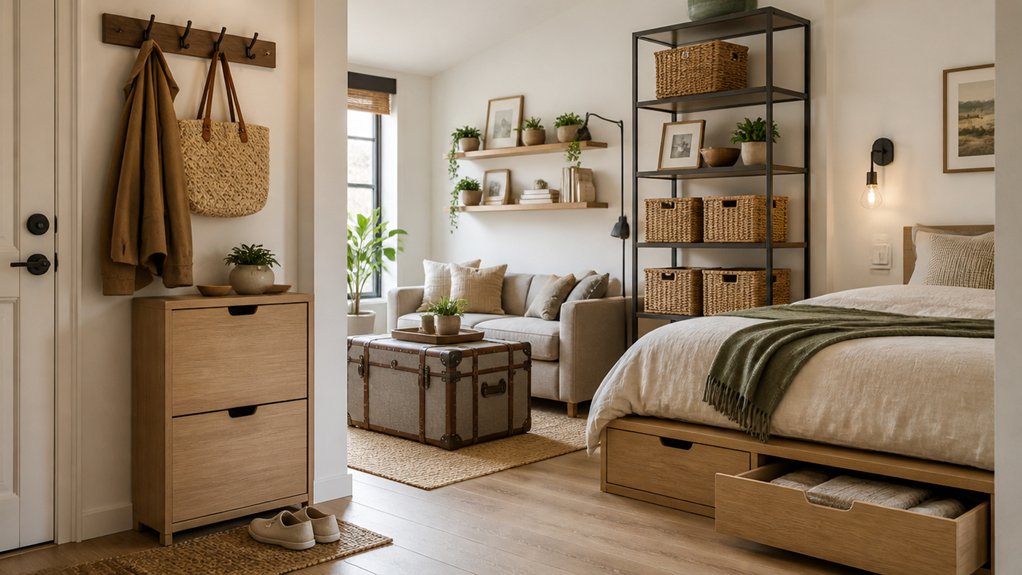
Set clear storage zones so each small area has one job, not three. Assign every item a specific home within its zone, and you’ll cut down on clutter and lost time.
Keep it tidy with a simple daily reset routine—put things back, clear surfaces, and you’re done.
Define Clear Storage Zones
How do you keep a tiny home from turning into one big “miscellaneous” pile? You define clear storage zones and stick to them. Start by mapping your space into activity-based areas: entry, cooking, work, sleep, cleaning, and hobbies.
Then match each zone to the storage it can support—hooks by the door, a drawer bank near prep space, a shelf beside your desk, and a slim cart for cleaning supplies. Use boundaries to make zones obvious: one tray per surface, one bin per shelf segment, and tape lines inside deep drawers.
This approach strengthens storage organization and simplifies clutter management because you’ll see when a zone is over capacity and needs rebalancing fast.
Assign Homes For Items
After you’ve defined your storage zones, assign every item a single, non-negotiable “home” inside the zone where you actually use it.
Store by frequency: daily items at hand height, weekly items higher or lower, rarely used items in back or up high.
Use container “addresses” so categories don’t sprawl: one bin for cords, one tray for keys, one file for manuals.
Lock it in with Labeling systems on shelves, bins, and drawer fronts, so anyone can return things without guessing.
Right-size each home: choose slim bins, vertical dividers, and stackable boxes that match your shelf depth.
Plan seasonal rotation by reserving one top shelf or under-bed box for off-season gear, and keep only the current season accessible.
Maintain Simple Reset Routines
Even if your zones and item “homes” are dialed in, a compact space stays tidy only when you run quick, repeatable reset routines. Pick two daily resets: a 2-minute morning sweep and a 5-minute night close-down. Move clockwise through your main zones—entry, kitchen, desk, sleep—returning only what’s out of place, not reorganising.
Keep a small “relocate” tray in each zone; empty it during your reset so surfaces clear fast.
Build clutter free routines by linking resets to triggers: after coffee, before charging your phone, after dinner. Use a minimalist mindset: one touch, one decision, one home. If something lacks a home, assign it immediately or bin it.
Track weekly overflow and adjust.
Conclusion
You don’t need more square footage—you need a smarter system. Start with a quick audit, then go vertical without crowding your walls. Pick double-duty pieces, add hidden storage under beds and behind doors, and claim awkward corners with fitted solutions. Finally, set up clear zones so everything has a home and stays there. Keep what you use, move what you don’t, and you’ll be cooking with gas in a compact space every day.