

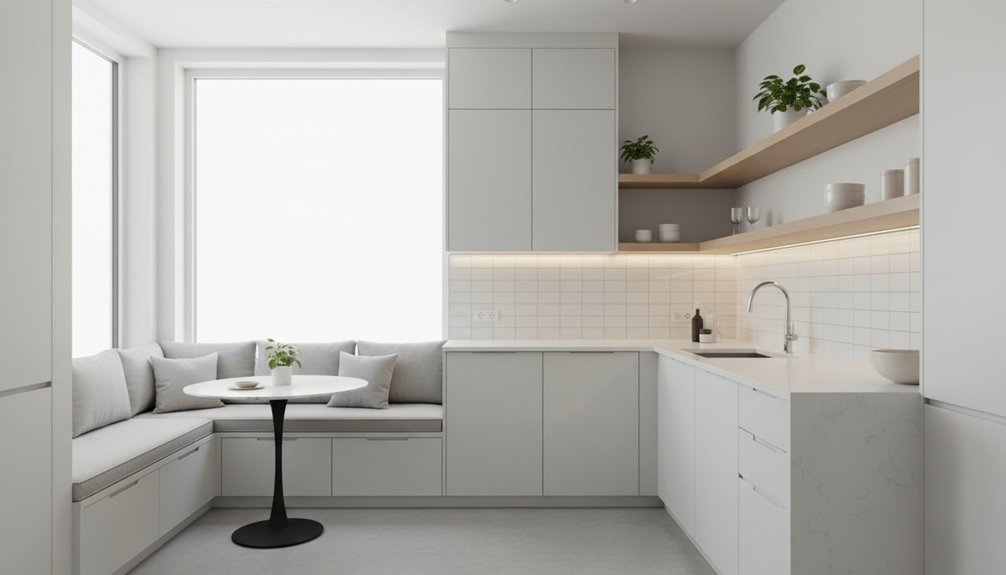
Start by mapping your kitchen to scale, noting door swings, outlets, and plumbing, then tighten the workflow by zoning prep, cook, clean, and store—keep your main prep counter beside the sink. Go vertical with rails, hooks, magnetic strips, and ceiling-high cabinets, plus hidden helpers like toe-kick drawers and pull-down racks. Choose light, flat-front cabinetry, layer dimmable lighting, and add glossy or reflective surfaces for bounce. Keep going for smart layouts and budget upgrades that pop.
Key Takeaways
- Plan the layout to scale, measuring clearances and testing zones with tape to eliminate pinch points and improve workflow.
- Create four zones—prep, cook, clean, store—placing the main prep counter beside the sink and storage near where it’s used.
- Maximize hidden and vertical storage with rails, hooks, pull-down racks, toe-kick drawers, and ceiling-high cabinets to reduce clutter.
- Visually expand the room using light warm neutrals, glossy or reflective backsplashes, and minimal hardware to bounce light and cut visual noise.
- Choose high-impact upgrades like refinished countertops, a statement faucet, layered dimmable lighting, and space-saving appliances for a custom look.
Start by Mapping Your Small Kitchen Layout
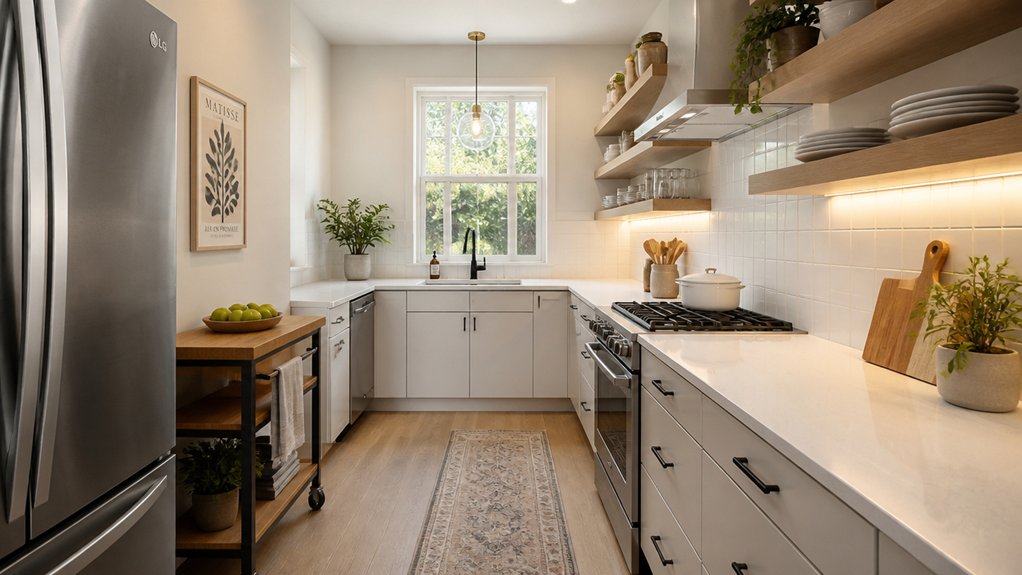
Before you buy a single organizer or pick a backsplash tile, map your small kitchen’s layout so every inch works harder. Start by measuring walls, windows, door swings, and clearances, then sketch a simple plan to scale. Mark plumbing, gas, and outlets so you don’t fight fixed lines later.
Track your daily path for five minutes—coffee, lunch, dinner—and note pinch points where you turn, reach, or double back. That’s your baseline for workflow optimization.
Prioritize Kitchen ergonomics by keeping your most-used countertop within an easy reach span and leaving comfortable landing space beside key appliances. Consider trend-forward slim-profile appliances, pocket doors, and wall-mounted faucets if they reduce depth.
Finally, test the layout with painter’s tape on the floor.
Zone the Space: Prep, Cook, Clean, Store
Once you’ve taped out the footprint, divide your small kitchen into four tight zones—prep, cook, clean, and store—so you’re not crisscrossing the room with a knife in one hand and a hot pan in the other.
Put your main prep zone beside the sink with the largest uninterrupted counter you can spare, then stash knives, boards, and mixing tools in the nearest drawer for better kitchen ergonomics.
Keep the cook zone compact: range, microwave, and cookware within one pivot, with landing space on at least one side for plating.
Anchor the clean zone around the sink and dishwasher, and add a pull-out trash/recycling right there.
Finally, cluster store items: everyday dishes near the dishwasher, pantry staples near prep, and oils/spices near the stove.
Plan appliance placement to protect flow.
Use Vertical Space With Rails, Hooks, and Shelves
Although your counter space might be limited, your walls and backsplash can do a lot of heavy lifting with a well-placed rail, a run of hooks, and a slim shelf.
Mount a stainless or matte-black rail above your prep zone and keep your most-used tools within arm’s reach. Add S-hooks for measuring spoons, a mini colander, or a pot holder, and you’ve created instant hanging storage without cluttering drawers.
Install a narrow ledge shelf for spices, oils, and salt, then corral them on a tray so they look intentional.
For vertical organization, mix closed canisters with clear jars and label the fronts for quick scans. Keep the arrangement tight, symmetrical, and easy to wipe down.
Choose finishes that match your faucet for a cohesive, modern look.
Add Storage That Doesn’t Eat Floor Space
When your walls are working hard, the next smart move is adding storage that stays off the floor and keeps your walkways clear. Think in layers: mount a slim magnetic knife strip, then add an under-shelf basket to stash wraps, filters, or spice packets.
Use toe-kick drawers under base units for flat items like trays and liners, and add pull-down racks inside uppers so you don’t need a step stool.
Choose furniture that multitasks. A drop-leaf prep ledge gives you extra counter space, then tucks back in. Try fold away furniture like a wall-mounted bistro table with brackets that disappear.
Look for hidden compartments in benches, banquettes, or rolling carts so clutter stays out of sight, and your kitchen feels calmer.
Pick Light-Looking Cabinets (and Smart Uppers)
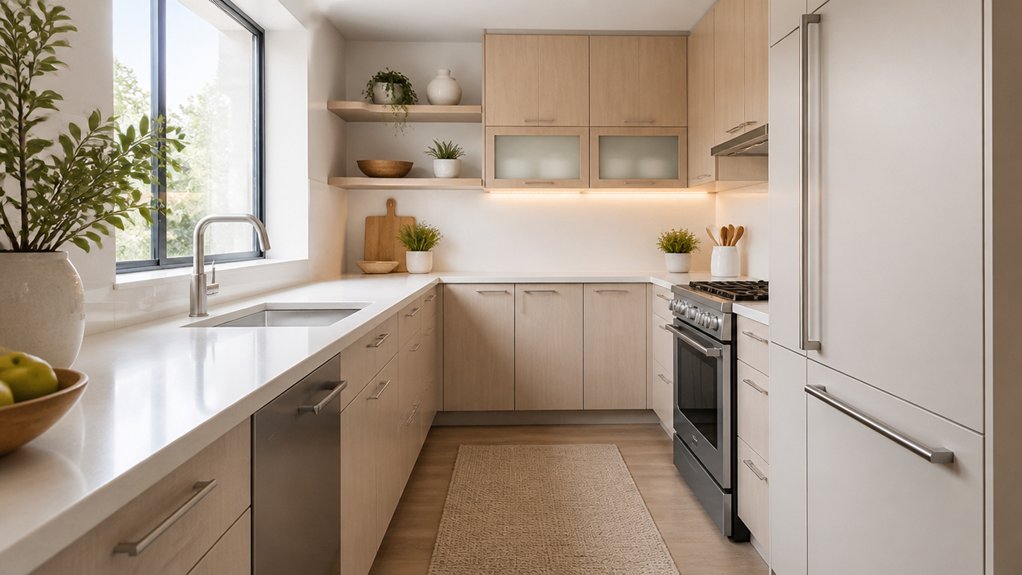
If you want a small kitchen to feel bigger without moving a single wall, choose cabinets that read visually “light” and keep the uppers doing smarter work. Go for flat fronts, minimal trim, and finishes that bounce light—soft whites, pale woods, or matte taupe for modern aesthetics without glare.
Favor cabinet materials like rift-sawn oak veneer, lacquered MDF, or slim-frame laminate that look streamlined and stay durable. Skip heavy crown molding and bulky pulls; use edge pulls or low-profile tabs instead.
For uppers, mix in glass fronts, open shelves, or a single band of cabinets to the ceiling to avoid a boxed-in line. Add under-cabinet lighting and interior organizers so every inch earns its keep daily.
Choose Space-Saving Appliances for Tight Kitchens
Even in a tight kitchen, you can gain prep room fast by sizing appliances to the space instead of forcing full-depth standards. Choose 24-inch ranges, counter-depth fridges, and slim dishwashers so doors clear walkways and cabinets open fully. Look for compact appliances with front controls and flat tops that double as landing zones.
Prioritize multi functional tools: a speed oven that bakes, broils, and microwaves; an induction cooktop with bridge zones; a washer-dryer combo if laundry shares the footprint. Go panel-ready or match finishes to cabinet hardware for a streamlined, current look.
Use ventless or low-profile hoods where ducting’s tough, but confirm CFM and noise ratings. Finally, measure with trim kits, hinge swing, and plug locations, then leave service clearance so everything fits.
Make a Small Island Earn Its Space (or Skip It)
Although a petite island looks tempting on a mood board, it has to earn its square footage in a small kitchen. Before you commit, map your clearances: you’ll want about 36 inches for traffic, more behind seating. If that math doesn’t work, skip it and keep the aisle open.
If you can fit a Small island, make it multifunctional. Choose a slim profile with waterfall-free edges, then add drawers on both sides, a pull-out trash, and open shelving for daily dishes. Consider a mobile island with locking casters so you can roll it aside when you’re cooking.
Add a narrow overhang for two stools, or go prep-only and use a drop-leaf end. Finish it in a contrasting stain or matte paint to look intentional, not cramped.
Layer Lighting to Make the Kitchen Feel Bigger
When you layer light the same way you layer textiles, a small kitchen reads wider, taller, and more polished. Start with a dimmable ceiling fixture or recessed cans to set an even ambient glow that wipes out harsh shadows.
Next, add under-cabinet LEDs to brighten counters; this task layering keeps prep zones crisp without blasting the whole room.
Then sprinkle in a decorative note: a slim pendant over the sink, a picture light above open shelving, or toe-kick lighting that makes cabinets appear to float. Keep color temperatures consistent (around 2700–3000K) so the space feels cohesive.
Put each layer on separate switches or smart scenes, and you’ll control mood, function, and perceived square footage with zero demo.
Use Color and Contrast to Visually Expand Space

Because your eye follows light-to-dark shifts, you can make a compact kitchen feel wider by tightening your palette and placing contrast with intention. Start with a light, warm neutral on walls and upper cabinets to push boundaries back, then ground the room with a slightly deeper tone on lowers or the toe-kick. Keep undertones consistent so the space reads continuous, not choppy.
Use color contrast sparingly at focal points: a darker island base, a saturated pantry door, or a crisp trim line that stretches horizontally. Match hardware finishes to your dominant tone to reduce visual noise.
If you love bold color, confine it to one plane so it supports visual expansion instead of shrinking the footprint.
Use Glossy Surfaces and Budget Upgrades That Pop
Even in a tiny kitchen, you can make the room feel brighter and bigger by adding a few glossy, light-catching surfaces and high-impact upgrades that don’t wreck your budget. Try glossy finishes on cabinet fronts, a reflective backsplash tile, or peel-and-stick mirror panels in narrow gaps to bounce daylight and task lighting.
Swap dated pulls for slim brass or matte-black hardware, and add an under-cabinet LED strip for instant sparkle and better prep visibility. If you can’t replace countertops, refinish them with a durable kit, then seal for a clean sheen.
Choose a single statement faucet with a polished finish, and keep the rest streamlined. These Budget enhancements read custom, not costly, and they visually lift tight layouts fast.
Conclusion
You don’t need more square footage—you need sharper choices. Map your layout, then zone it: prep beside cook, clean beside store, like a tight playlist instead of noise. Where walls feel empty, add rails, hooks, and slim shelves; where floors feel crowded, go vertical. Choose light-looking cabinets, skip the bulky island, and let lighting layer like daylight plus spotlight. Pair pale tones with crisp contrast, then finish with glossy, budget upgrades.