

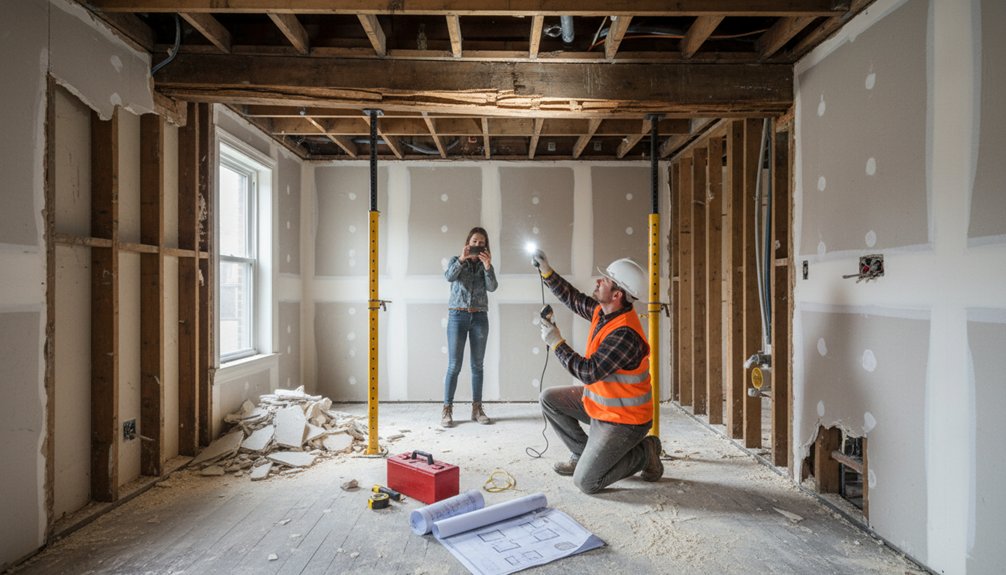
Stop work as soon as you spot cracking, sagging, rot, or shifting. Clear the area, restrict access, and take photos plus measurements before anything moves. Do a quick safety check: shut off power if wiring’s exposed, close the gas shutoff if you smell gas, and keep exits clear. Add temporary bracing only if you’re competent and loads stay vertical. Then call a structural engineer to confirm load paths, permits, and a repair sequence. What comes next can save time and rework.
Key Takeaways
- Stop work immediately, clear the area, restrict access, and add temporary bracing only if safe and competent.
- Shut off power or gas if hazards appear, keep exit routes clear, and assess collapse risk without disturbing damaged elements.
- Document everything with photos, sketches, and measurements of cracks, deflection, moisture, and suspected load paths.
- Determine whether affected walls or members are load-bearing by tracing framing above and below; assume bearing if uncertain.
- Call a structural engineer, follow their shoring and repair plan, and update permits/drawings before modifying load paths or framing.
Stop Work the Moment Structural Damage Appears
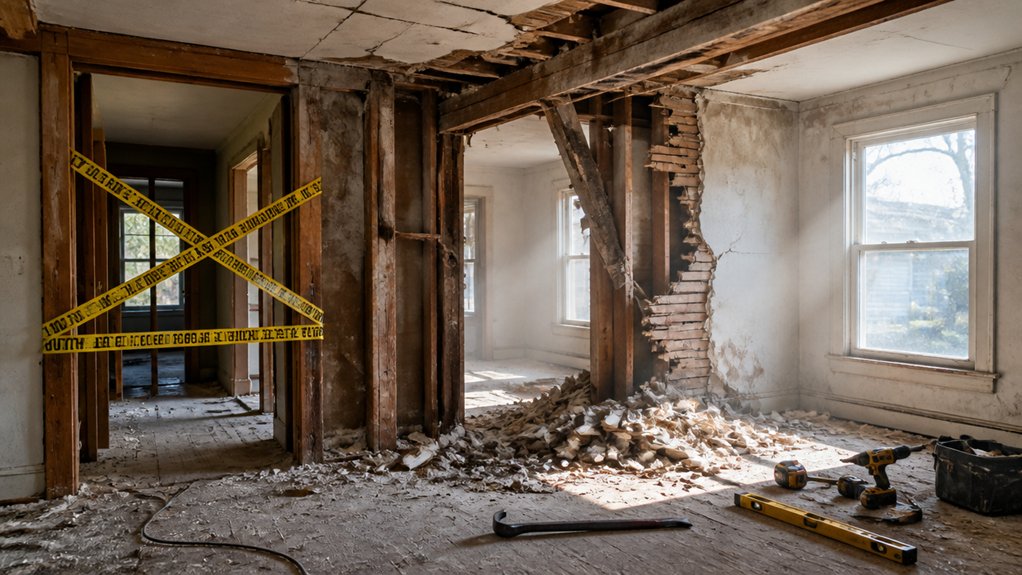
If you expose cracking, sagging, rotted framing, or other signs of structural damage during a renovation, stop work immediately and stabilize the area. Don’t cut, pry, or remove additional members; any load path change can trigger progressive failure. Clear the workspace, restrict access, and mark a no-go perimeter so no one disturbs compromised elements.
Install temporary bracing only if you’re competent and it’s safe to do so. Use adjustable posts, strongbacks, and diagonal braces to support the suspected load, bearing on solid blocking and a stable slab or sill.
Keep loads vertical, avoid eccentric jacking, and document conditions with photos and measurements. Follow your safety protocols, then contact a structural engineer or qualified contractor for direction.
Do a 5-Minute Safety Check (Power, Gas, Collapse)
Before anyone re-enters the work zone, run a fast, methodical safety check for immediate hazards—power, gas, and collapse.
Start at the panel: if wiring is exposed, breakers trip, or water contacted circuits, shut off the main and lock it out.
Scan for gas: smell, hissing, or disturbed piping means you close the gas shutoff, ventilate, and prohibit sparks.
Confirm you’ve got a clear exit path and a charged extinguisher.
Next, assess collapse risk without touching anything: note sagging joists, cracked load paths, popped fasteners, or shifting masonry; keep everyone outside the fall zone.
Document findings, enforce Safety protocols, and brief the crew on Emergency procedures before you proceed with any other action.
Shore Up the Area Before Anything Shifts
Before you remove any more material, you’ll install temporary structural supports to carry the load and prevent sudden movement.
You’ll brace floors and walls with properly rated shoring, tight fasteners, and solid bearing points so the load path stays continuous.
You won’t proceed until the area feels rigid, plumb lines hold, and nothing shifts under light controlled pressure.
Install Temporary Structural Supports
Once you expose a compromised beam, wall, or joist bay, install temporary structural supports immediately so the load path stays controlled and nothing creeps, cracks, or drops. Treat it as a Structural safety task, not a convenience step.
Use engineered screw jacks or adjustable steel posts rated for the anticipated load, set on solid bearing pads, and keep them plumb. If you build wood Temporary supports, use straight lumber, full bearing at top and bottom, and tight fastening to prevent kick-out.
Position supports beneath sound framing, not damaged fibers, and distribute loads with plates to avoid crushing subfloor or slab. Mark the area, limit access, and don’t remove material until supports are locked, inspected, and stable.
Brace Floors And Walls
Even if the damage looks localized, you should brace adjacent floors and walls right away to prevent racking, sagging, or a sudden load transfer as you work. Start by marking the suspected load path and clearing live loads (furniture, stored materials) from the bay.
For floor reinforcement, install screw jacks and a temporary beam under joists, then add solid blocking or sister members to reduce bounce. Don’t overjack; raise in small increments and monitor cracks.
For wall stabilization, fasten 2x braces diagonally to studs or masonry, anchor to the subfloor or slab, and tie into a strongback or adjacent shear element. Verify plumb with a laser, recheck fasteners daily, and keep the zone barricaded.
Is It Cosmetic: or a Real Structural Problem?
Although many renovation surprises look minor at first glance, you’ll need to separate cosmetic defects from true structural distress by checking whether the symptom affects load paths, stability, or building movement. Start by documenting the condition: measure crack width, note direction, photograph endpoints, and date everything.
Hairline drywall cracks, popped nails, and peeling paint often indicate superficial damage from shrinkage or vibration and may only need Cosmetic fixes. If you see stepped cracks in masonry, recurring cracks after patching, doors or windows that rack, sloped floors, or separations at trim, you’re likely seeing movement.
Probe for rot at sills and joist ends, check for termite galleries, and look for rusted fasteners. When symptoms progress, stop demolition and call a structural engineer.
Is That Wall Load-Bearing? Key Signs to Check
Before you remove or cut a wall, verify whether it’s load-bearing by checking the joist direction in the ceiling or floor framing—joists that terminate on the wall or run perpendicular often indicate structural support.
Next, inspect what’s directly below that wall on each level for aligned beams, posts, foundation walls, or other continuous supports.
If the framing path isn’t clear or you find stacked supports, stop work and treat the wall as load-bearing until a qualified pro confirms otherwise.
Check Joist Direction
Where do you start when you need to confirm whether a wall carries load? Check the framing above it by verifying joist direction.
In an attic, basement ceiling, or open floor system, identify joists and note their Joist orientation relative to the wall. If joists run perpendicular to the wall and appear to end, lap, or change direction at it, treat the wall as likely load-bearing.
If joists run parallel and continuous past the wall with no breaks, the wall is less likely to carry gravity load, though exceptions exist.
Next, look for concentrated framing: doubled joists, headers, or blocking aligned over the wall. Also note Beam placement; beams typically run under joists and align with bearing lines.
When uncertain, stop work and consult a structural pro.
Inspect Support Below
If the framing above suggests a bearing line, confirm it by tracing the load path below the wall down to the foundation.
In the basement or crawlspace, locate the wall’s position and check what’s directly under it: a girder, beam, lally column, stud wall, or footing.
If the wall sits over a single joist bay, spans open space, or lands on non-structural partitions, treat it as suspect and stop demolition.
Verify alignment across floors; stacked walls usually indicate a designed load path.
Inspect for doubled joists, blocking, or beam pockets that transfer loads.
Look for cracks, deflection, or crushed shims near supports, which can compromise Structural stability.
Document findings for your Support assessment and consult an engineer before altering supports.
Spot Common Structural Problems in Remodels
Once demolition exposes the building’s “bones,” you need to scan systematically for red flags that indicate compromised load paths or material failure. Check for sagging joists, cracked or notched beams, and spliced members without bearing.
Probe sill plates, rim joists, and subfloor edges for rot, insect galleries, or moisture staining that signals chronic leaks. Look for diagonal drywall cracks, racked door frames, and uneven floors that suggest settlement; confirm with a level and plumb bob.
In masonry, flag step cracks, bulging wythes, and deteriorated mortar. Inspect steel for section loss at connections and rust jacking.
Don’t let Material selection or aesthetic considerations drive you to conceal defects; stop work and shore if needed.
Photograph and Note Everything for Records/Insurance
After you’ve identified red flags like sagging members, rot, or cracking, lock in the evidence before anything gets covered, cut out, or “fixed.” Photograph each condition from wide-to-tight angles, include a scale (tape measure or ruler), and capture context shots that show location relative to doors, windows, and bearing points. Log date/time, room, and elevation; label images to match notes. Sketch a quick plan and mark photo numbers, suspected load paths, and moisture sources. Record measurements of deflection, crack width, and spacing, plus material type and fastener condition. Save originals to cloud storage and keep a read-only backup. If you’re pursuing Historical preservation, document finishes and joinery so repairs respect aesthetic considerations. Note temporary shoring installed and any access limitations for safety and clarity.
Who to Call First: Contractor, Engineer, or Inspector
Although your GC can keep the schedule moving, you should triage the call list based on risk. If you see sagging beams, cracked foundation walls, or active water intrusion, stop work and call a structural engineer first; you need a risk call before anyone alters loads.
If conditions look localized and non-urgent, call your GC to secure the site, shore as needed, and document impacts for subs.
Use a municipal inspector when you suspect unpermitted prior work or when the Permitting process requires an official stop-work or correction notice.
Bring the engineer in before you finalize Material selection for any replacement members, fasteners, or shear elements, so purchasing doesn’t lock in noncompliant products.
Coordinate calls the same day to avoid conflicting directives.
What the Structural Engineer Will Check (and Why)
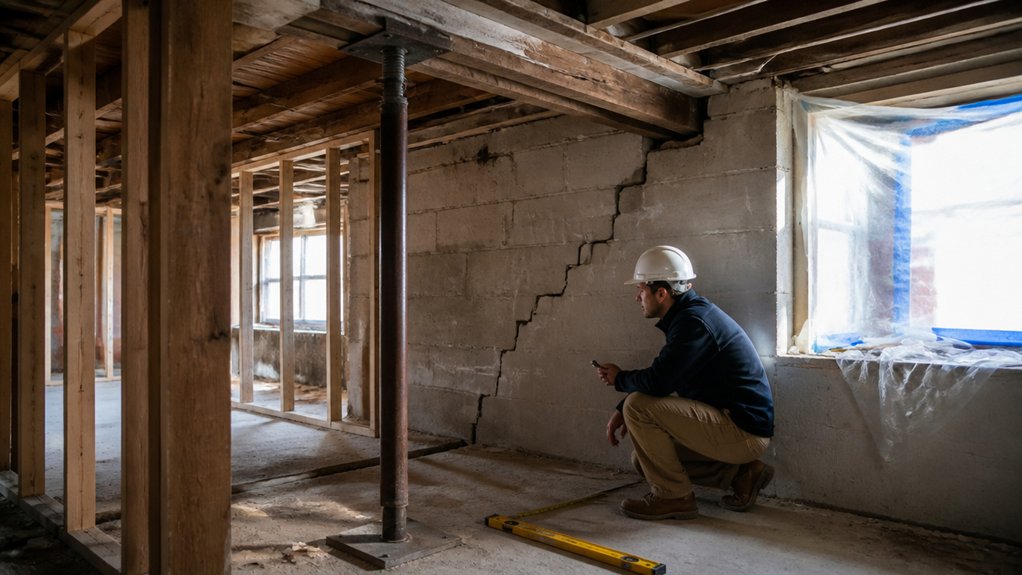
You’ll have a structural engineer verify foundation conditions and soil stability first, because settlement and poor bearing can compromise every repair.
Next, you’ll have them map load paths through beams, joists, studs, and connections to confirm the framing can safely carry and transfer forces.
Finally, you’ll have them document damage, measure deflection, and classify cracks to determine severity and specify the correct fix.
Foundation And Soil Stability
If your renovation exposes cracks, settling, or unexpected movement, the structural engineer will start by verifying foundation and soil stability because they control how every load transfers into the ground. You’ll see them map crack patterns, measure floor elevations, and compare them to prior surveys to quantify Foundation settlement and its rate.
They’ll review geotechnical records or order borings to confirm Soil composition, moisture sensitivity, and bearing capacity. They’ll check for expansive clays, loose fill, erosion, or poor drainage that can soften supporting strata.
You can expect inspection of footings for size, depth, undermining, and concrete deterioration, plus checks for differential movement at corners and additions. If they suspect ongoing soil movement, they’ll specify monitoring points and re-leveling intervals before you authorize repairs.
Load Paths And Framing
Once the foundation checks out, the engineer will trace the home’s load paths—roof to walls to beams to columns to footings—so every removed, notched, or altered piece of framing gets evaluated for what it used to carry and where that load now goes.
You’ll see them confirm member sizes, spans, species/grade stamps, and connection details like hangers, straps, bolts, and nailing schedules. They’ll verify bearing points: joists fully seated on plates, beams centered on posts, and posts aligned over supports.
They’ll review openings you’ve widened for proper headers, jack/king studs, and lateral restraint, and they’ll check diaphragm continuity at floors and roofs. If your framing techniques changed, they’ll specify engineered replacements, blocking, or load transfer hardware to keep loads predictable and code-compliant.
Damage, Deflection, And Cracks
After the engineer confirms how loads should travel through the framing, they’ll look for signs that the structure hasn’t been carrying those loads well. You’ll see them map cracks, measure widths, and note patterns: stair-step masonry, diagonal shear cracks, or horizontal foundation cracks.
They’ll distinguish cosmetic damage from active movement by checking crack edges, paint bridging, and recent patching. They’ll also evaluate deflection: sagging joists, sloped floors, and beam camber loss, using levels, laser lines, and span/deflection limits.
You should expect moisture checks, since rot and corrosion often drive deformation. They’ll flag aesthetic cracks that align with overstressed openings, undersized members, or missing lateral bracing.
Based on these findings, they’ll define monitoring, repairs, or temporary shoring to protect occupants and prevent progressive failure.
Will Structural Repairs Change Your Permit Plans?
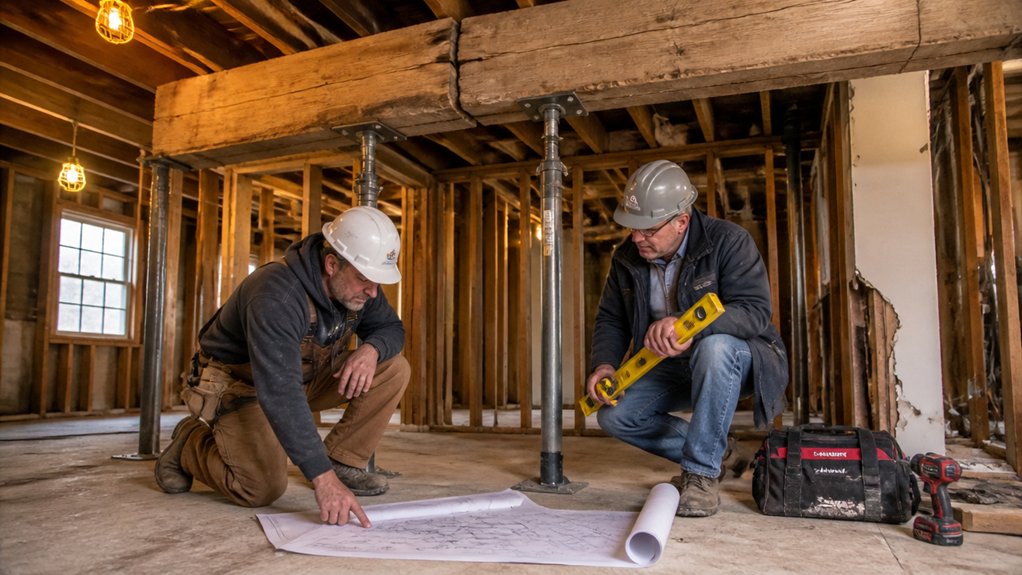
Because structural repairs can alter load paths, tie-ins, and code triggers, they often change what your permit needs to show. If you add a beam, sister joists, or replace a bearing wall with posts, your drawings must reflect revised framing, connections, and support points.
You’ll likely need permit adjustments with updated structural notes, details, and calculations stamped by an engineer, especially when span tables no longer apply. The building department may also require revised lateral bracing, anchorage, and fire blocking, depending on what you expose.
Don’t proceed on “field fixes” alone; document conditions, verify existing sizes and species, and confirm footing capacity. Keep your inspector in the loop so inspections align with the updated sequence and code compliance.
How to Budget Structural Repairs Without Panic
Although a surprise structural finding can feel like a budget derailment, you can control costs by treating the repair like a scoped engineering task, not an open-ended “fix it” request.
Start with a written engineer’s report that defines load paths, required members, connections, and temporary shoring. Use that scope to request line-item bids: demo, shoring, materials, labor, inspections, and restoration.
For Budget planning, set a hard cap for “unknowns” and fund it as a contingency reserve, not a blank check. Require Cost estimation with unit rates (per linear foot of beam, per pier, per sheet of sheathing) so changes stay measurable.
Prioritize life-safety items first, then code-required work, then cosmetic reinstatement.
Track approvals in writing and stop work if conditions deviate from design.
Reset Your Schedule After Structural Repairs
A tight repair scope and line-item budget keep costs predictable; next you need a schedule that reflects the structural work and the inspections that gate it. Start by getting your engineer’s repair sequence and required cure times in writing, then map each hold point: demo complete, shoring installed, reinforcement set, pour/fastener inspection, sign-off.
Build timing considerations around lead times for lumber, steel, epoxy, and specialty fasteners, plus inspection windows and rework buffers. Rebaseline all downstream trades: framing, MEP rough-ins, drywall, and finish.
You’ll need contractor coordination meetings to confirm access, power shutdowns, temporary supports, and material staging. Lock a single critical path and update it weekly. Don’t allow parallel work that compromises load paths or blocks inspector visibility. Document every schedule change in your change orders.
Prevent Repeat Structural Problems (Water, Pests, Loads)
Once you’ve opened up the structure, treat the fix as incomplete until you’ve removed the conditions that caused it—usually water intrusion, wood-destroying pests, or unintended loads. Trace moisture paths with a meter, then seal penetrations, repair flashing, and confirm positive drainage.
Add or verify gutters, downspout extensions, and a capillary break at slab or sill interfaces. For pests, remove cellulose contact, maintain 6–8 inches of clearance to grade, and schedule a licensed inspection before you close cavities.
For loads, don’t rely on Interior aesthetics: confirm header sizing, joist spans, fastener schedules, and load paths to footings.
If you’re planning Landscaping enhancements, keep irrigation off foundations, control grading, and avoid soil buildup against siding.
Document photos and measurements for future maintenance.
Conclusion
When your renovation exposes a sagging beam or cracked framing, you don’t push on. You stop, scan for live wires, gas odor, and shifting loads, then brace the area like setting a jack under a soft floor. You confirm what’s structural, verify load paths, and update permits before you rebuild. You rewrite the budget and timeline with clear contingencies. Finally, you seal out water, pests, and overloads, so the fix holds.