

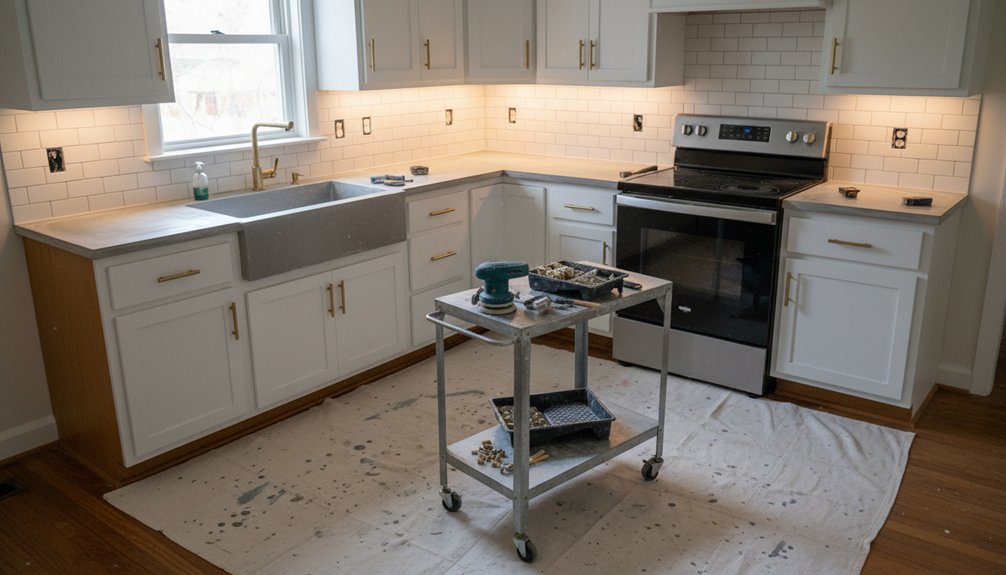
Start with a quick audit: keep solid, square cabinet boxes and refinish doors, then fix damage risks first. Set a no-gut budget with real quotes and hold back 10–20% for surprises. Plan the workflow from rough-ins to paint, flooring, cabinets, and final hookups so you don’t redo work. Refresh cabinets with primer and durable enamel, swap hardware, add layered LED lighting, and install a simple backsplash. Next, upgrade the sink, faucet, and only the appliances that truly pay off. Keep going for a step-by-step order of work and smart material picks.
Key Takeaways
- Inspect cabinet boxes, counters, wiring, and ventilation; fix structural or water issues first before cosmetic upgrades.
- Plan the workflow and schedule long‑lead items early; do dusty work first and sequence trades to avoid rework.
- Refresh cabinets by cleaning, sanding, priming, and painting or staining; update hardware and only replace hinges if needed.
- Improve countertops without demo by polishing, sealing, patching chips, regrouting tile, or using durable overlays and refinishing kits.
- Add high-impact upgrades like a simple backsplash, layered LED lighting, and a new sink/faucet that fit existing cutouts and plumbing.
Keep, Replace, or Refinish? Quick Kitchen Audit
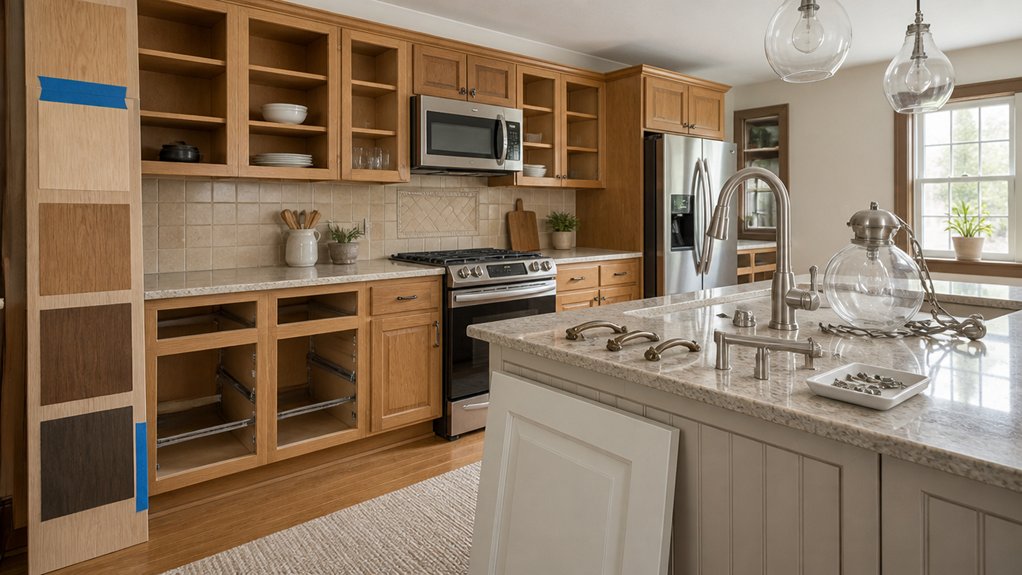
Next, check surfaces. If cabinet boxes feel solid and square, you can refinish doors, add new hardware, or reface selectively.
If counters have minor burns or dulling, consider polishing or a durable overlay instead of demolition.
Inspect lighting, outlets, and ventilation; small upgrades can shift the whole look.
Add timing considerations: order long-lead items early and schedule dusty work first.
Use simple budgeting strategies: prioritize fixes that prevent damage, then cosmetics.
Set a Kitchen Remodel Budget (No Gut Job)
Now you’ve audited what stays, you need a no–gut job budget that’s anchored to your must-haves—function fixes first, then cosmetic upgrades if money’s left.
Price out those priorities with real quotes, and cap every “nice-to-have” so it can’t steal funds from the essentials.
Then add a 10–20% contingency line for surprises like hidden water damage, missing trim, or electrical tweaks.
Define Must-Have Priorities
Before you price out finishes and fixtures, decide what absolutely has to change and what you can live with, because that list becomes your budget guardrail for a no–gut job.
Walk the kitchen and flag pain points: broken drawer slides, poor lighting, limited prep space, or a failing dishwasher. Rank each item by impact on daily use, safety, and maintenance. Keep anything that’s functional and merely dated.
Then lock your design style so you don’t chase random upgrades. Use consistent material selection to control costs: refinish existing cabinets, swap pulls, and choose one countertop and backsplash combination.
Spend where performance matters—soft-close hardware, task lighting, faucet, and ventilation—while delaying low-value changes like moving plumbing or replacing solid cabinet boxes. Write the list, price it, and stick to it.
Allocate Contingency Funds
Your must-have list sets the target, but a no–gut kitchen still needs a cash buffer for surprises you won’t spot during a walkthrough. Build Contingency planning into your budget by reserving 10–20% of your total for hidden issues: a leaking shutoff valve, cracked tile under the dishwasher, rotted subfloor at the sink, or a breaker that can’t support new lighting.
Keep that money separate from “nice-to-haves” so you don’t raid it for a backsplash upgrade. Price your core scope first, then add the contingency line item and treat it as non-negotiable until the project closes.
Budget flexibility also means timing: buy long-lead items early, but hold off on optional accessories until final inspections pass and all invoices arrive.
Plan the Order of Work (Avoid Redoing Steps)

You’ll save money and headaches if you map every demo cut to the finish it supports, from flooring changes to backsplash edges.
Build your schedule around dependencies—plumber and electrician first, then drywall/patch, then paint, then floors, then cabinets, then countertops, then tile and fixtures.
When each trade hands off cleanly to the next, you won’t pay to undo fresh work.
Map Demolition To Finishes
Even if you’re only swapping a few finishes, mapping demolition to the final install order keeps the kitchen functional and prevents paying twice for the same labor. Start with Demolition planning: list exactly what must come out (old backsplash tile, damaged drywall, one cabinet run) and what stays protected (counters, appliances, floors).
Then tie each removal to your finishes selection so dimensions and edges line up—tile thickness, trim profiles, paint sheen, and caulk lines. Work backward from the last visible detail: hardware, touch-up paint, and sealant.
Mark which steps create dust or require drying time, and group them before you reinstall anything sensitive. Use taped floor paths, plastic walls, and labeled fasteners so reassembly doesn’t stall. Keep a “do-not-remove” list on-site.
Schedule Trades By Dependency
Once demolition ties cleanly to the finishes you’ve chosen, the next cost saver is scheduling each trade by dependency so nobody installs something that must come back out.
Start with rough-ins: electrician, plumber, and HVAC adjust lines for your kept cabinets and appliances. Then close walls, patch ceilings, and paint before anything gets set.
Bring flooring next unless you’re reusing cabinets; in that case, install cabinets first and floor up to toe-kicks to avoid wasting material.
Template counters only after base cabinets are leveled and secured. Schedule backsplash after counters, then final paint touch-ups.
Finish with trim, hardware, and final electrical/plumbing hookups. Good trade scheduling and strict dependency management cut change orders, idle time, and rework.
Paint or Stain Cabinets for a New Look
If your cabinet boxes are solid and the layout still works, paint or stain delivers the biggest visual upgrade for the least money. Start by cleaning with a degreaser, then label doors and hinges so reassembly stays painless.
For cabinet painting, sand or degloss, spot-prime knots and tannins, then use a bonding primer and durable enamel; spray for the smoothest finish, or roll with a microfiber mini-roller to limit texture.
When weighing stain versus paint, choose stain if the wood grain is worth showing and the existing color isn’t wildly uneven; you’ll still need sanding and a tough clear topcoat.
Budget time for curing, not just drying, before heavy use.
Swap Cabinet Hardware for Instant Updates

Because your hands touch knobs and pulls every day, swapping cabinet hardware delivers a fast, high-impact refresh for relatively little money. Start by measuring your existing hole-to-hole spacing on pulls so you can reuse holes and avoid patching.
If you’re switching from knobs to pulls, use a drilling template and painter’s tape to mark centers accurately. Choose finishes that coordinate with your faucet and appliances; brushed nickel and matte black hide fingerprints and wear.
Replace hinges only if they’re exposed or squeaky. Buy a few pieces first and test them on a door to check scale and comfort. Shop multi-packs, clearance bins, or online bundles to cut costs.
With consistent Cabinet hardware, you’ll get Instant updates instantly.
Layer Lighting: Ambient, Task, and Accent
While new cabinets and counters grab attention, layered lighting often changes how your kitchen feels and functions for far less money. Start with ambient lighting: swap dated ceiling fixtures for an LED flush mount or slim recessed wafers on a dimmer so you can brighten prep time and soften dinner light.
Add task lighting where you work—under-cabinet LED tape or puck lights with a plug-in driver cost little and eliminate shadows on sinks and cutting boards.
Finish with accent lighting to add depth: toe-kick strips, glass-front cabinet lights, or a small spotlight on art. Use warm 2700–3000K bulbs for comfort, match color temps across fixtures, and put each layer on separate switches or smart plugs for control.
Refresh Countertops Without Full Replacement
Good lighting makes every surface look better, so tackle countertops next before you spend on a full tear-out.
Start by identifying your countertop materials: laminate, solid surface, stone, tile, or butcher block.
Clean with a degreaser, then fix chips with color-matched epoxy and sand smooth.
For laminate or worn solid surface, DIY countertop refinishing kits can add a tougher topcoat and updated color; follow cure times exactly and ventilate well.
If you’ve got tile, regrout and seal, or replace only cracked tiles to avoid demo.
For butcher block, scrape, sand, and re-oil or apply a hardwax finish.
Seal stone and use a polish for shine; avoid acidic cleaners.
Replace only the worst sections if needed.
Add a Backsplash for High-Impact Style
After you’ve cleaned and refreshed your countertops, add a backsplash to deliver the biggest style upgrade per dollar. You don’t need a full tear-out: peel-and-stick tiles or mesh-mounted ceramic sheets let you cover a small area fast and keep labor low.
Pick a simple tile pattern—subway in a running bond, stacked, or herringbone—to steer the whole room’s look without changing cabinets.
Measure the run, add 10% for cuts, and dry-lay a row to avoid thin “sliver” pieces at corners. Use a level ledger board so the first course stays straight.
Your grout color matters: match tile for a seamless field, or contrast for graphic definition. Seal grout if it isn’t pre-sealed, and wipe haze promptly.
Upgrade the Sink and Faucet in an Afternoon
Even if you keep your existing cabinets and counters, swapping in a new sink and faucet can modernize the whole workspace in an afternoon. Measure your cutout and cabinet depth first, then choose a drop-in or undermount that matches what you’ve got to avoid extra carpentry.
For savings, keep the drain location and reuse the disposal if it’s solid. Pick Eco friendly materials like stainless steel with high recycled content, fireclay, or composite granite for durability.
If your style leans classic, pair the basin with vintage fixtures in brushed brass or polished nickel, but confirm the faucet’s hole count and reach.
Shut off valves, swap supply lines, and add plumber’s putty or silicone where required. Test for drips, then caulk edges cleanly.
Replace Only the Appliances Worth Upgrading
Start by replacing only the appliances that change your daily workflow the most, like a failing range or a noisy, uneven-cooling fridge.
You’ll get the best payback when the upgrade cuts energy use enough to offset the price, so compare kWh, water ratings, and estimated annual operating costs before you buy.
Measure your openings and clearances, check door swing and venting, and choose sizes and configurations that fit your current layout so you don’t trigger costly cabinet or electrical changes.
Prioritize High-Impact Upgrades
Because appliances can eat up a huge chunk of your budget, you’ll get the best return by replacing only the ones that noticeably improve daily use, efficiency, or reliability. Start by listing daily pain points: uneven cooking, a noisy dishwasher, or a fridge with broken drawers. Replace the single appliance that fixes the biggest frustration first, and keep the rest if they function well.
Choose models that fit existing cutouts and hookups to avoid cabinet, countertop, or electrical rework. Measure widths, depths, and door swings, and confirm venting requirements before you buy.
If you keep most appliances, refresh the look with Decorative accents like matching pulls or a new faucet, and add Storage solutions such as rollout trays or a trash pullout to improve workflow fast.
Evaluate Energy Efficiency Gains
Once you’ve handled the biggest daily frustrations, run the numbers on energy use so you don’t sink money into swaps that won’t pay you back. Pull last year’s utility bills and note your kWh and therm totals.
Then check the EnergyGuide label on your fridge, dishwasher, and range hood; compare estimated annual cost to current models. Upgrade only when savings cover the price premium within your planned stay—often 5–8 years.
Prioritize the refrigerator if it’s 15+ years old, and a dishwasher if it lacks soil sensors and heat-dry options.
Before buying, tackle insulation improvements around exterior walls, rim joists, and duct gaps to reduce load.
When you do replace, choose energy efficient appliances with rebates, and document model numbers for claims.
Match Appliances To Layout
Before you replace anything, map your appliance sizes and door swings to the way your kitchen actually functions so you don’t pay for an “upgrade” that creates clearance problems. Measure width, depth, and hinge side, then mark walk paths, drawers, and adjacent doors.
Smart appliance placement keeps the fridge from blocking the cook zone and lets the dishwasher open without trapping you at the sink.
Upgrade only what improves layout harmony: a counter-depth fridge that clears an aisle, a slide-in range that aligns with existing counters, or a quieter dishwasher sized to your cabinet opening.
Skip changes that force electrical or gas relocations, new venting, or cabinet rebuilds. If a unit still works and fits, keep it, service it, and spend on parts that remove bottlenecks.
Update Floors, Walls, and Trim to Finish Cleanly
Even if you keep your cabinets and counters, fresh floors, crisp wall paint, and clean trim lines can make the whole kitchen look newly finished.
Start by evaluating your flooring materials: vinyl plank for moisture resistance, refinished hardwood for warmth, or large-format tile to reduce grout maintenance. Patch dips and squeaks first; underlayment costs less than fixing failures later.
Next, simplify wall textures. If you’ve got heavy stipple, skim-coat or prime with a high-build primer so paint lays flat and light reflects evenly. Choose a washable satin or eggshell, and cut in carefully around cabinets to avoid ragged edges.
Finish with caulked seams, straight paint lines, and updated baseboards or quarter-round. Touch up nail holes, then seal and paint trim in semi-gloss for durability.
Conclusion
You don’t need a full gut job to get a kitchen that feels new; you need smart choices. Keep what still works, refinish what’s tired, and replace only what truly fails—anaphora that saves money and headaches. Stick to your budget, follow your work order, and protect fresh finishes as you go. Paint cabinets, swap hardware, add a backsplash, and upgrade the faucet for high-impact change. Spend big only where daily performance demands it.