

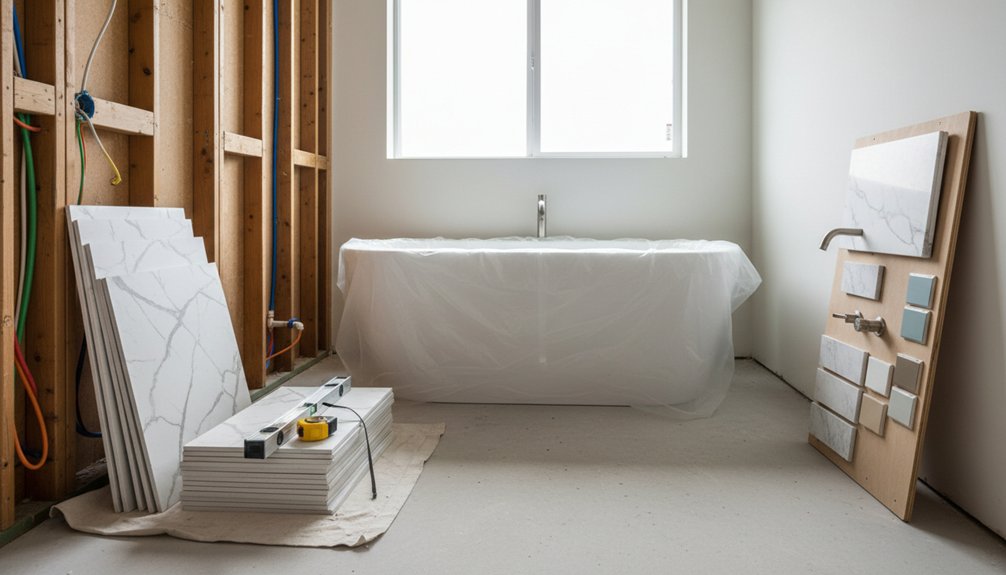
Start by setting a line-item budget for demolition, plumbing, electrical, ventilation, waterproofing, finishes, permits, and inspections, then add 10–20% contingency. Choose your remodel level and rank must-haves like storage, access, lighting, and moisture control. Measure and sketch a scaled layout, map drains and vents, and confirm local code for GFCI, wet-rated lighting, and exhaust ducting. Lock fixtures and tile before permit drawings, compare detailed bids, and schedule inspections—there’s more ahead.
Key Takeaways
- Set a line-item budget with 10–20% contingency, then lock layout, fixtures, and finishes early to prevent scope creep.
- Measure and map the space precisely, including drains, vents, studs, and openings, to test layouts and avoid rework.
- Confirm local code and permit requirements for plumbing, electrical, GFCI, ventilation, wet-area lighting, and waterproofing before final plans.
- Choose durable, moisture-rated materials and fixtures—porcelain tile, slip-resistant floors, ANSI-rated grout, solid brass valves, and water-safe vanity construction.
- Plan essentials upfront: exhaust fan ducted outside, layered lighting with dimmers, smart storage, and clear written bids with allowances and change-order rates.
Set Your Bathroom Renovation Budget
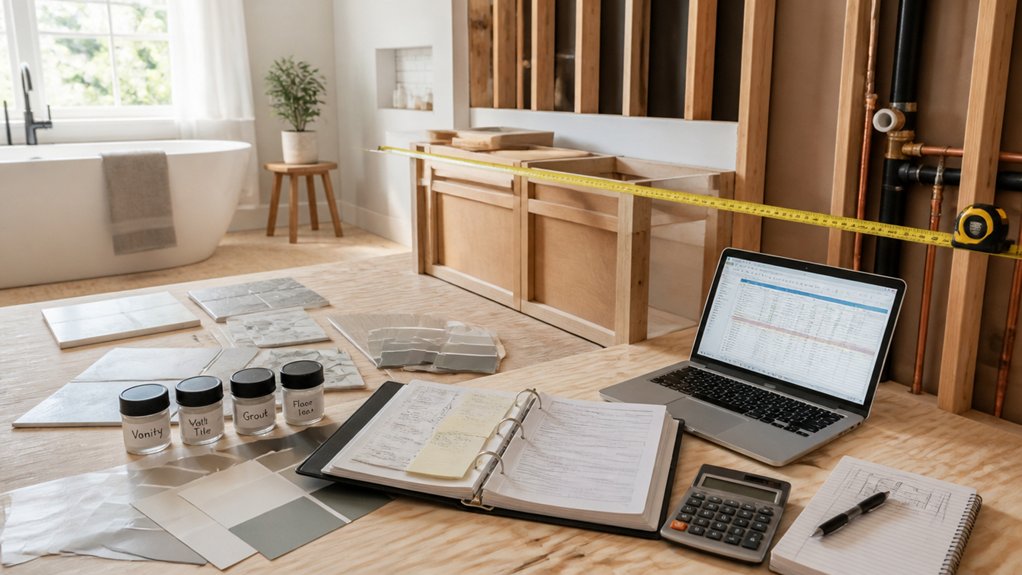
Before you pick tile or fixtures, lock in a bathroom renovation budget that reflects your goals, your home’s condition, and the code-compliant work required behind the walls. Start with a line-item Budget allocation: demolition, framing, plumbing, electrical, ventilation, waterproofing, finishes, permits, and inspections.
Verify local requirements for GFCI protection, wet-area lighting ratings, exhaust fan ducting to the exterior, and shower pan or membrane systems—these can drive labor and material costs.
Add a 10–20% contingency for concealed damage, subfloor rot, or outdated wiring you can’t see yet.
Use Cost saving strategies that don’t compromise compliance: keep existing drain locations, choose stock sizes for vanities and glass, and phase noncritical upgrades.
Get written bids that specify scope, allowances, and change-order rates.
Define Your Remodel Level and Goals
Now you’ll define your remodel level—refresh, partial remodel, or full gut—so the scope matches your budget and any permit, plumbing, electrical, and ventilation code requirements.
List your functional priorities first, such as storage capacity, shower access, lighting quality, and moisture control, and rank them by daily impact.
With scope and priorities set, you can make design and fixture choices that meet your goals without triggering avoidable rework or inspection issues.
Determine Remodel Scope
Whether you’re invigorating finishes or rebuilding the space from the studs, you’ll get better results by defining the remodel scope up front: set your goals, pick a remodel level (cosmetic update, mid-level rework, or full gut), and decide what must change versus what can stay.
Document existing conditions and verify dimensions, framing, and substrate integrity before you lock plans.
For a cosmetic update, keep plumbing locations and focus on Bathroom aesthetics, durable materials, and coordinated Color schemes.
For a mid-level rework, plan targeted layout tweaks, fixture swaps, and selective tile replacement while confirming venting, GFCI/AFCI protection, and waterproofing details meet code.
For a full gut, assume permits, inspections, and complete system coordination.
Define budget ranges, timeline constraints, and acceptable alternates to control scope creep.
Set Functional Priorities
Because every bathroom has a different mix of daily users, storage demands, and accessibility needs, set your functional priorities first and let them drive your remodel level and goals.
List must-haves (better ventilation, safer entry, more storage) and nice-to-haves (heated floors, smart lighting), then rank them by impact and cost.
Confirm code basics early: GFCI-protected receptacles, adequate lighting levels, proper fan sizing and ducting, and clearances around the toilet and shower.
If aging-in-place matters, plan for blocking in walls, a curbless shower, and lever hardware.
Use Design inspiration to guide layout choices, not override them.
Align Material selection with slip resistance, moisture ratings, and cleanability so your upgrades perform long after the punch list.
Measure the Bathroom and Map the Layout
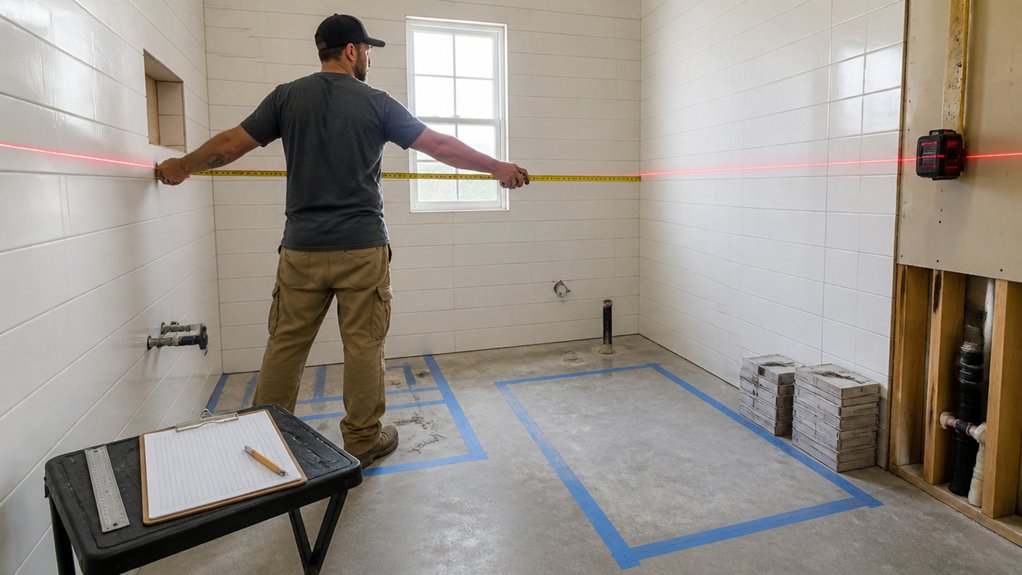
Before you choose fixtures or finalize finishes, measure the bathroom accurately and map the existing layout so your renovation stays code-compliant and constructible. Start by sketching the Bathroom layout and labeling every wall length, ceiling height, and opening.
Use reliable measurement techniques: a laser measure for long runs, a tape for tight corners, and a level to confirm plumb walls. Note window and door sizes, swing directions, and casing depth so clearances work in real life.
Mark the centerlines of the toilet flange, drain locations, and supply stub-outs, plus the vent fan and light boxes. Photograph each wall straight-on, then record where studs, outlets, and shutoffs sit.
Finally, draft a scaled plan with a consistent ratio so you can test placements without guessing.
Check Permits, Code, and Plumbing Limits
Once you’ve mapped the existing layout, verify what your local building department and plumbing code will allow so your plan doesn’t fail inspection or force costly rework. Call or check the municipality website for permit requirements tied to fixture moves, venting changes, electrical updates, and structural work.
Confirm whether you need separate plumbing, electrical, and building permits, plus licensed-trade signoff. Review plumbing regulations for pipe sizing, trap and vent distances, cleanouts, shutoff accessibility, and required backflow protection.
If you’re relocating a toilet, shower, or tub, confirm drain slope, vent routing, and stack capacity before opening walls. Check fire-rated assemblies in multifamily buildings and waterproofing standards in wet zones.
Document approvals, schedule inspections early, and keep stamped plans on-site.
List Must-Haves vs Nice-to-Haves
While your floor plan and code constraints set the boundaries, you’ll keep the renovation on budget and on schedule by separating true requirements from upgrades. Start with must-haves tied to safety and function: compliant ventilation, GFCI protection where required, adequate task lighting, accessible shutoffs, and storage that prevents clutter at entries.
Confirm clearances for door swings and fixture use, and prioritize repairs that protect the structure.
Then list nice-to-haves that reflect Design trends: a second sink, niche shelving, heated floors, smart mirrors, or upgraded lighting scenes. Add eco friendly options to either list based on payback and goals, such as low-flow fixtures, efficient fans, and LED controls.
Keep a written scope, and label items “Phase 1” or “Later” to avoid change orders.
Choose Durable Bathroom Materials (Tile, Floor, Vanity)
Even if your layout is locked in, the materials you choose for tile, flooring, and the vanity will determine how well the bathroom handles daily water, heat, and cleaning without cracking, swelling, or becoming a slip hazard.
For wet zones, pick porcelain tile with a low water-absorption rating and use an ANSI A118-rated thinset and grout. Specify a slip-resistant floor (look for DCOF data) and keep *connections* flush to reduce trips.
In main areas, consider LVT rated for wet rooms or sealed porcelain; avoid unsealed hardwood.
For the vanity, choose plywood boxes with waterproof finishes, not MDF, and require moisture-resistant toe-kicks.
Ask about Eco friendly options like recycled-content tile and low-VOC sealers, while balancing aesthetic considerations such as grout color, tile scale, and edge profiles.
Pick Fixtures and Finishes That Hold Up

You’ll get longer service life by choosing fixtures made from proven materials like solid brass valves, stainless fasteners, and vitreous china.
By confirming they’re UPC/ASME listed and compatible with your water pressure and supply lines, you can ensure proper performance and safety.
You’ll also reduce call-backs by prioritizing timeless, easy-to-clean finishes—brushed nickel, chrome, and simple matte black—rated for bathroom humidity and cleaning products.
Pick a coordinated set now so trim, drain assemblies, and accessories match, stay available, and meet code clearances and anti-scald requirements.
Choose Durable Materials
How long will your new bathroom look and perform like new? You control that by specifying durable, code-compliant materials rated for wet locations. Use porcelain or ceramic tile with a low water absorption rate, and choose cementitious backer board or an approved waterproof membrane in shower and tub surrounds.
For floors, pick slip-resistant surfaces that meet your local requirements for wet areas and passages.
Select solid-surface or quartz countertops with sealed edges, and use moisture-resistant drywall only where allowed, never inside the shower zone.
Choose stainless or brass supply lines, quality shutoff valves, and corrosion-resistant fasteners to prevent leaks and staining.
Balance eco-friendly options with aesthetic considerations by selecting low-VOC sealants, recycled-content tile, and sustainably sourced vanities that still withstand daily cleaning.
Prioritize Timeless Finishes
Planning for longevity, prioritize classic finishes and proven fixture lines that meet your local plumbing and electrical codes while staying easy to service years from now. Choose widespread faucet sets with standard valve bodies, and confirm shutoffs, GFCI protection, and wet-location rated lighting before you buy.
Stick to neutral metals like chrome or brushed nickel, and select tile in established sizes so future repairs match. If you love Vintage fixtures, source models with readily available cartridges, trim kits, and documented rough-in dimensions.
Balance trend with performance by mixing Natural textures—stone-look porcelain, honed quartz, or matte ceramics—that hide water spots and resist etching. Specify slip-resistant flooring that meets local coefficient requirements, and pick low-maintenance grout colors.
You’ll get a bathroom that looks current, passes inspections, and stays dependable.
Plan Lighting, Ventilation, and Storage Now
Before you finalize tile and fixtures, lock in a lighting plan, a properly sized exhaust fan, and realistic storage locations, because these choices drive wiring routes, duct runs, and framing clearances that must meet code.
For lighting design, layer task lighting at the mirror, wet-rated recessed or sealed fixtures in the shower zone, and dimmable ambient light.
Place switches where you’ll reach them from the entry, and confirm GFCI protection and required clearances from tubs and showers.
Evaluate ventilation options early: size the fan to the room, duct it to the exterior with a short, insulated run, and include a timer or humidity sensor to meet moisture-control best practices.
Finally, map storage between studs or in vanities so plumbing, blocking, and door swings don’t conflict.
Hire the Right Bathroom Renovation Pros
Before you hire a bathroom renovation pro, you’ll verify their state license, local registrations, and current liability and workers’ comp insurance so the work stays code-compliant and you’re protected.
You’ll request detailed written bids that itemize scope, materials, allowances, permits, and a clear schedule.
Then you’ll compare bids line by line to confirm you’re pricing the same work and to avoid change-order surprises.
Verify Licenses And Insurance
Even if a contractor comes highly recommended, you should still verify their licenses and insurance because your bathroom renovation must meet local code and protect you from liability. Ask for the contractor’s license number and confirm it with your state or local board as part of license verification, including any required plumbing or electrical credentials. Check that the license is active, correctly classified, and free of unresolved violations.
Next, request proof of insurance coverage sent directly from the insurer: general liability and workers’ compensation at minimum. Confirm policy dates, limits, and that you’re listed as the job-site address if possible.
If the contractor uses subcontractors, require the same documentation for each trade. Don’t allow work to start until paperwork matches the scope and jurisdiction requirements exactly.
Compare Detailed Written Bids
How do you know which contractor’s price reflects real, code-compliant work instead of missing scope? Require detailed written bids that itemize labor, materials, permits, inspections, disposal, and contingency.
Confirm each bid specifies waterproofing method, backer board type, pan or membrane system, ventilation CFM, GFCI/AFCI upgrades, shutoff valves, and final trim-out. Ask for brand/model numbers for fixtures, tile, grout, and fan so allowances don’t hide shortcuts.
During cost comparison, align scopes line by line: demolition, framing repairs, plumbing rough-in, electrical rough-in, drywall, tile prep, and painting. For bid evaluation, flag vague terms like “as needed” and “standard.”
Insist on a payment schedule tied to milestones, not dates, and a clear change-order process.
Build a Realistic Renovation Timeline
Because trades, inspections, and material lead times rarely line up perfectly, you’ll need a renovation timeline that’s built around real constraints, not best-case assumptions.
Start with Timeline milestones: design approval, permit submission, rough-in, inspection, waterproofing, tile, trim, and final inspection. Tie each step to specific dependencies, like framing before plumbing rough-in and approved pan testing before tile.
For Project scheduling, confirm who pulls permits, what inspections your jurisdiction requires, and the booking windows for plumbers, electricians, and tile setters. Add float time for inspection reschedules and delivery buffers for specialty fixtures.
Plan temporary water shutoffs and keep one working toilet if possible. Document start and completion dates for each trade, and require daily site clean-up to maintain safe access.
Avoid Change Orders and Budget Overruns
While a bathroom remodel can look straightforward on paper, most change orders and budget overruns start when you finalize selections late or discover scope gaps after demolition.
Lock your layout, tile, fixtures, and lighting before permit drawings go in, and confirm lead times match your schedule.
Require a detailed scope: plumbing valve locations, GFCI receptacles, ventilation CFM, waterproofing method, and grout/caulk specs.
Ask your contractor for changeless policies on pricing, allowances, and substitutions, and get every assumption in writing.
Use a line-item budget with unit costs, and keep a 10–15% contingency for hidden damage.
Don’t approve work that violates code or manufacturer requirements; failed inspections cost time and money.
Document changes immediately to protect predictable expenses.
Conclusion
You don’t need a perfect plan to start, but you do need a code-compliant one to finish on budget. If you’re thinking permits and inspections will slow you down, they’ll actually protect your schedule by catching venting, GFCI/AFCI, waterproofing, and drain-slope issues before tile goes in. Lock your layout, specs, and must-haves early, then confirm lead times and a written scope with your pros. That’s how you avoid change orders and surprises.