


let’s look at removing the stress and ways on how to manage a renovation project without losing your mind. You won’t lose your mind during a renovation if you set a one-sentence goal, rank your top priorities, and lock must-haves before work starts. Define scope in writing, including what stays, what changes, and how “done” gets measured. Build an itemized budget with a 10–20% contingency and track it weekly. Get multiple detailed bids, verify licenses and references, and finalize permits and materials before demo. Then run weekly check-ins, keep a decision log, and approve change orders in writing—there’s more ahead to keep you on track.
Key Takeaways
- Define a one-sentence success goal, rank top priorities, and separate non-negotiables from nice-to-haves to prevent scope creep.
- Document a detailed scope with completion criteria, demo limits, and permit needs before work starts.
- Build an itemized budget with a 10–20% contingency, track spending weekly, and restrict contingency to true surprises.
- Choose contractors using multiple detailed bids, verified licenses/insurance, and reference checks—don’t pick solely on lowest price.
- Set a communication rhythm with decision logs and written change orders that capture cost and schedule impacts before proceeding.
Set Renovation Goals, Priorities, and Must-Haves
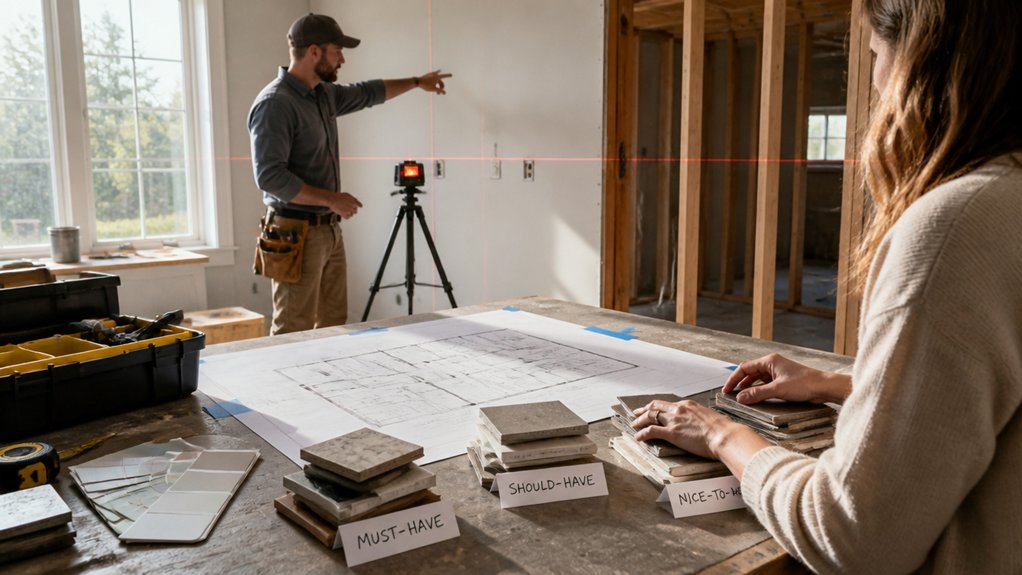
Before you pick up a hammer or call a contractor, define what “success” looks like for your renovation and what you’re willing to trade to get there. Write a one-sentence goal, then rank your top three priorities: function, comfort, durability, resale, or aesthetics.
Flag non-negotiables (e.g., more storage, better lighting) and list “nice-to-haves” you can cut if costs rise.
Collect design inspiration with limits: save only examples that match your home’s constraints, and note what you like (layout, finishes, color).
Set guardrails for material sourcing: choose acceptable brands, lead-time ranges, and substitution rules so you don’t get forced into last-minute, pricey swaps.
Finally, define decision owners and deadlines to prevent churn and delays later.
Scope the Work Before You Price It
Once you’ve set your goals, you need a clear scope of work—otherwise every “estimate” you get is just a guess with hidden exclusions. Document exactly what’s changing, what stays, and what “done” means for each area. List demolition limits, framing changes, mechanical work, permits, inspections, and site protections like dust barriers.
Define material selection in writing: product lines, grades, finishes, fixtures, and who purchases and stores them. Lock in key dimensions and performance requirements (layout, clearances, waterproofing details, ventilation, electrical loads).
Clarify design aesthetics with a simple spec sheet: colors, profiles, tile patterns, trim reveals, and hardware style. Note constraints—access hours, parking, noise rules, lead/asbestos testing.
When contractors bid the same scope, you compare apples to apples.
Build a Budget With a 10–20% Contingency
Now you’ll translate your defined scope into true project costs by itemizing labor, materials, permits, design fees, and temporary living or storage expenses.
You should then set aside a 10–20% contingency to cover change orders, hidden damage, and price swings without stalling the job.
As work starts, you’ll track spending against line items weekly and adjust early—cut, defer, or re-sequence tasks—before overruns compound.
Estimate True Project Costs
Although it’s tempting to price only the visible work, you’ll manage risk better by estimating your *true* renovation cost: labor, materials, permits, design fees, waste hauling, temporary living expenses, and any required inspections or upgrades triggered by code.
Start with a line-item scope and request written quotes that separate demolition, framing, MEP, finishes, and cleanup. Confirm what’s excluded: patching, moving utilities, lead/asbestos testing, and disposal fees.
For Material sourcing, verify lead times, delivery charges, returns, and substitution rules so you don’t pay rush premiums.
For Design aesthetics, budget for samples, mockups, custom fabrication, and hardware consistency across rooms.
Cross-check allowances against real products, then update totals when you choose fixtures.
Track cash-flow timing so you’re ready for deposits and milestone payments.
Set Aside Contingency Funds
Because renovations rarely go exactly to plan, you should build a contingency line into your budget—typically 10–20% of the total project cost—to cover hidden damage, code-required upgrades, and scope clarifications that surface after demolition.
Treat it as Emergency planning, not “extra money” to spend. Keep it in a separate account or budget category so you don’t accidentally allocate it to upgrades you merely want.
Define what qualifies: structural rot, outdated wiring, plumbing leaks, asbestos testing, permit revisions, or inspector-mandated fixes.
Tie contingencies to Safety precautions first, then to compliance, then to performance (like insulation fixes).
Decide who can authorize contingency use—only you, or you plus your contractor—and require written change descriptions.
If you don’t use it, roll it into savings or future maintenance.
Track Spending And Adjust
Once demolition starts, your budget stops being a static plan and becomes a control system you need to monitor weekly. Set up Cost tracking in a simple spreadsheet or app: log every invoice, receipt, change order, and delivery fee the day it hits. Compare actuals to your line-item targets, not just the total, so you’ll spot overruns early.
Build in a 10–20% contingency and treat it as restricted cash, not “extra.” When a category runs hot, make Budget adjustments immediately: cut scope, swap finishes, renegotiate labor, or move funds from a low-risk line. Require written approval for any spend outside the plan.
If you don’t track and adjust fast, small variances snowball into schedule delays and rushed decisions later.
Get Bids and Choose the Right Contractor
Now you’ll get multiple detailed bids that break out labor, materials, timelines, and allowances so you can compare scope and pricing apples-to-apples.
You’ll verify each contractor’s license, insurance, bond status, and relevant permits.
You’ll confirm references with recent, similar projects.
You’ll choose the contractor who documents everything clearly and manages risk upfront, not the one with the lowest number on the page.
Compare Multiple Detailed Bids
Scrutinize Material sourcing: brands, grades, lead times, and who owns substitutions if items go unavailable.
Check Design aesthetics assumptions: paint lines, trim profiles, tile layout, and fixture models—small omissions cause expensive “extras.”
Confirm what’s excluded (dump fees, patching, touch-ups), the payment schedule tied to milestones, and the change-order process.
Then pick the bid that’s complete, realistic, and least ambiguous, not just the lowest price.
Verify Contractor Credentials
Before you sign anything, verify each contractor’s credentials to reduce legal, financial, and safety risk. Start with licensing verification through your state or local board, and confirm the license is active, correctly classified, and free of disciplinary actions.
Ask for proof of general liability and workers’ comp insurance, then call the carrier to confirm the policy is current and covers your project type.
Run background checks on the company and owner, including lawsuits, liens, bankruptcies, and address history, so you don’t inherit hidden disputes.
Check permits: a reputable contractor pulls them in their name, not yours.
Finally, request three recent references and one current jobsite visit to validate crew professionalism, schedule control, and safety habits.
Finalize Plans, Permits, and Selections Before Demo
Even if your contractor’s ready to swing a sledgehammer, you’ll save time and prevent costly rework by locking in the full scope—final drawings, engineering notes, and a clear change-order process—before demolition starts. Confirm dimensions, loads, and MEP routes so framing and rough-ins match the plan, not assumptions.
Next, secure permits and required inspections in writing, then verify lead times. Complete Material selection early—tile, fixtures, cabinetry, windows—so substitutions don’t derail budget or Design aesthetics. Collect spec sheets, model numbers, finishes, and installation requirements, and confirm what the contract includes versus allowances.
Finally, walk the site and mark what stays, what moves, and what’s protected. Photograph existing conditions, shutoffs, and utilities. If anything’s uncertain, pause demo until it’s resolved.
Set a Communication Rhythm and Decision Log
Once demolition starts and multiple trades overlap, you’ll keep the project on track by setting a fixed communication rhythm and maintaining a simple decision log. Create a communication plan: one weekly site walk, one midweek check-in, and a daily text window for urgent questions. Confirm who attends, how you’ll share photos, and where files live, so no one “misses” an update.
Use decision tracking to reduce rework. Log every choice with date, room, spec, model number, finish, and who approved it. Note any dependencies (lead times, install sequence) and attach links or photos.
After each meeting, send a two-minute recap: tasks, owners, due dates, and open decisions. You’ll spot gaps early and prevent misaligned expectations.
Handle Change Orders and Surprise Repairs Calmly
A steady communication rhythm and decision log keep everyone aligned, but they won’t prevent changes or hidden conditions from surfacing mid-renovation. When they do, you’ll stay calm by treating every change order like a mini project: define scope, price, and schedule impact before work starts. Require written approval and a revised timeline to prevent Unexpected delays from quietly cascading.
Ask your contractor for photos, code citations, and options (repair vs. replace) so you can choose based on risk and long-term value. Set a contingency threshold (for example, 10–15%) and decide who can authorize spends under it.
If you sense Communication breakdowns, pause, restate the decision, and confirm next steps in one message.
Conclusion
You’re the captain of a ship crossing tricky water: your goals are the map, scope is the route, and your 10–20% contingency is the lifeboat. You vet the crew with bids, then lock plans, permits, and selections before you cast off. You keep a steady radio check-in and a simple decision log so storms don’t scramble you. When hidden rot appears, you write change orders, adjust course, and keep sailing.