

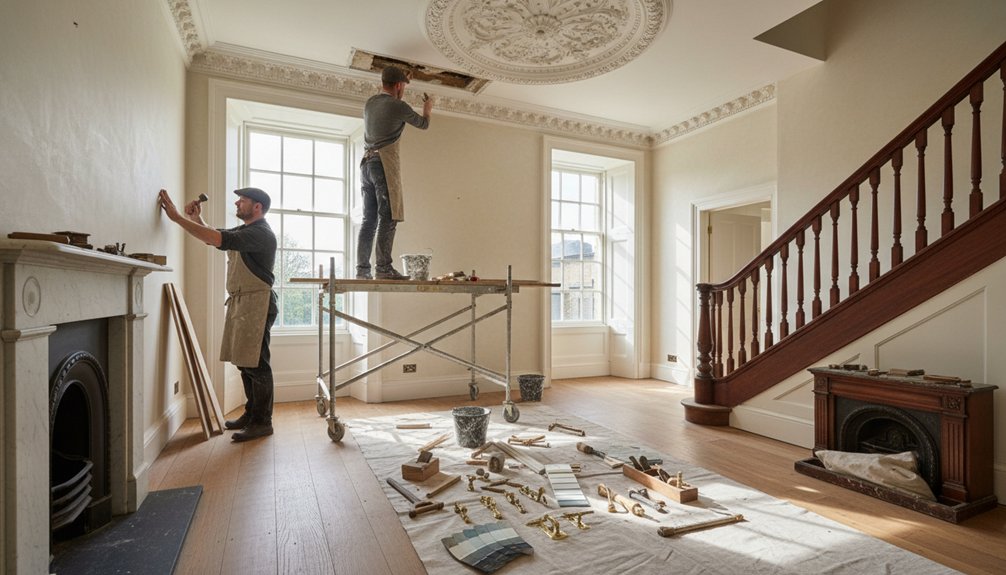
Start by surveying and photographing original fabric—sash profiles, joinery marks, lath-and-plaster thickness, skirting heights, and paint layers—so you can prioritise rare, intact elements and plan like-for-like, reversible repairs. If your home is listed, you’ll need consent backed by measured drawings and method statements, and you should use heritage trades who understand lime plaster, moulded cornices, and traditional joinery splices. Upgrade services through existing voids, add discreet draught seals, and keep finishes breathable. Next, you’ll see how to phase the work room by room.
Key Takeaways
- Start with a measured survey documenting original joinery, plaster, paint layers, and defects to guide minimal, reversible interventions.
- Secure Listed Building Consent early, supported by heritage statements, drawings, and method statements specifying traditional, breathable materials.
- Repair lime plaster, cornices, and joinery like-for-like, using lime putty mixes, timber splices, and avoiding gypsum or impermeable modern finishes.
- Restore sash windows and shutters by repairing cords and glazing bars, squaring frames, and adding discreet draught seals without changing sightlines.
- Upgrade electrics, plumbing, and heating by routing services through existing voids, minimizing chases, and choosing vapour-permeable, accessible installations.
Survey Significance and Plan Your Restoration
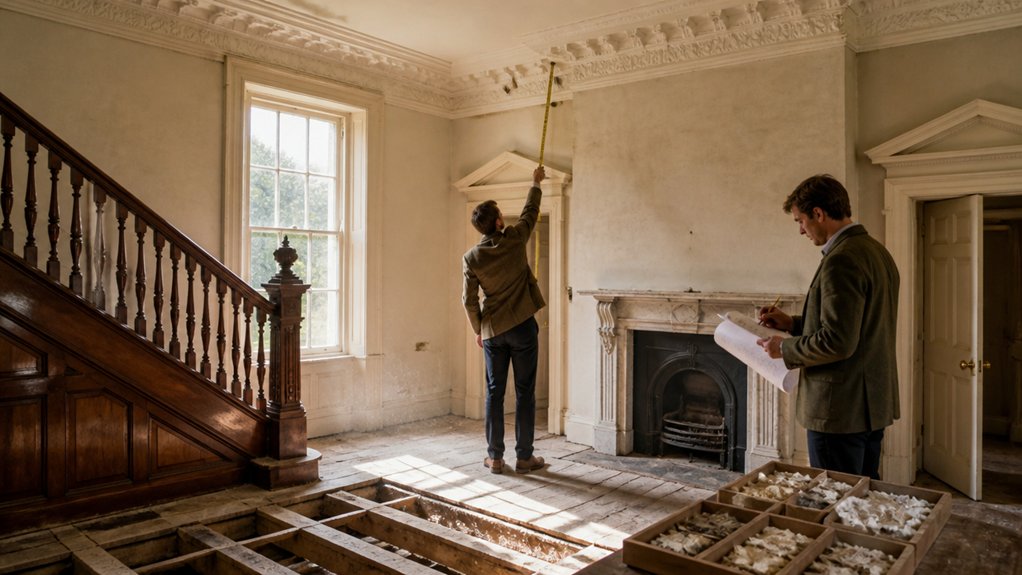
Before you lift a floorboard or strip a cornice, you should survey what you’ve actually got and why it matters. Map each room’s fabric: sash profiles, joinery marks, lath-and-plaster thickness, skirting heights, and paint layers.
Date changes by evidence—saw cuts, nail types, mortar, and timber species—so you don’t “restore” later, valuable phases out of existence. Photograph elevations and details with a scale, then compile a schedule of condition: damp sources, deflection, beetle flight holes, and cracked cornices.
Use this to judge historical significance, ranking elements by rarity and intactness. Turn findings into preservation planning: set priorities, specify like-for-like repair, and sequence work to protect surviving surfaces during services upgrades and structural stabilisation.
Get Listed Consent and Hire Heritage Craftspeople
Before you touch sash boxes, cornices, or original lath-and-plaster, you’ll need Listed Building Consent for any work that affects the Georgian fabric. Your application should be backed by measured drawings, a heritage statement, and a method statement that specifies like-for-like materials (lime mortar, hand-made bricks, timber repairs).
You’ll also need to hire heritage craftspeople who can evidence comparable projects and follow conservation best practice—splicing decayed joinery, repairing wavy crown glass, and using breathable finishes rather than cement or modern gypsum.
If you pair a well-documented consent submission with accredited, conservation-led trades, you’ll reduce enforcement risk and protect the townhouse’s historic character.
Listed Building Consent Process
Although you might be enthusiastic to start stripping paint or moving walls, a Georgian townhouse’s historic fabric is legally protected, so you’ll need Listed Building Consent (LBC) for any works that affect its character—typically including alterations to joinery, plasterwork, staircases, fireplaces, sash windows, roof coverings, and even seemingly minor changes to doors and ironmongery.
You should first confirm the listing grade and read the list entry, then book pre-application advice with the conservation officer.
Submit scaled drawings, a Heritage Statement, and a method statement explaining retention, repair, or like-for-like replacement, referencing historic preservation and relevant building regulations.
Expect conditions requiring sample panels, mortar and paint specifications, and photographic recording.
Don’t start work until written approval arrives, or you risk enforcement and reversal.
Hiring Heritage Craftspeople
Once your Listed Building Consent is in motion, line up heritage craftspeople who can document like-for-like repairs and work to traditional specifications, because conservation officers and insurers often expect demonstrable competence rather than generic trade experience.
Ask for portfolios showing lime plaster repairs, hand-cut lath, sash cording, and timber scarf joints, with method statements and photo logs. Check they understand Georgian profiles: ovolo glazing bars, bolection mouldings, and animal-glue joinery, and that they’ll retain historic fabric before replacing it.
Require material schedules naming lime putty, hair reinforcement, and breathable paints, not modern gypsum or cement. Confirm they’ll test finishes, replicate mouldings from surviving sections, and record all interventions for heritage preservation.
Tight contracts should define tolerances, sample approvals, and aftercare that proves restoration craftsmanship.
Repair Georgian Plaster, Cornices, and Joinery
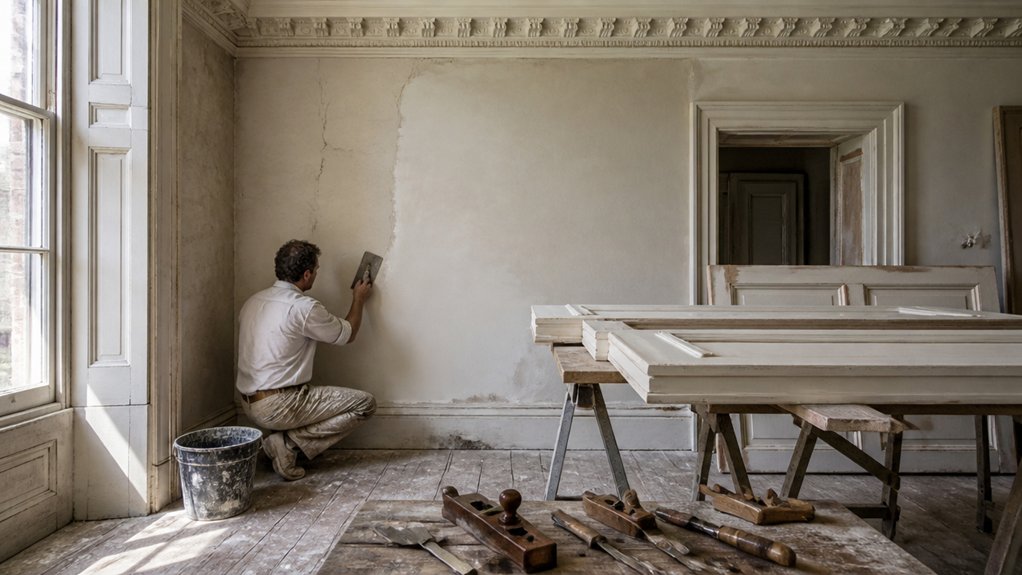
You’ll start by evaluating the existing lime plaster—checking for hollow-sounding areas, salts, and hairline cracking. Then you’ll patch like-for-like with compatible lime putty and aggregate rather than hard gypsum.
For cornices, you’ll retain as much original run work as possible, taking profiles from intact sections and using moulds to repair missing lengths so the enrichment and shadow lines match the Georgian proportions.
You’ll also restore joinery by splicing in matching timber, resetting loose mouldings, and using reversible, breathable finishes that preserve crisp edges and original tool marks.
Traditional Lime Plaster Repairs
How do you repair Georgian plaster without trapping moisture or erasing the crisp lines of its mouldings? You match the original build-up: Traditional lime putty with sharp sand, sometimes a gauged finish coat, rather than gypsum.
Start by finding the cause of failure—salts, roof leaks, blocked vents—then let the wall dry slowly.
Rake out loose edges back to sound plaster, undercut slightly, and brush off dust. Pre-wet the masonry so it won’t suction the binder. Press on a coarse scratch coat, then a float coat, keying each layer and allowing proper carbonation between coats. Finish with a fine lime skim and light trowelling, avoiding over-polishing that seals pores.
Limewash restores breathability and Heritage durability.
Cornice And Joinery Restoration
Although cornices and joinery look like surface details, they often reveal the building’s moisture and movement history, so treat them as fabric, not décor.
Map cracks, staining, and detachment before you touch anything, then fix the cause: leaking gutters, bridged damp, or failed flashings.
You’ll stabilise loose runs by pinning to sound laths and re-bedding with lime putty gauged with fine plaster, matching aggregate and hair where present.
Take profile templates from intact sections and run in situ, or cast small inserts for missing Decorative moldings.
Keep sharp arrises by using timber rules and minimal sanding.
For joinery detailing, repair splices with matching species, retain early paint layers where possible, and use reversible animal-glue where appropriate.
Prime with breathable systems.
Repair Sash Windows, Shutters, and Draughtproofing
Once you’ve stabilised the structure and dried the fabric of the house, turn to the sash windows and shutters, because they drive heat loss, rattle, and condensation more than almost any other Georgian detail.
Start with Sash window restoration: remove sashes, label staff and parting beads, and check for pulley wear, frayed cords, and seized weights. Square the box frame, ease tight meeting rails, and repair split glazing bars so the sashes run true. Fit discreet brush-pile seals into staff and parting beads and add a compressible seal at the meeting rail; you’ll cut draughts without changing sightlines.
For Heritage shutter repair, refix loose hinges, tighten panel joints, and plane edges so shutters close flush against the reveal, improving night-time insulation and limiting rattles.
Choose Authentic Georgian Materials and Finishes
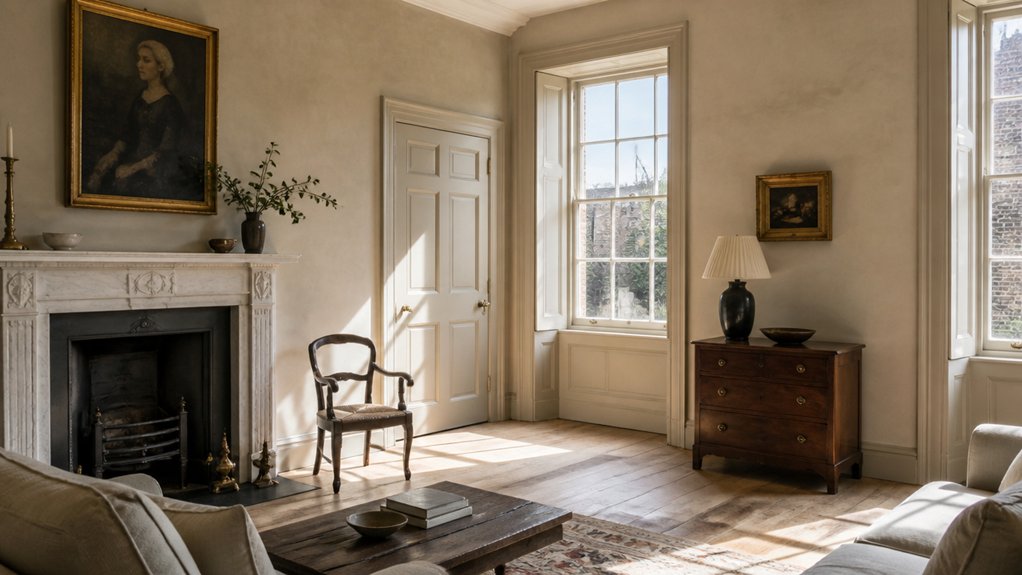
Before you specify anything modern, identify what the townhouse originally used—lime plaster and limewash, softwood floorboards, cast-ironmongery, and simple oil-based paints—because matching vapour-permeable materials and traditional sheen levels keeps the building fabric dry and the rooms looking right for the period.
Patch walls with lime plaster, not gypsum, and finish with limewash or matt distemper where records or surviving layers show it.
When choosing historic paint colors, take scrapings from protected edges, then match to Georgian palettes: stony whites, buff, pale ochres, and muted greens, avoiding bright titanium whites.
Repair boards with similar slow-grown pine, face-nail where evidence exists, and wax or oil rather than polyurethane.
For sourcing period-appropriate fixtures, choose rim locks, bun knobs, and simple escutcheons in wrought or cast iron.
Upgrade Electrics, Plumbing, and Heat Without Damage
Because Georgian houses rely on breathable fabric and shallow historic finishes, you should treat new electrics, plumbing, and heating as a “minimum intervention” exercise: map existing runs, keep alterations reversible, and route services through voids you already have (cellars, chimney breasts, floor zones, and cupboards) rather than cutting chases into solid brick and lime plaster.
For electrics, use surface-mounted oval conduit in secondary spaces, or lift floorboards and notch only joist tops within structural limits; add modern lighting with discreet pendants and LED lamps that don’t overheat fittings.
For plumbing, prefer copper with accessible isolation valves, and insulate to prevent condensation against cold masonry.
For heat, retain fireplaces, add slimline radiators, and use smart thermostats with zoned TRVs so you reduce cycling without sealing the building.
Conclusion
Restore your Georgian townhouse by surveying significance, securing listed consent, and using heritage craftspeople who match original methods. When you repair lime plaster, run cornices, and tighten sash joints, you keep breathability and crisp shadow lines true to the period. Draughtproof sashes and shutters for comfort without altering sightlines. Choose linseed-oil paint, limewash, and matching timber profiles, then thread new wiring and pipework discreetly. Done right, the house becomes a time capsule that still lives.